Posted in Christmas, Perler Bead Patterns

Easy DIY Christmas Perler Bead Ornaments

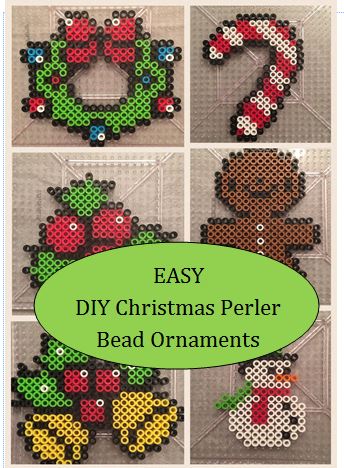
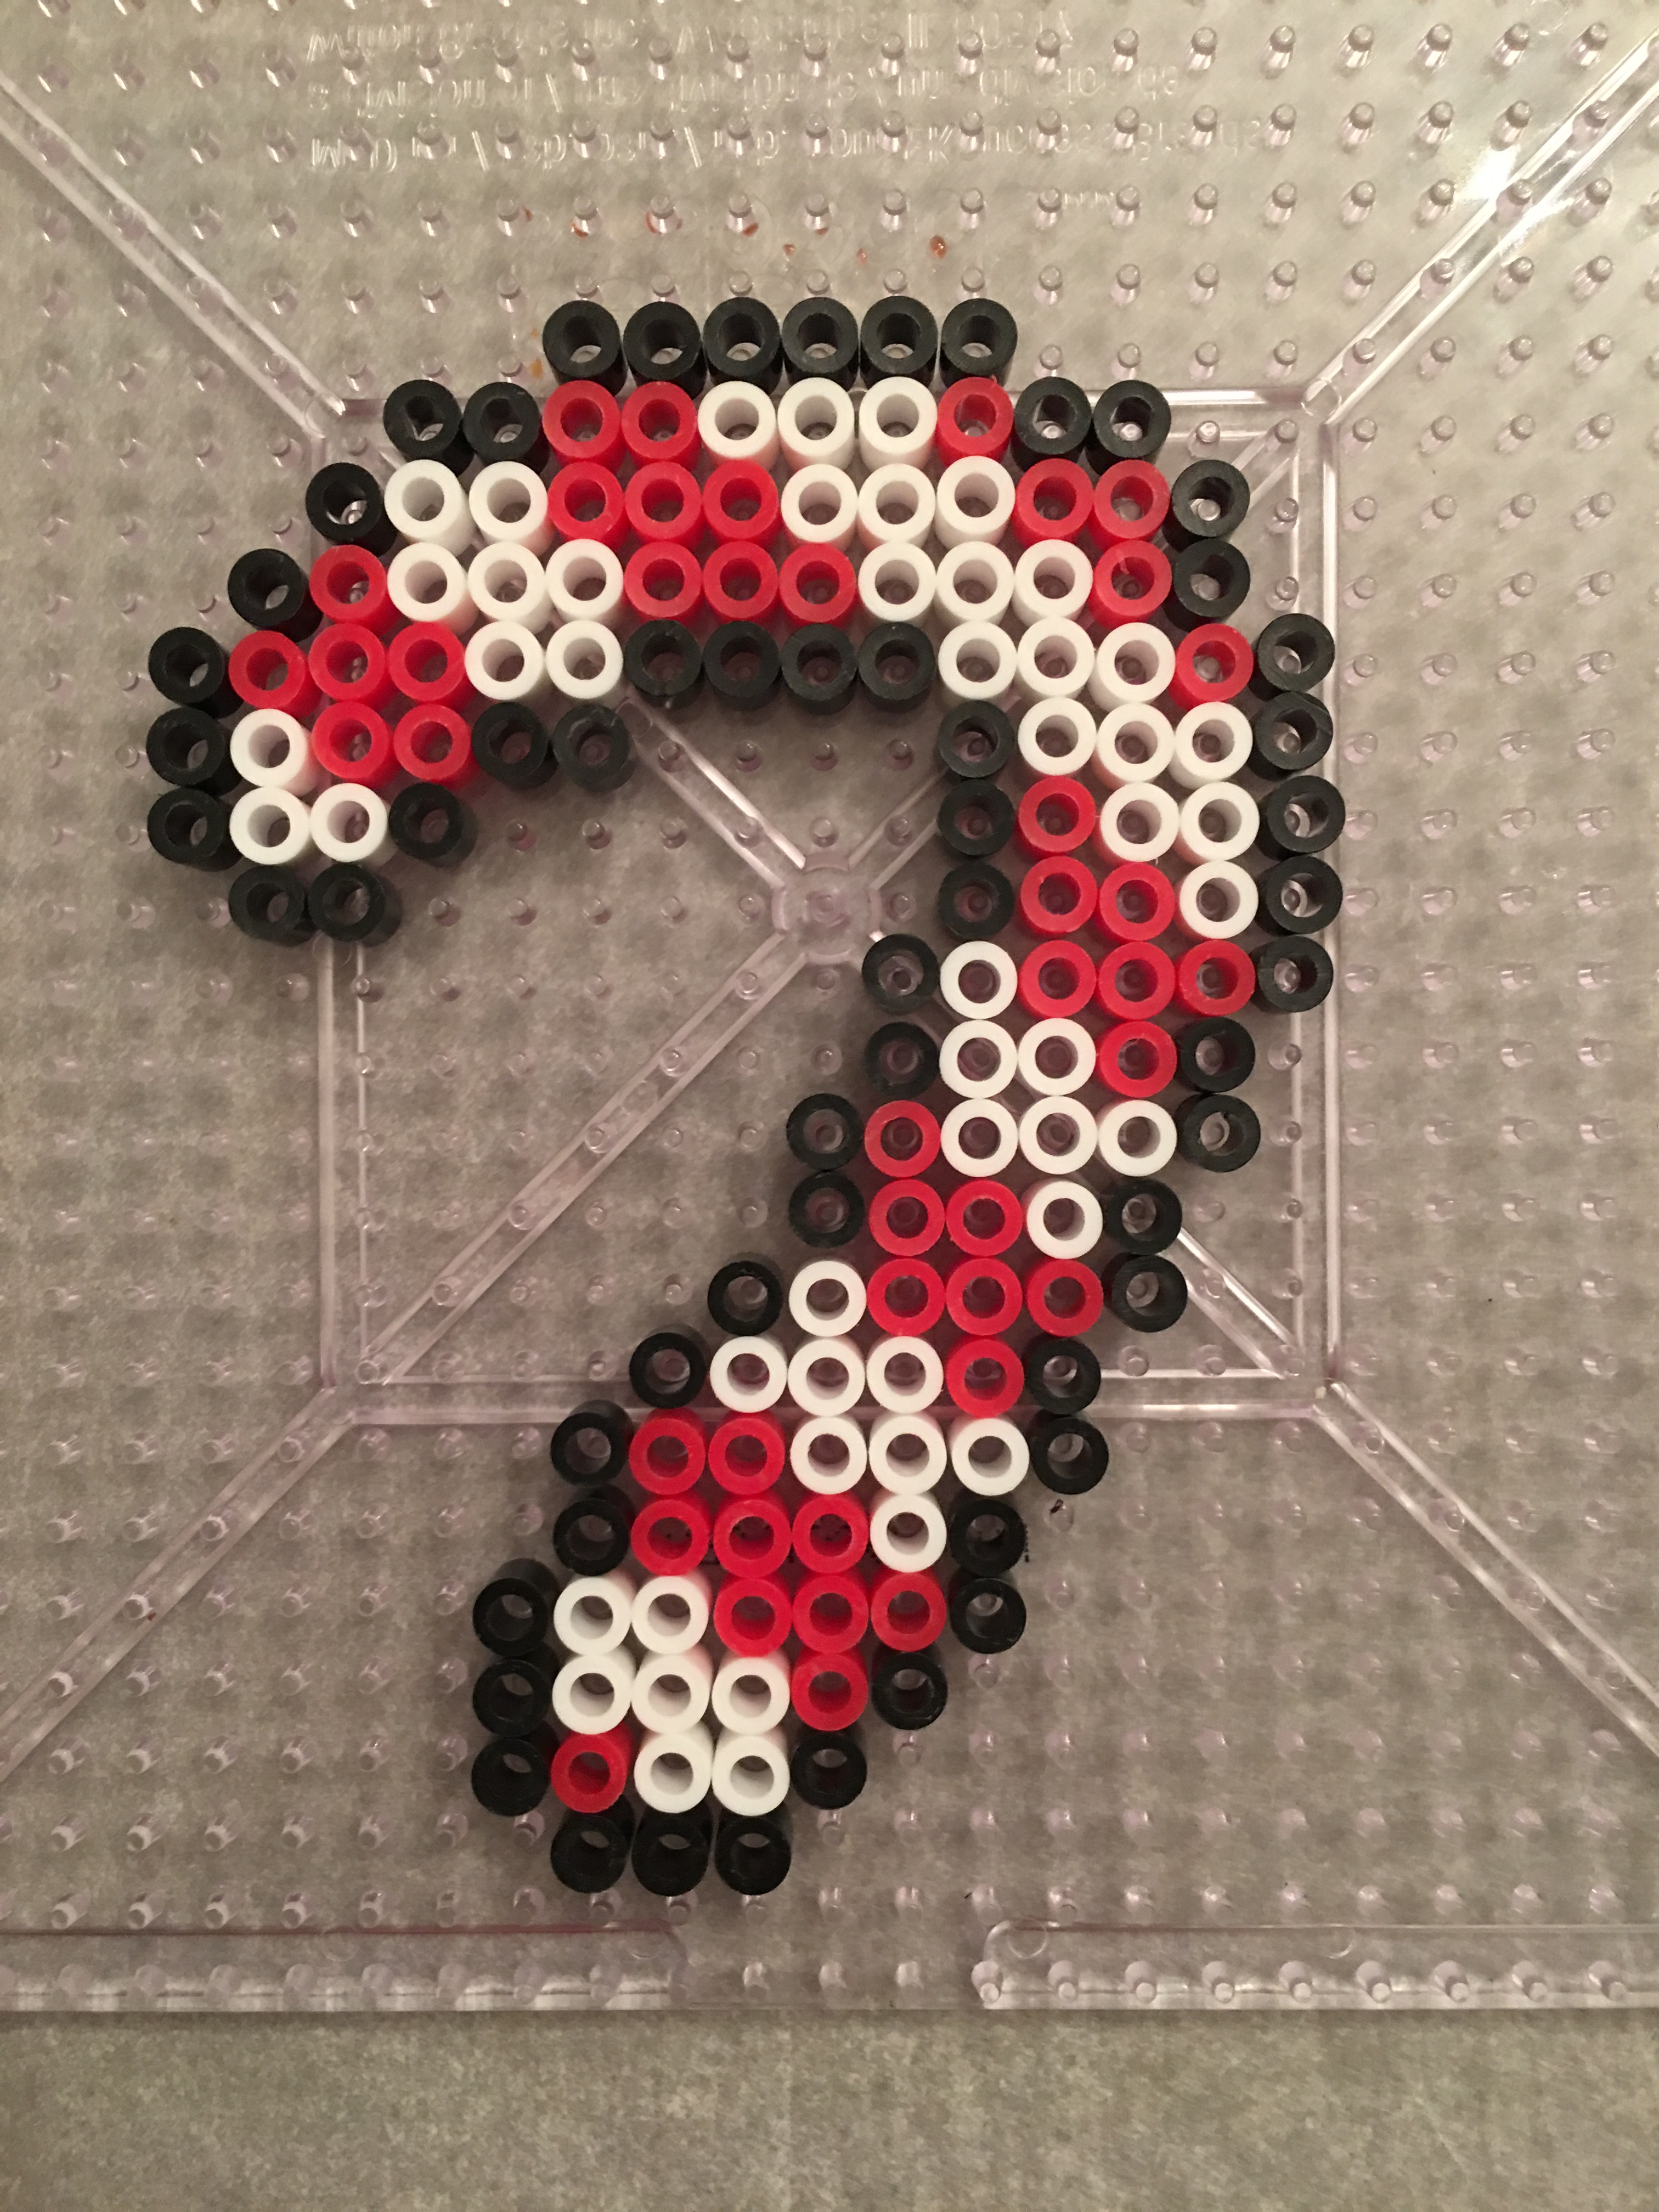
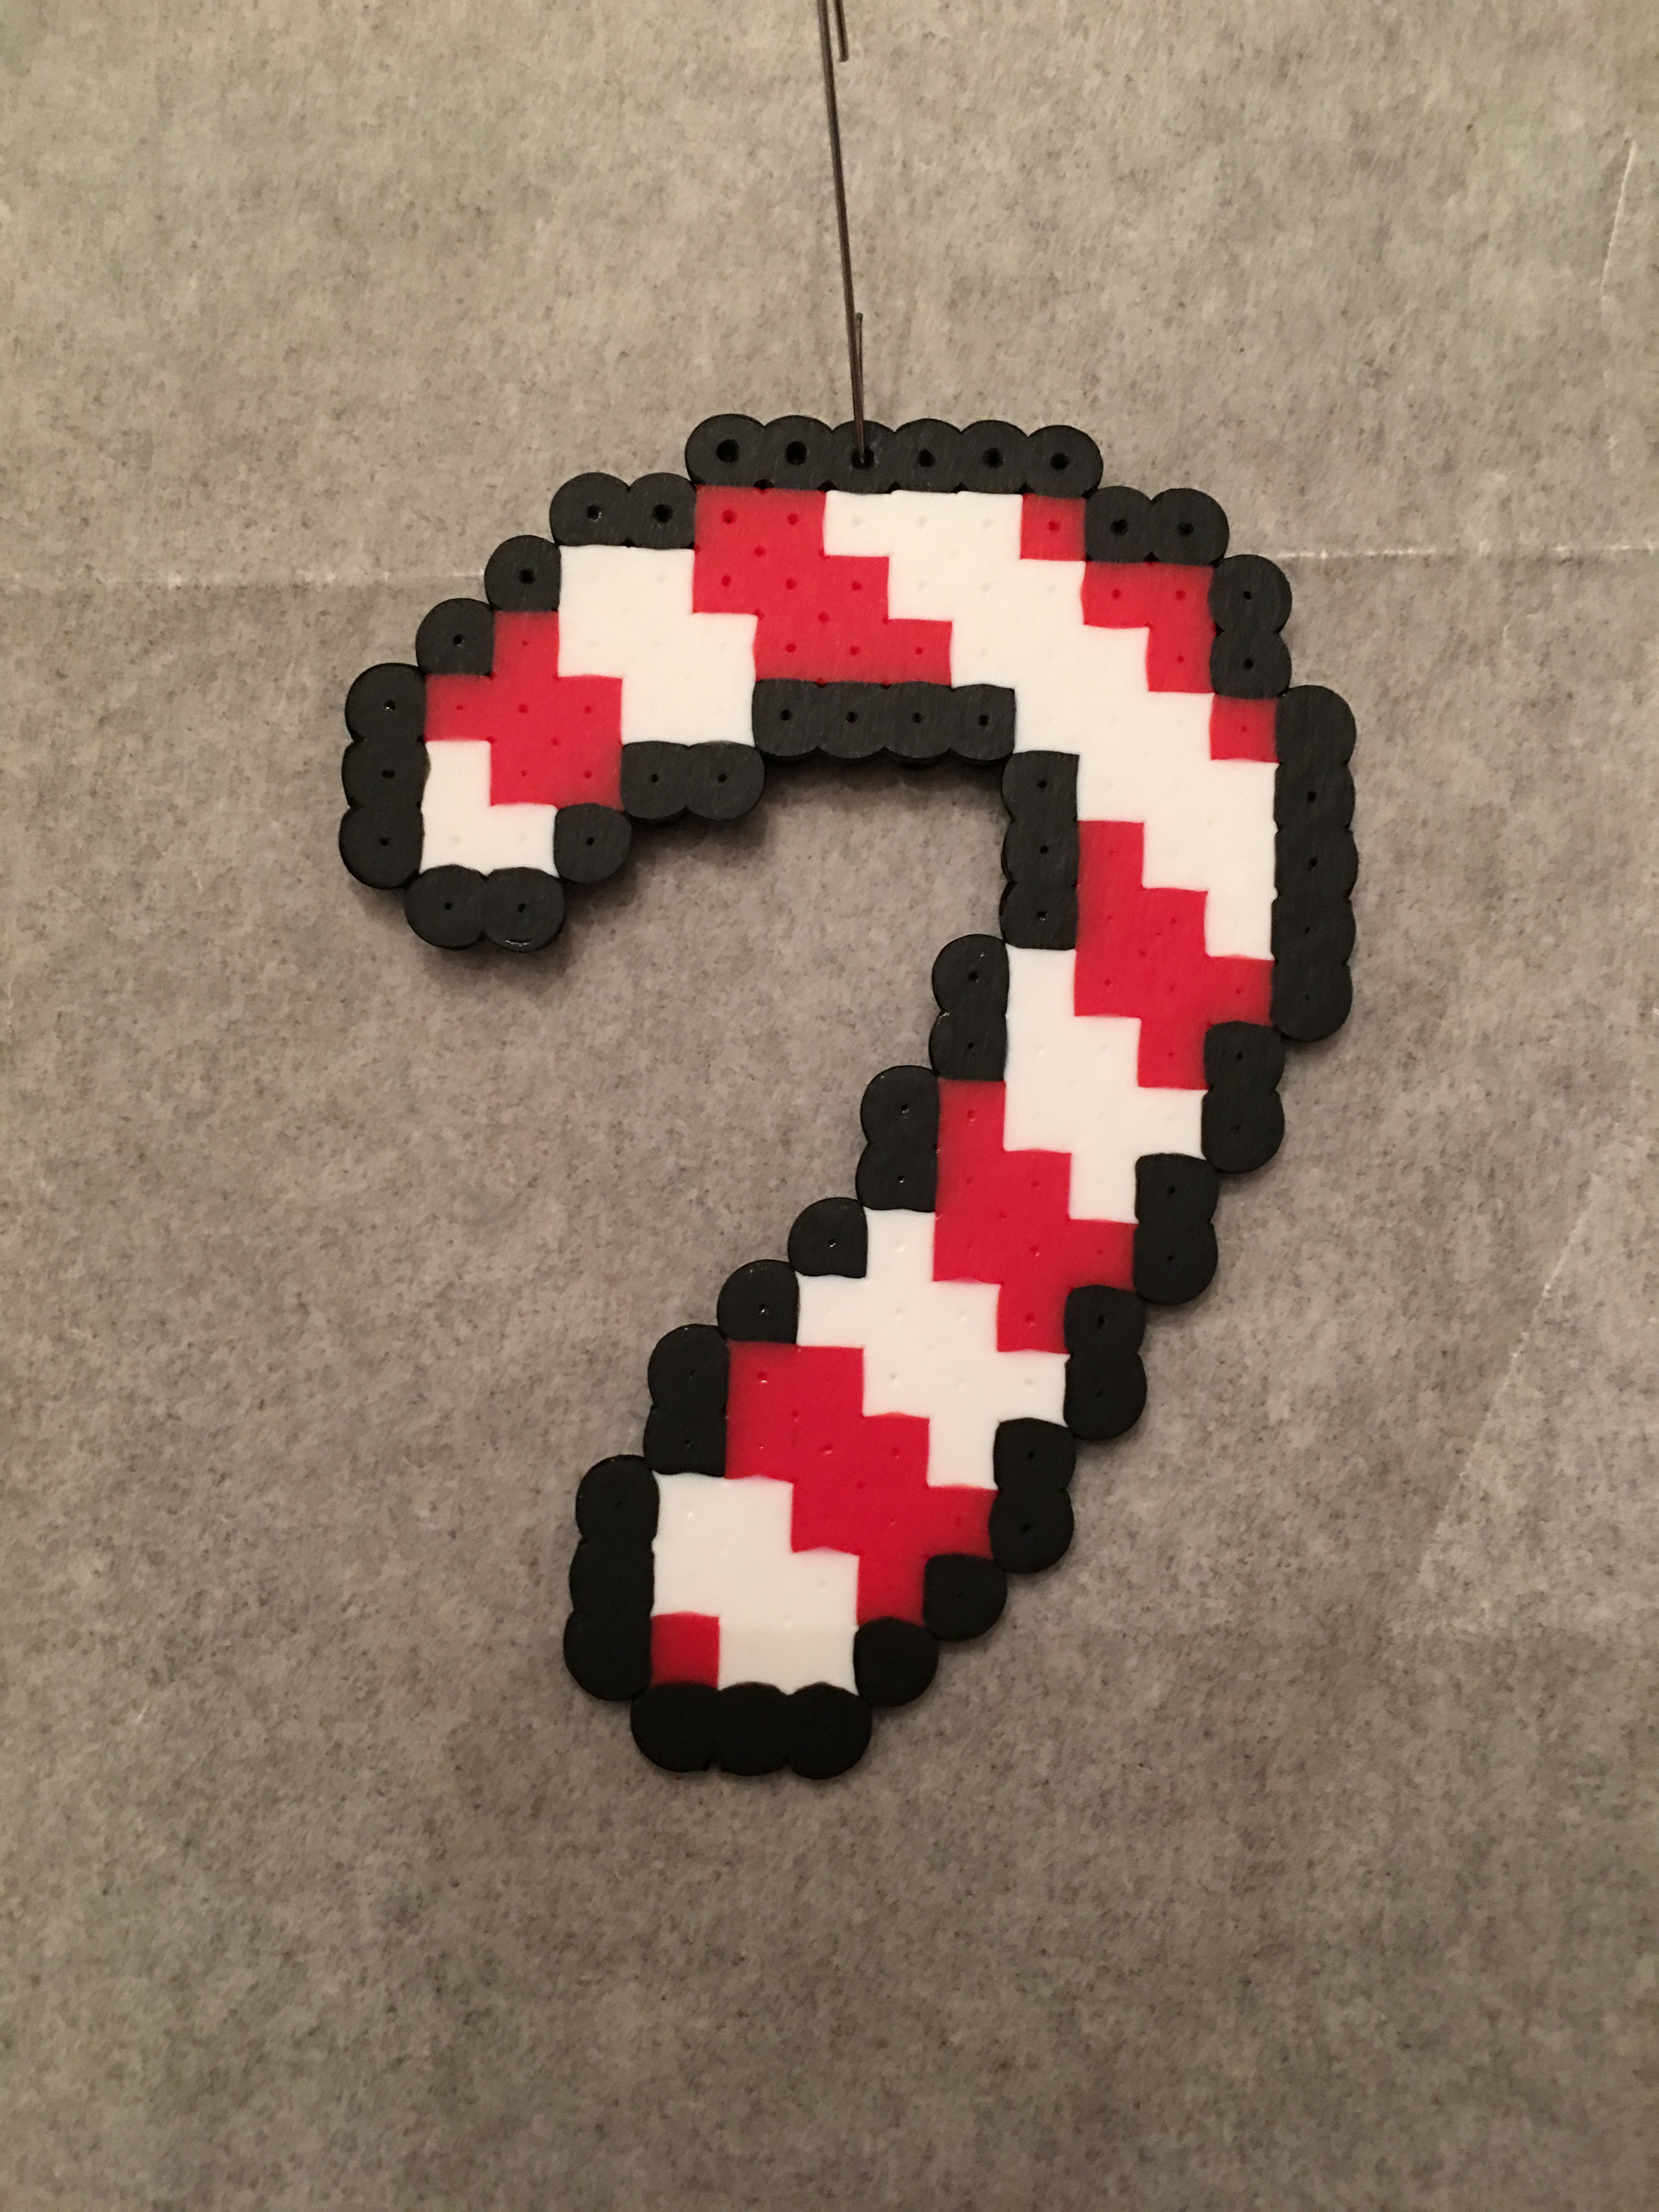
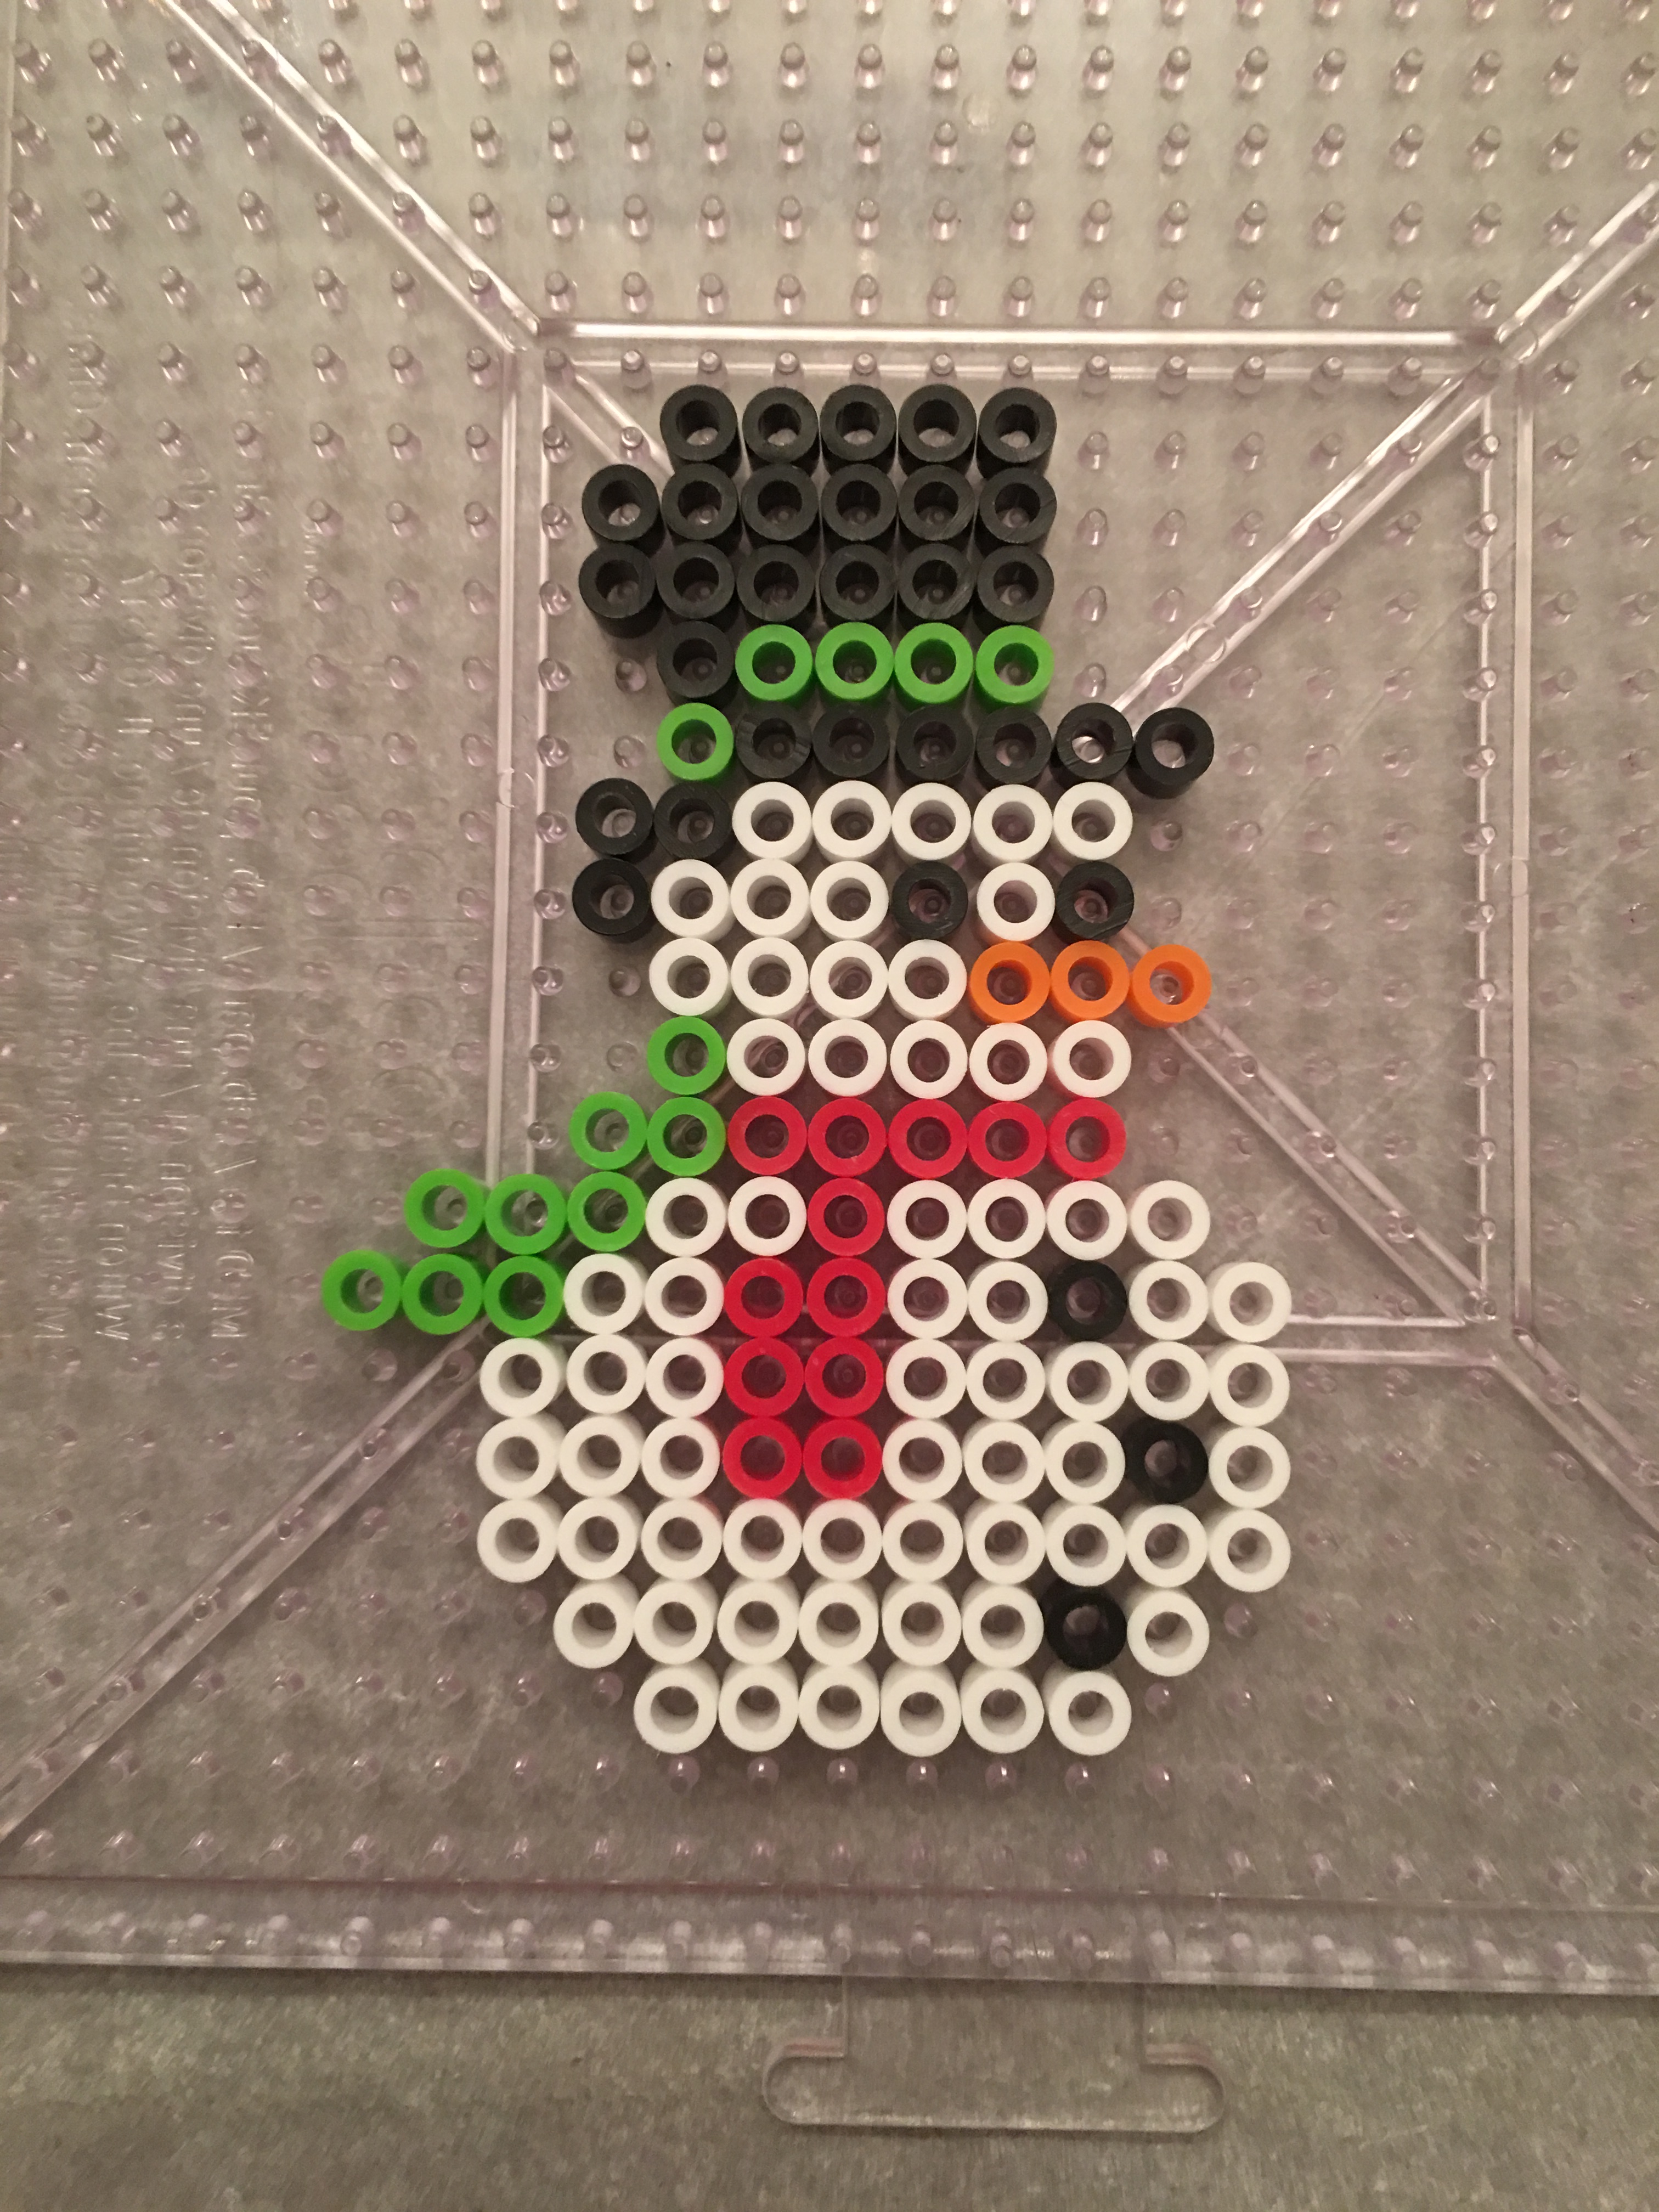
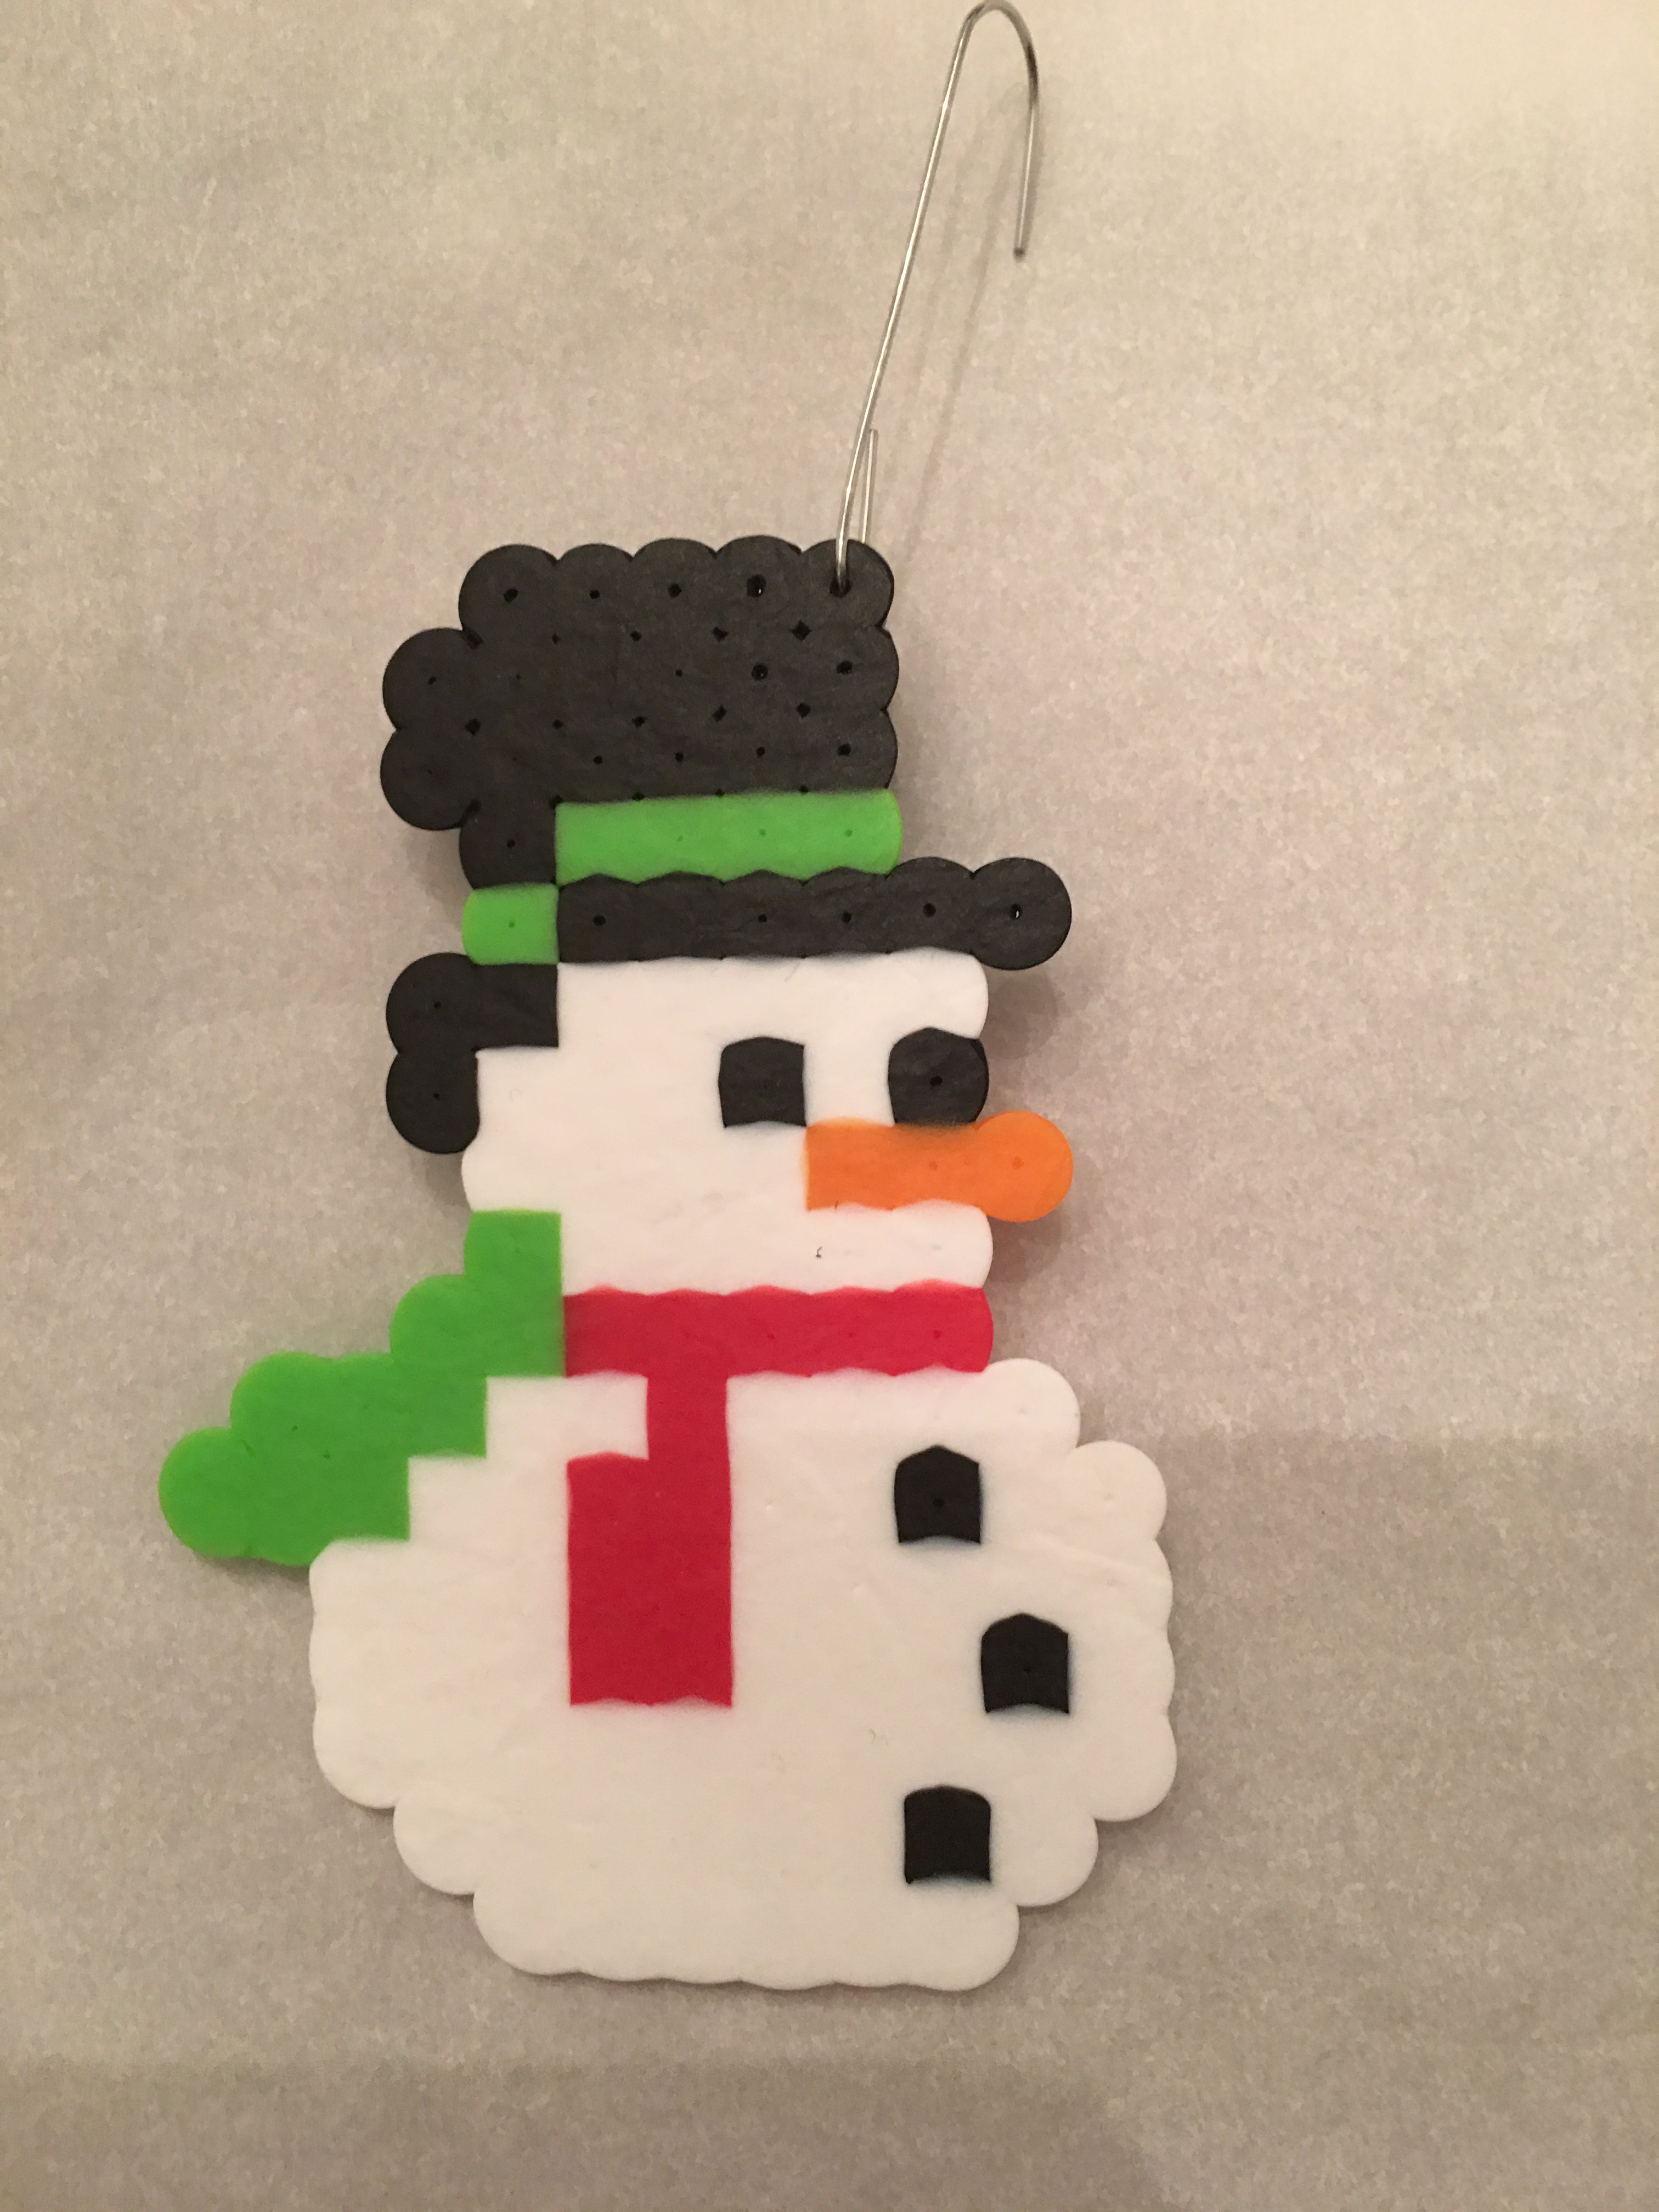
Want some easy family Perler bead patterns that can easily transform into Christmas ornaments?  Look no further, this family fun craft was easy to make and looks great on the tree.

We used the pixelated images to create the designs on boards, melted the beads and attached a Christmas ornament hook at the top. However, in my newest ones, I have used a ribbon which I attach before I iron. In my Etsy Store and my store, www.galaxyofpixels.com – I have these kits ready to go. You can purchase them for $2 or $2.50 a piece and they have exactly what you need to make these ornaments.

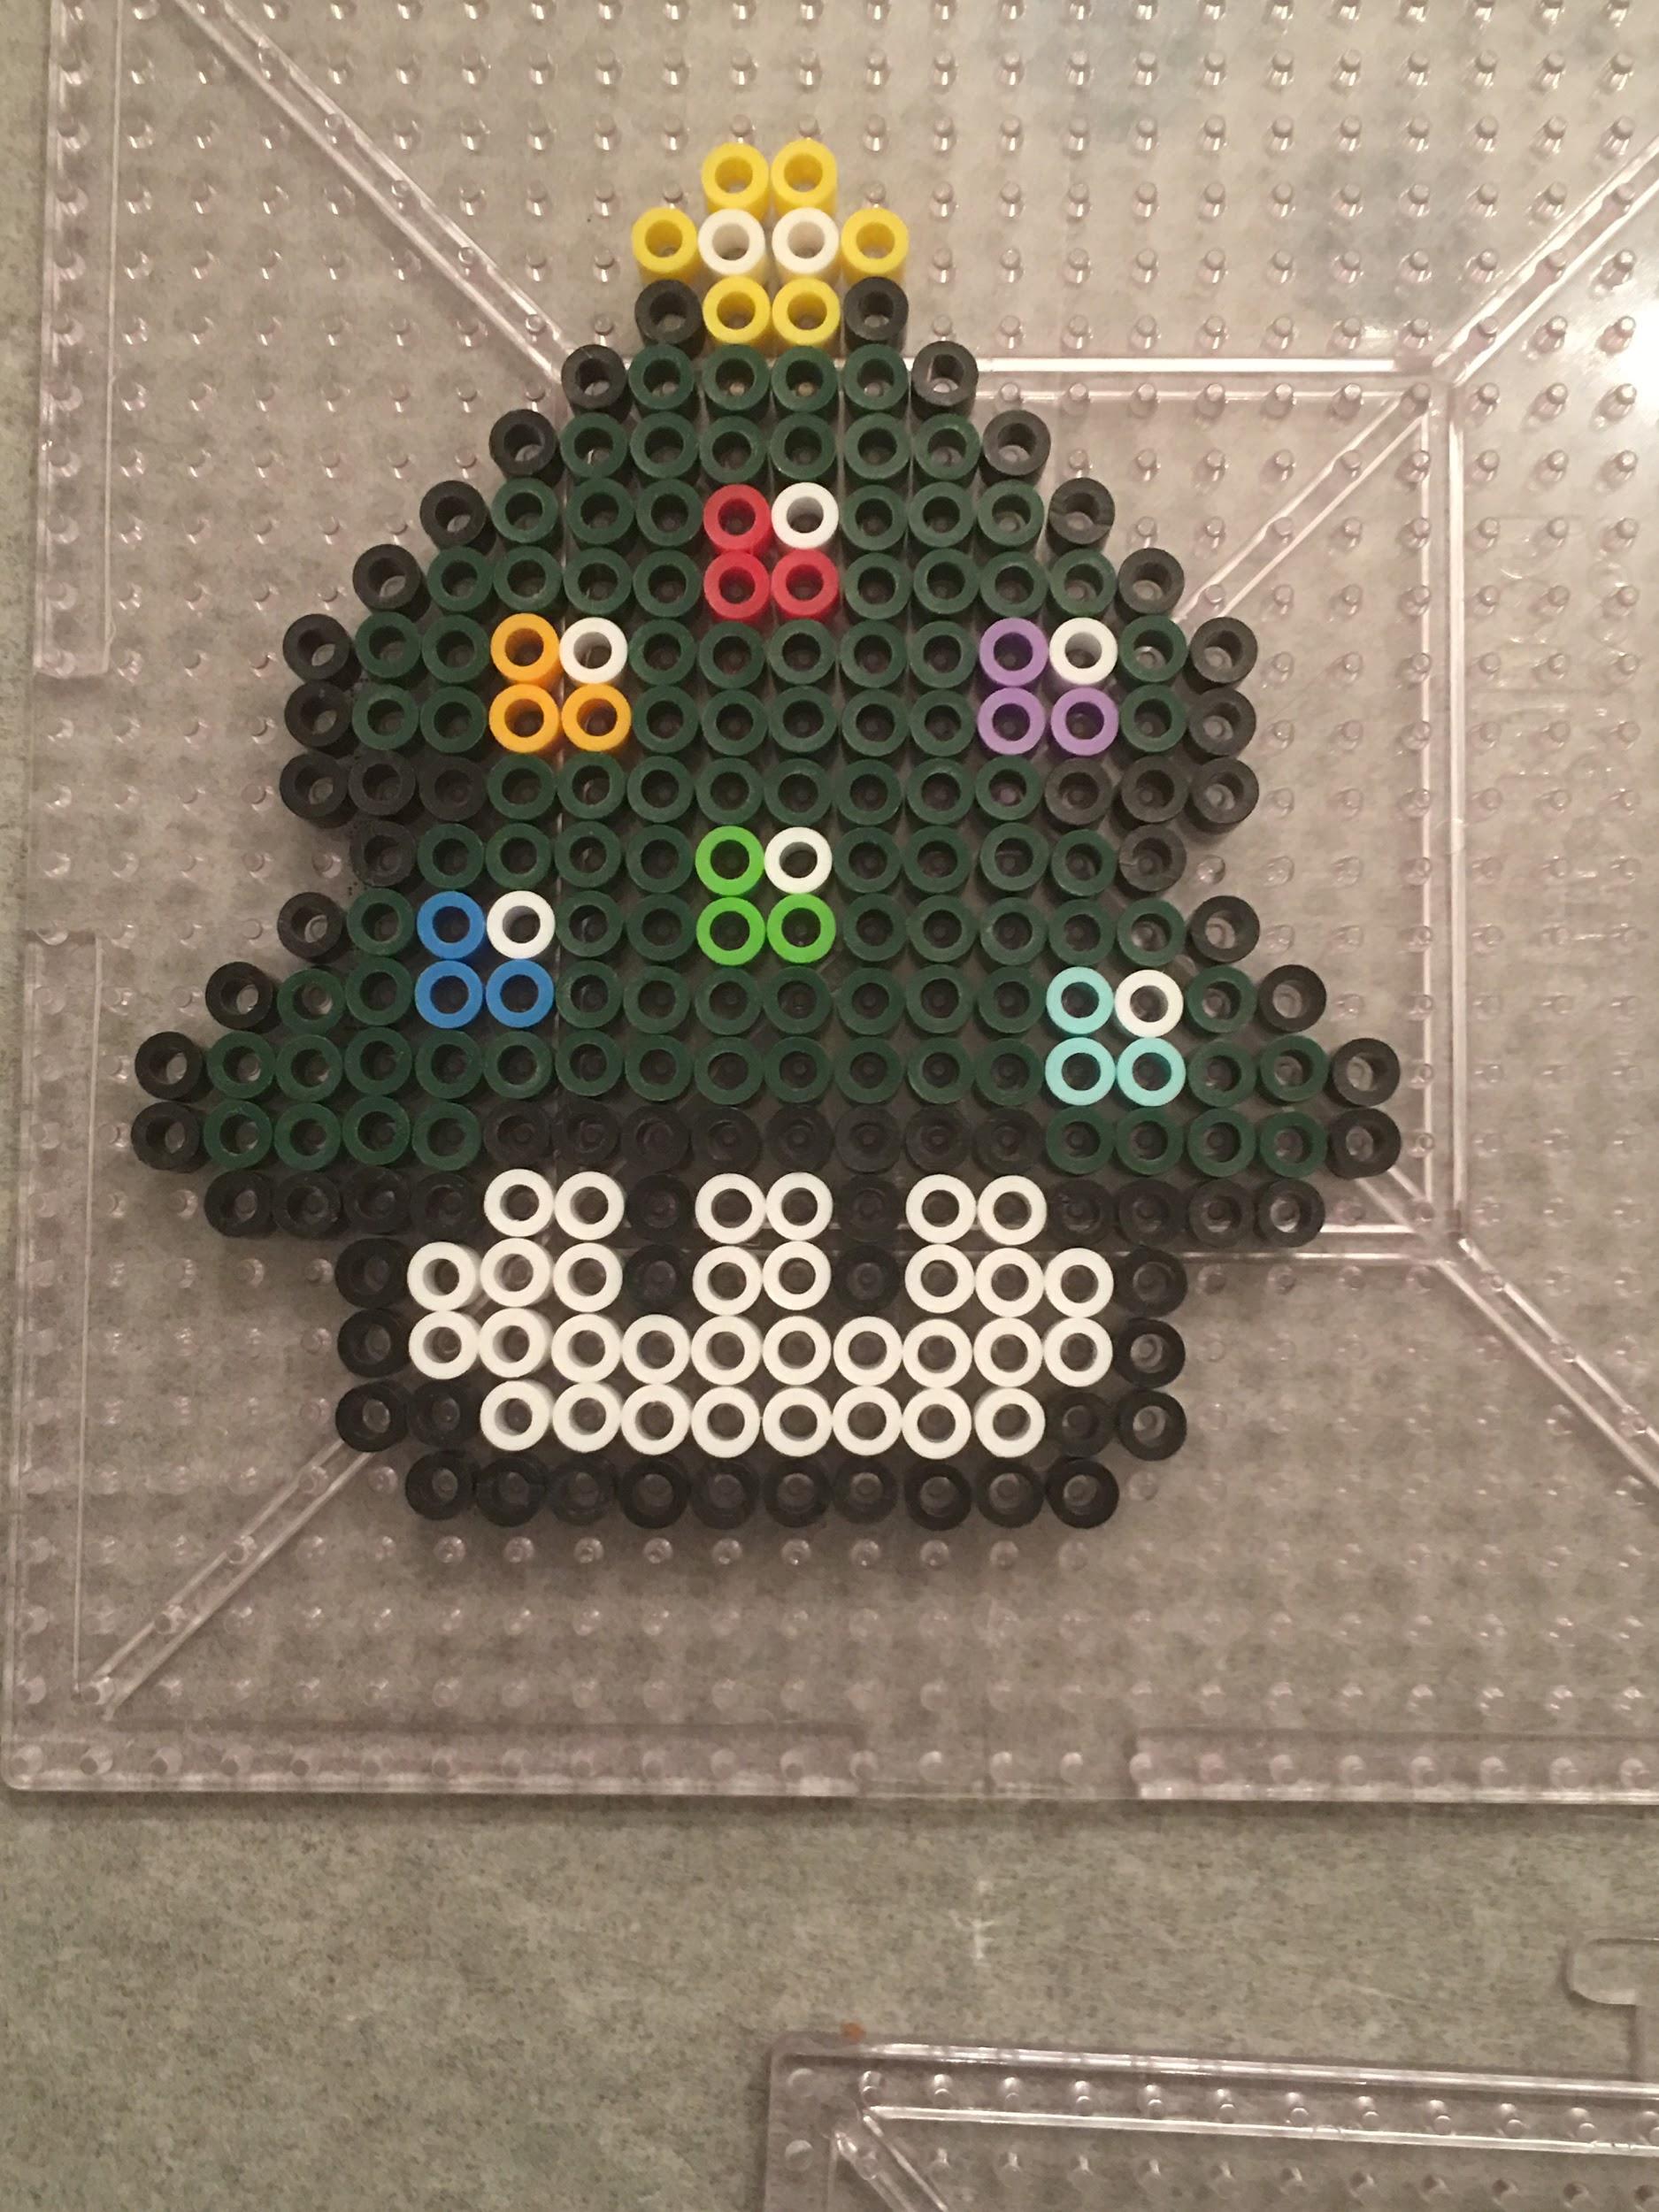
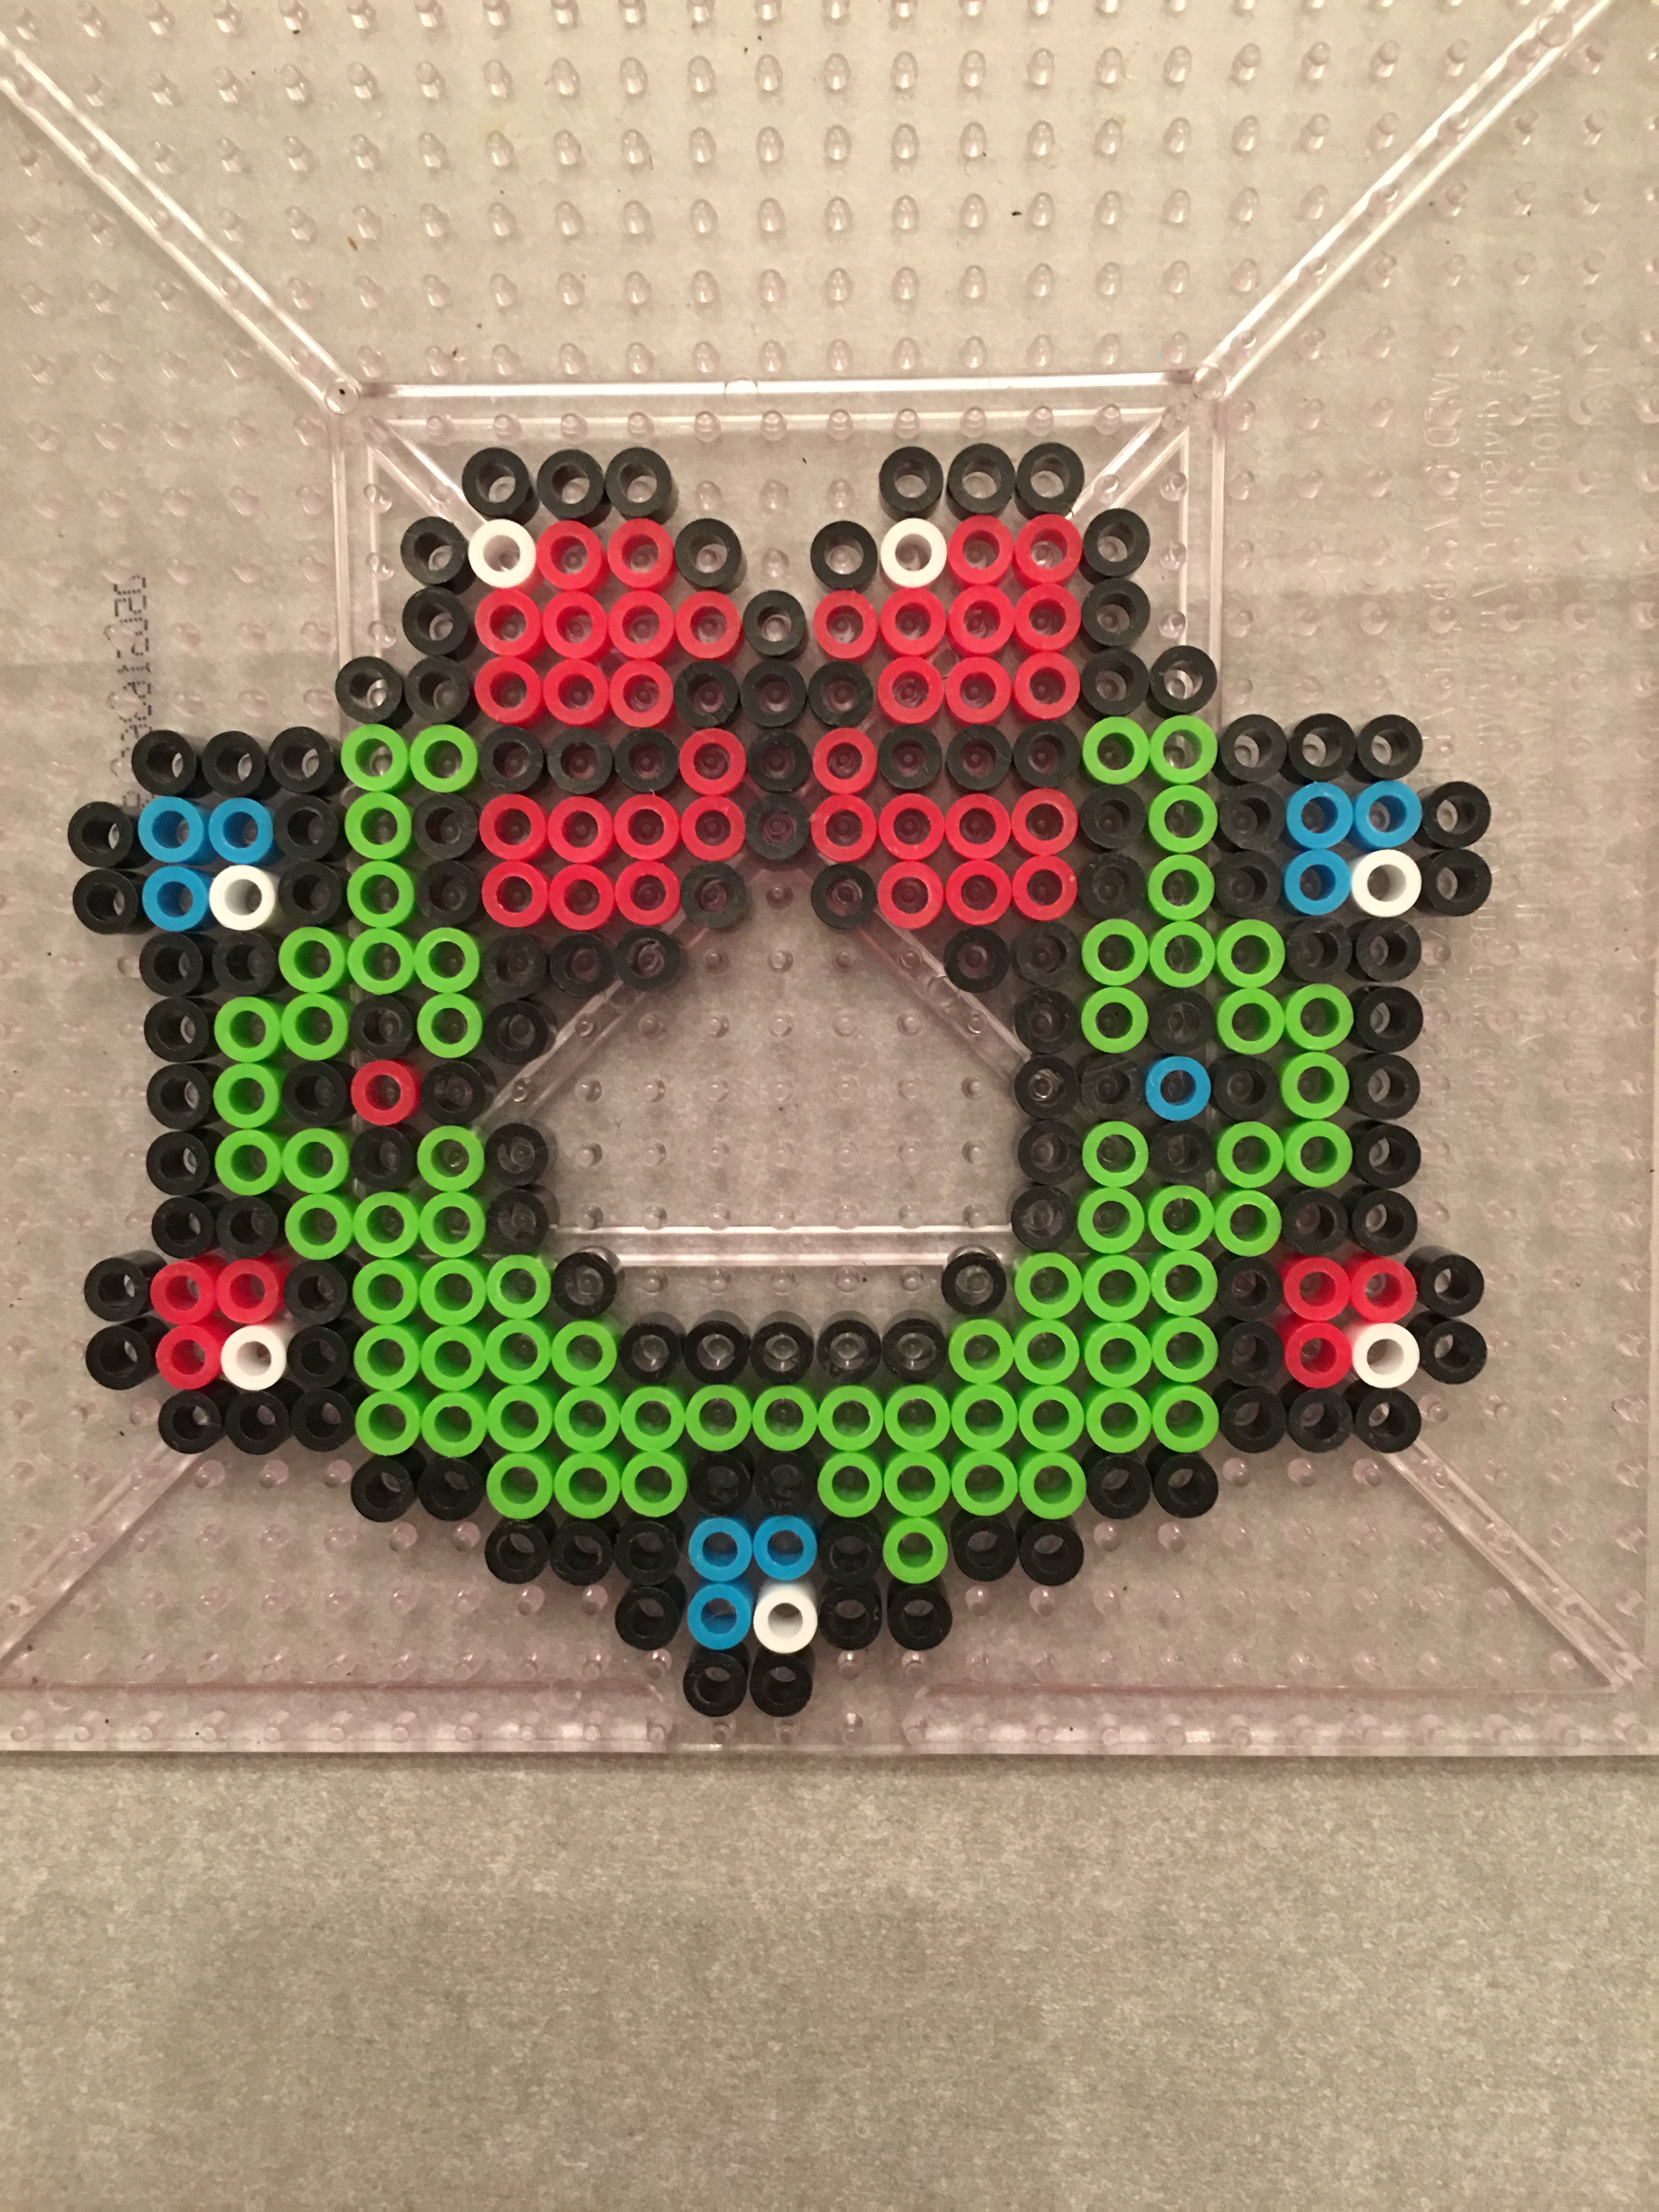
Our results are below.

Christmas Bell with Holly

Bells with holly Christmas ornament made with Perler beads

Christmas Wreath Ornament

Christmas Gingerbread Ornament

Christmas Candy Cane Ornament

Christmas Holly Ornament

Snowman Ornament

Our family loves making lots of Perler crafts.  If you would like to see some other designs, click menu at the top or the links below…

Also, Check our our Etsy Store -GalaxyofPixels!

Christmas Ornament Perler Bead Patterns DIY

Please join our email list to follow our site. We promise not to sell or spam your email!

Processing…
Success! You're on the list.
Posted in Christmas, Perler Bead Patterns, Super Mario Patterns

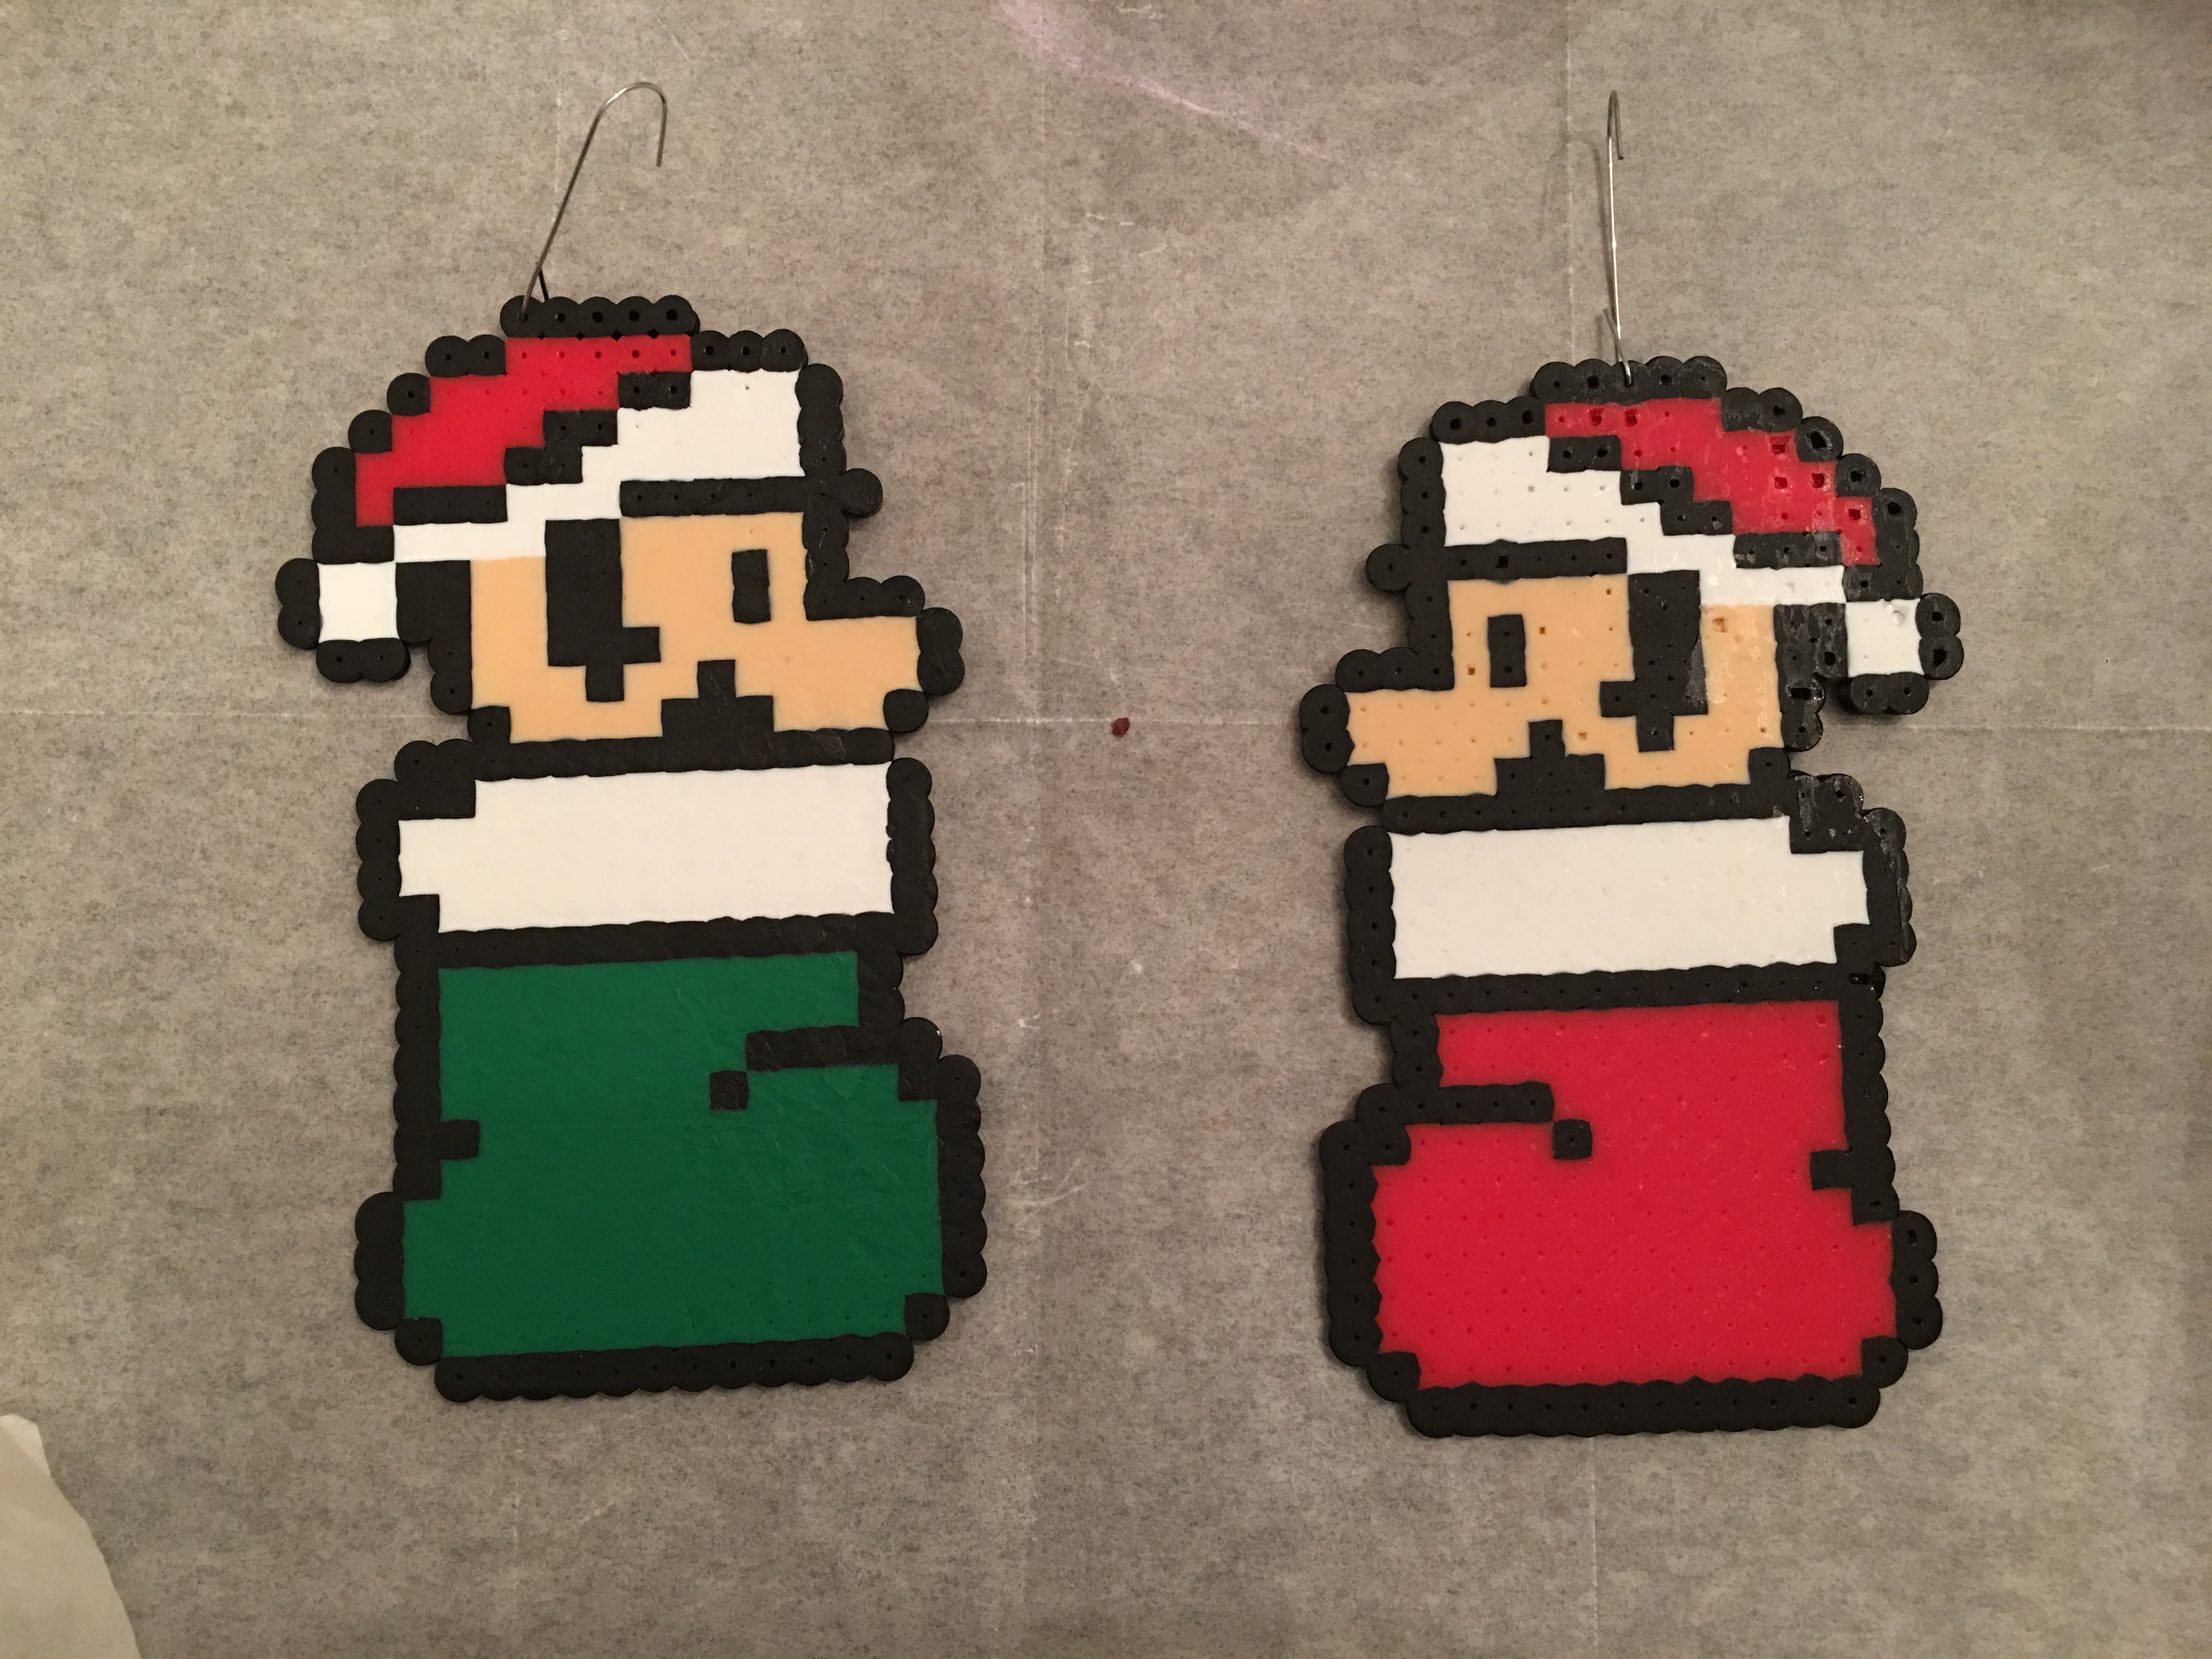
Super Mario Perler Bead Christmas Ornaments

Capture

Our family is a huge Nintendo fan and our kids have grown up playing all the Super Mario franchise games. This year, the kids had their own tree to decorate and we decided to make some Perler beads ornaments. We are looking forward to making lots of ornaments this holiday season.

In the pictures below, I used a Christmas hook, However, in my newest ornaments, I have used a ribbon which I attach before I iron. In my Etsy Store and my Online Store, www.galaxyofpixels.com – I have several of these kits ready to go with more on the way. You can purchase them for $2 or $2.50 a piece and they have exactly what you need to make these ornaments.

Mario and Luigi in Christmas Stockings

Mario in the stocking! After making Mario, I changed the red to green to create Luigi. When ironing, we left one of the top beads open and not too melted. This allowed us to put a Christmas hook into the hole which helped it fit easily on the tree.

Super Mario and Luigi Christmas Ornaments Perler/ Hama Beads

Red and Green Mushrooms

Same as above- once made, we melted everything but the top bead to allow for the ornament hook.

Super Mario Mushrooms Christmas Ornaments Perler/ Hama Beads

Star and Mushroom Tree

Don’t forget while melting to leave room for the hook.

Super Mario Mushrooms Christmas Ornaments Perler/ Hama Beads

Processing…
Success! You're on the list.

Yoshi Christmas Wrapped Egg!  

This Christmas wrapped Yoshi Egg was super easy to make and looks great as a Christmas ornament.

Super Mario Perler Yoshi Egg Christmas Ornament

Mario Santa

This Mario Santa turned out super cute!  Made with sand, black, white and red Perler beads.  Will also work for Hama or just plain melty beads.

Super Mario Perler Santa Christmas Ornament Hama Melty

If you would like to see some other Super Mario patterns, visit menu at the top of click the links below.

Also, Check our our Etsy Store -Galaxy of Pixels! Sign up for our shop newsletter to receive a 10% off coupon for your next order.

Posted in Daisy/Brownie Crafts, Girl Scout Crafts

Daisy/Brownie Reindeer Ornaments

A couple of weeks ago, my co-leaders and I were looking for some fun, easy ornaments for our Daisy and Brownie Girl Scouts to complete.  Our girls had 2 ½ hours to go to 10 different stations making crafts to take home – this was called a Make and Take Workshop.  

 While researching, we came across this great site called littlebitfunky.com in which she had made these adorable reindeer ornaments.  (check her out for her version and a few different variations) We decided to try them out with a few modifications.  The result: an easy, cheap, awesome craft that our girls and parents loved.

A few of the finished products…

IMG_5556

The only things we needed were some brown paint, a black Sharpie, red sticker gems (original was done with red paint) and an ornament for each girl.  Sharpies we had, brown paint was $.50 at Walmart, red gem stickers were $1.99 and the ornaments were only $3.00 for 12.  So far, so good!

How to make it

  1. The girls wrote their names and the year at the bottom of the ornament.  (Great keepsake for parents or grandparents)
  2. Next, they put their thumb in the brown paint and added their print to the ornament.  I had them do it thick since we were only adding 1 print.
  3. Their ornaments were allowed to dry for about 10-15 min.  Once dry, they added the antlers, and a red gem to stand for Rudolph’s nose.

They looked super cute and the girls couldn’t wait to put them on their tree.  


Special thanks to littlebitfunky.com for the original idea.