Today we launched our first store on Shopify- GalaxyofPixels. We have an Etsy store but after a couple of years, we wanted to branch out a little on our own. We are a little nervous as my family enters this new phase but are super excited. If you get a chance, please come check us out. (We have both stores now operating)
Geeky fun pixel art, jewelry, picture frames, framed artwork, vinyl decals and more. Easy to find birthday, anniversary, or teacher presents with new items uploading weekly. Hope to see you soon! We appreciate all of you.
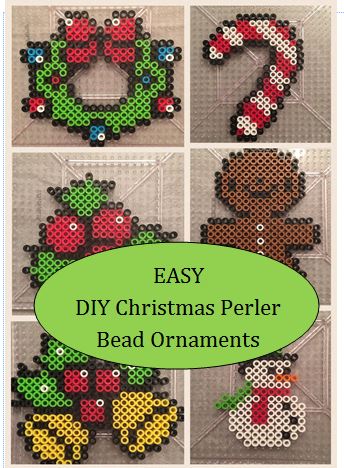
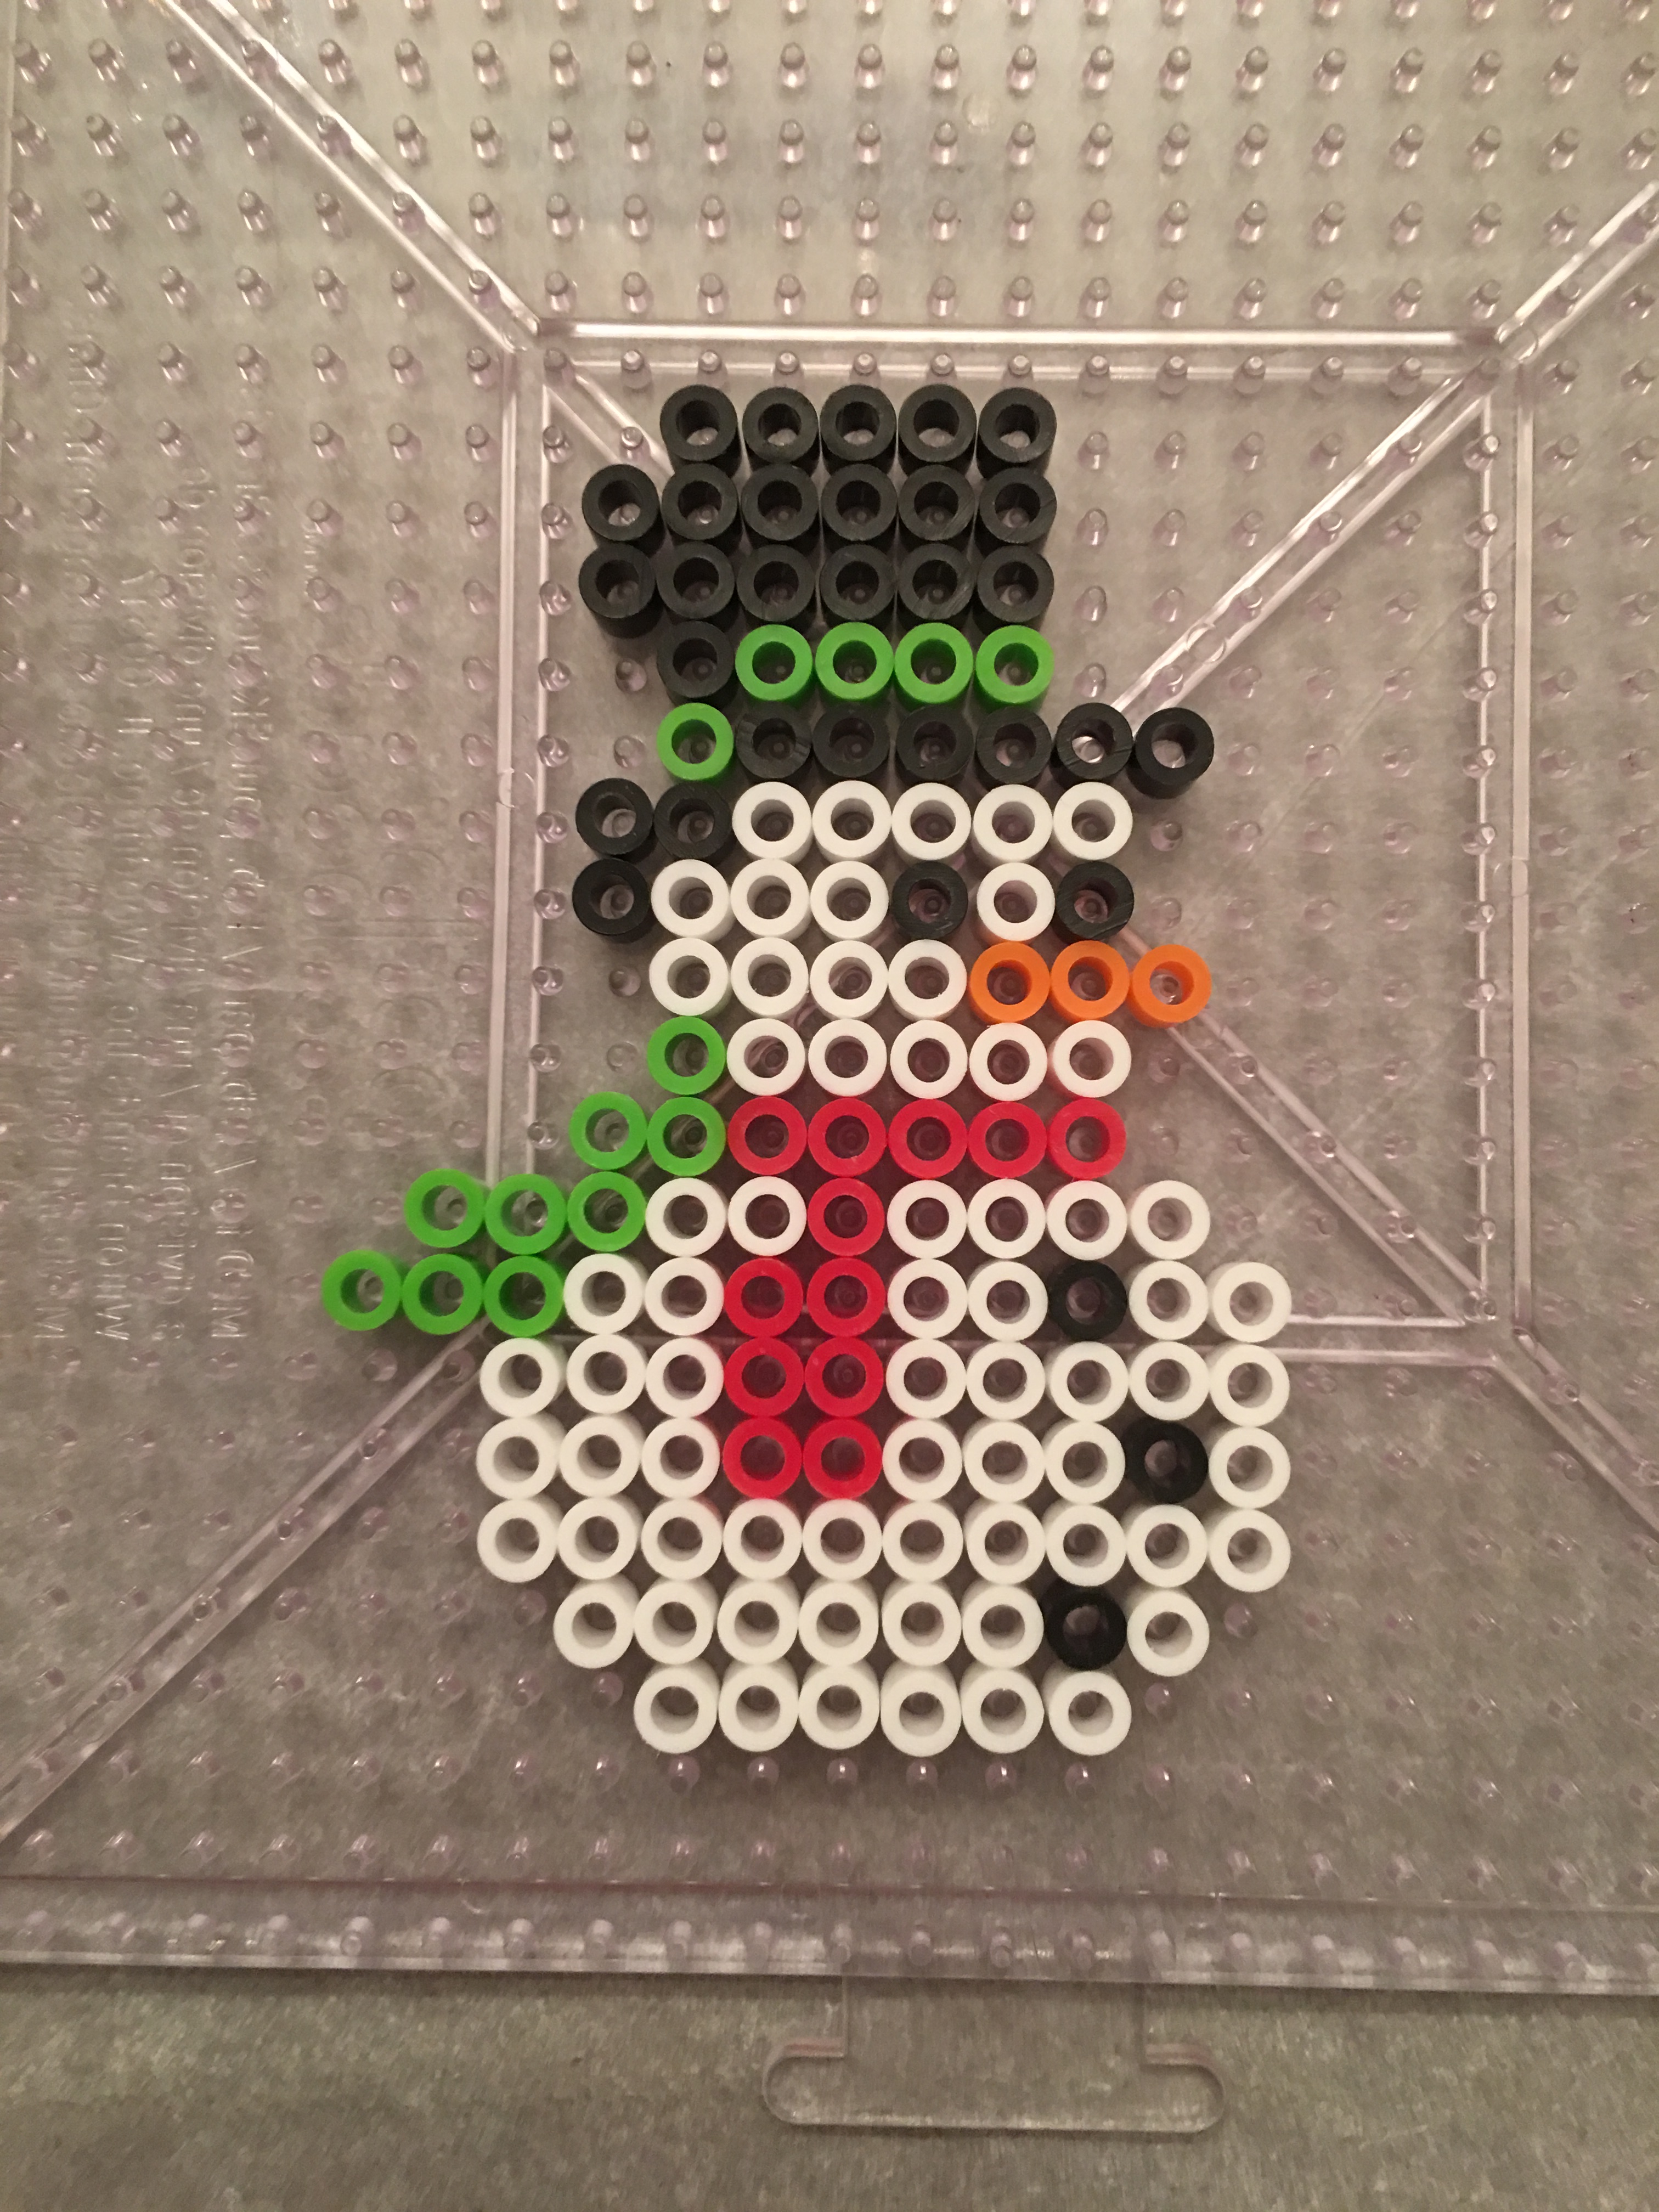
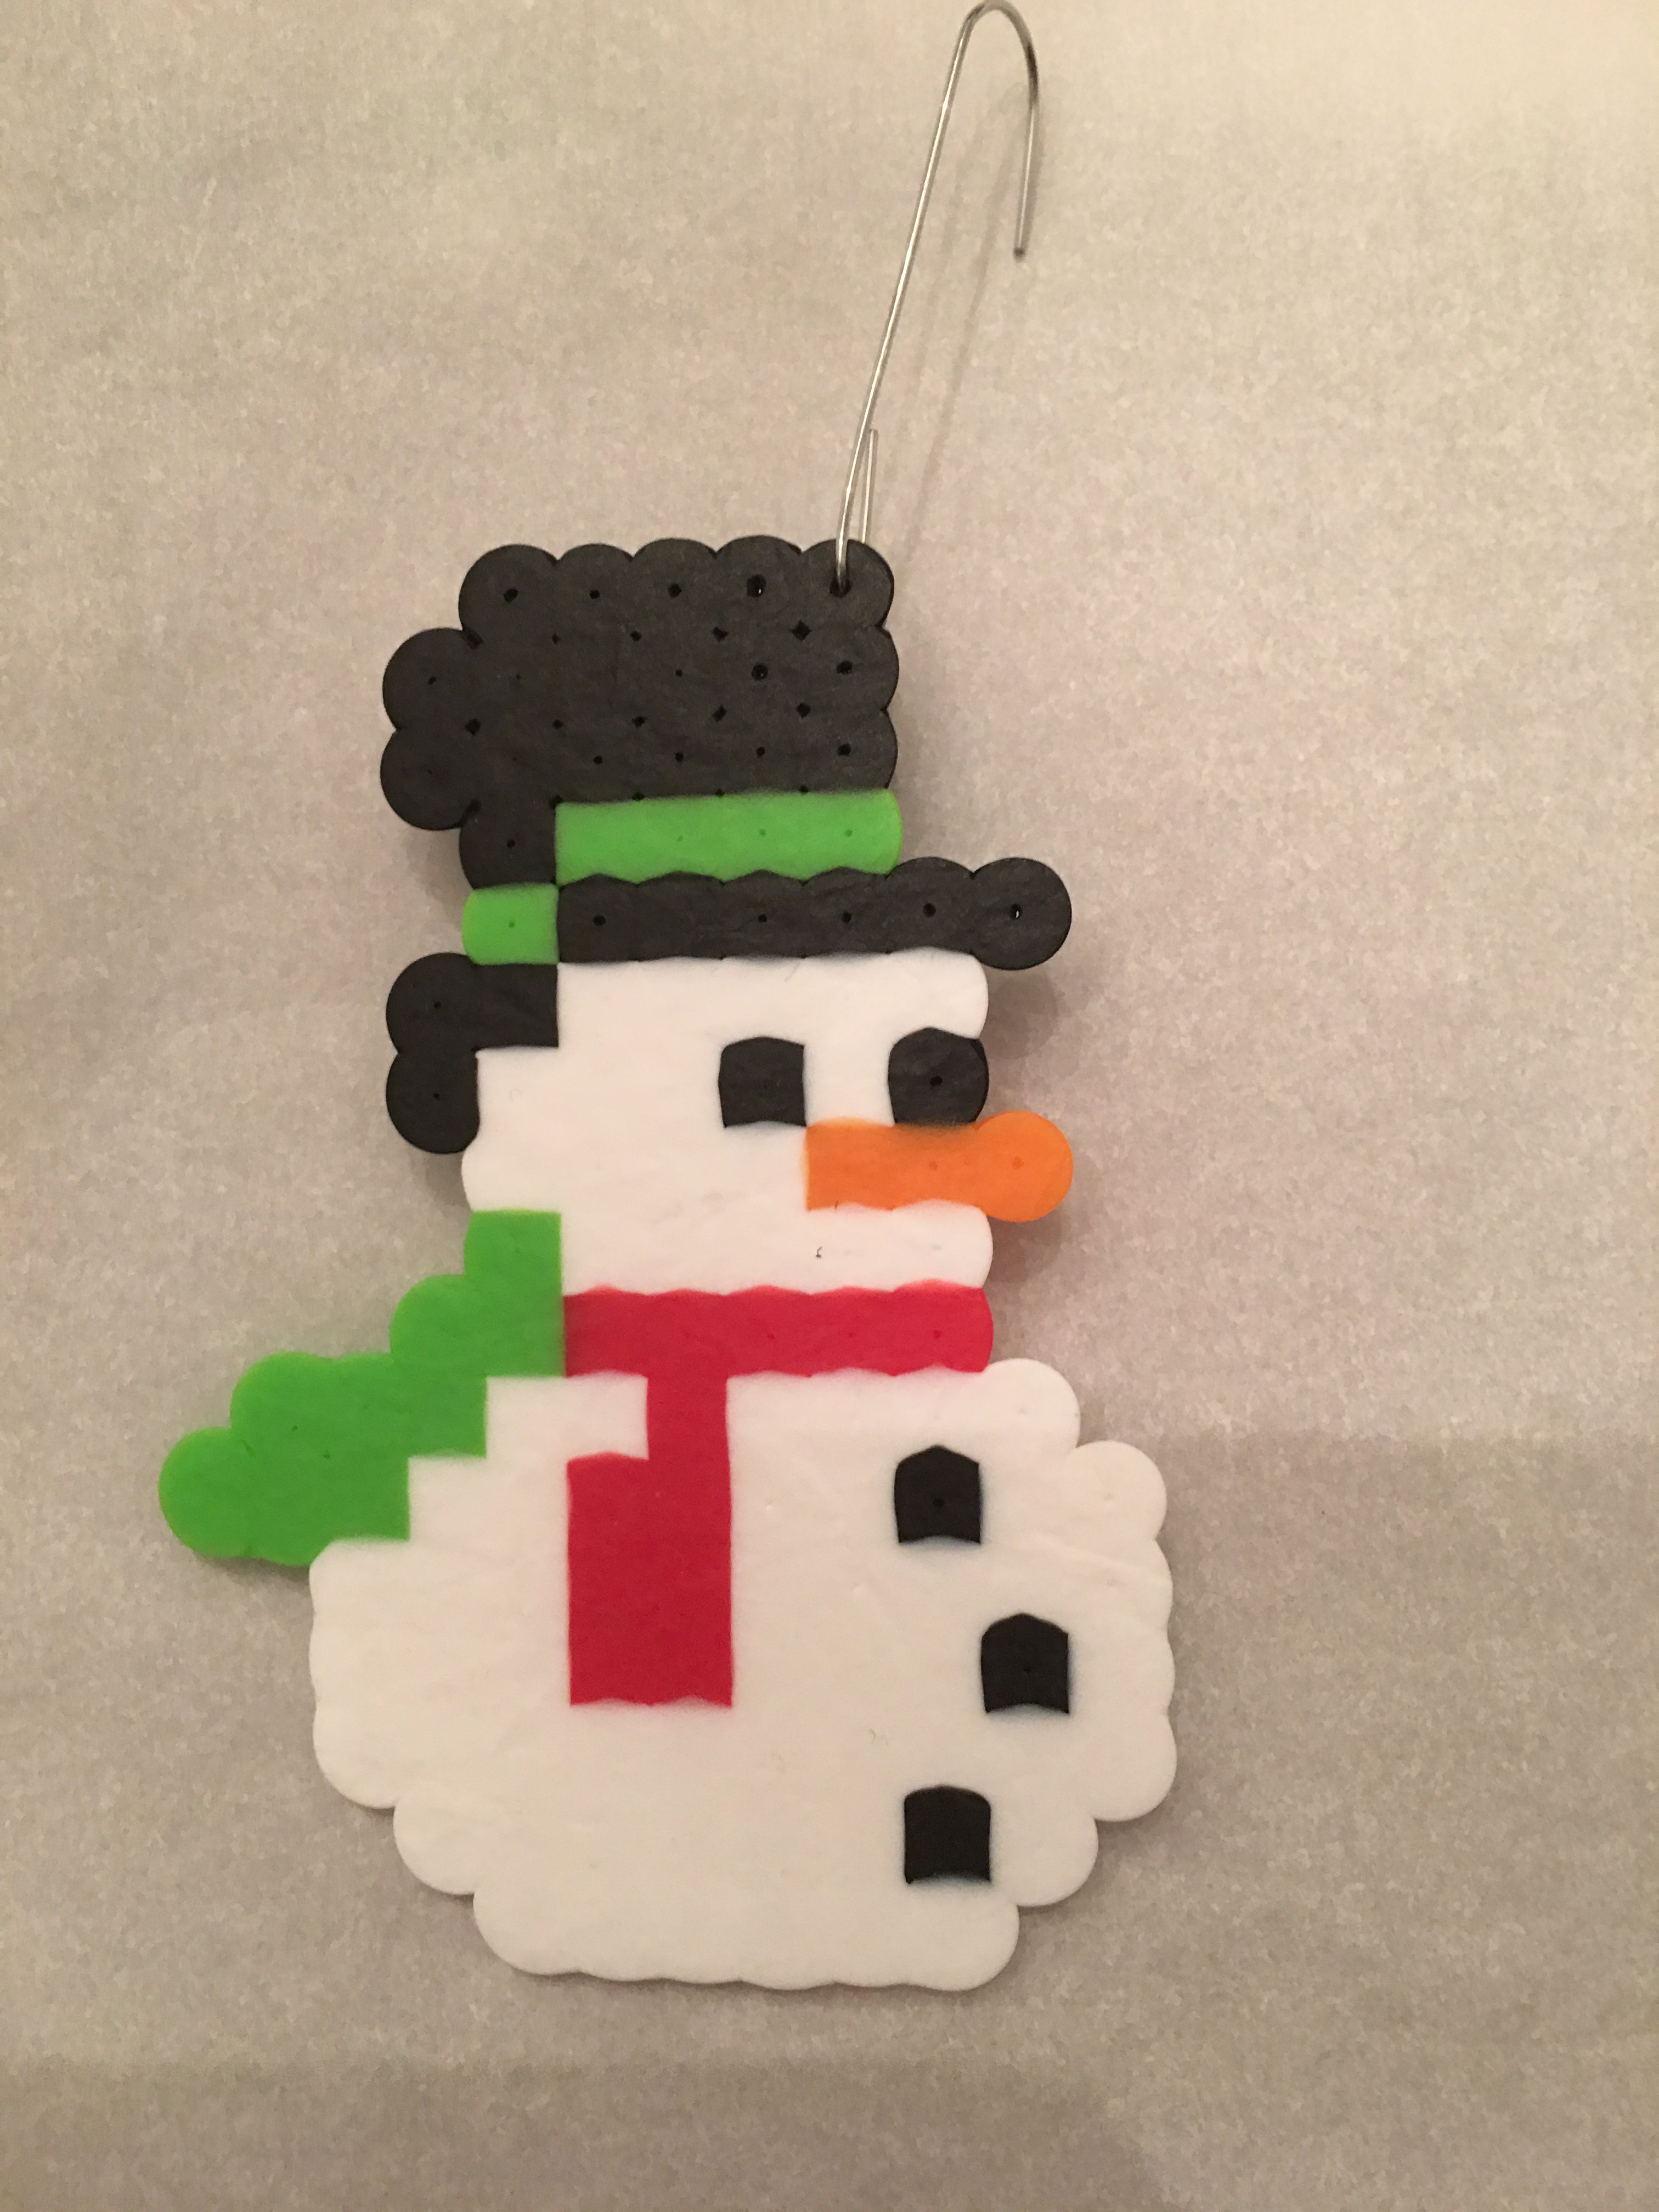
Want some easy family Perler bead patterns that can easily transform into Christmas ornaments? Look no further, this family fun craft was easy to make and looks great on the tree.
We used the pixelated images to create the designs on boards, melted the beads and attached a Christmas ornament hook at the top. However, in my newest ones, I have used a ribbon which I attach before I iron. In my Etsy Store and my store, www.galaxyofpixels.com – I have these kits ready to go. You can purchase them for $2 or $2.50 a piece and they have exactly what you need to make these ornaments.
Our family is a huge Nintendo fan and our kids have grown up playing all the Super Mario franchise games. This year, the kids had their own tree to decorate and we decided to make some Perler beads ornaments. We are looking forward to making lots of ornaments this holiday season.
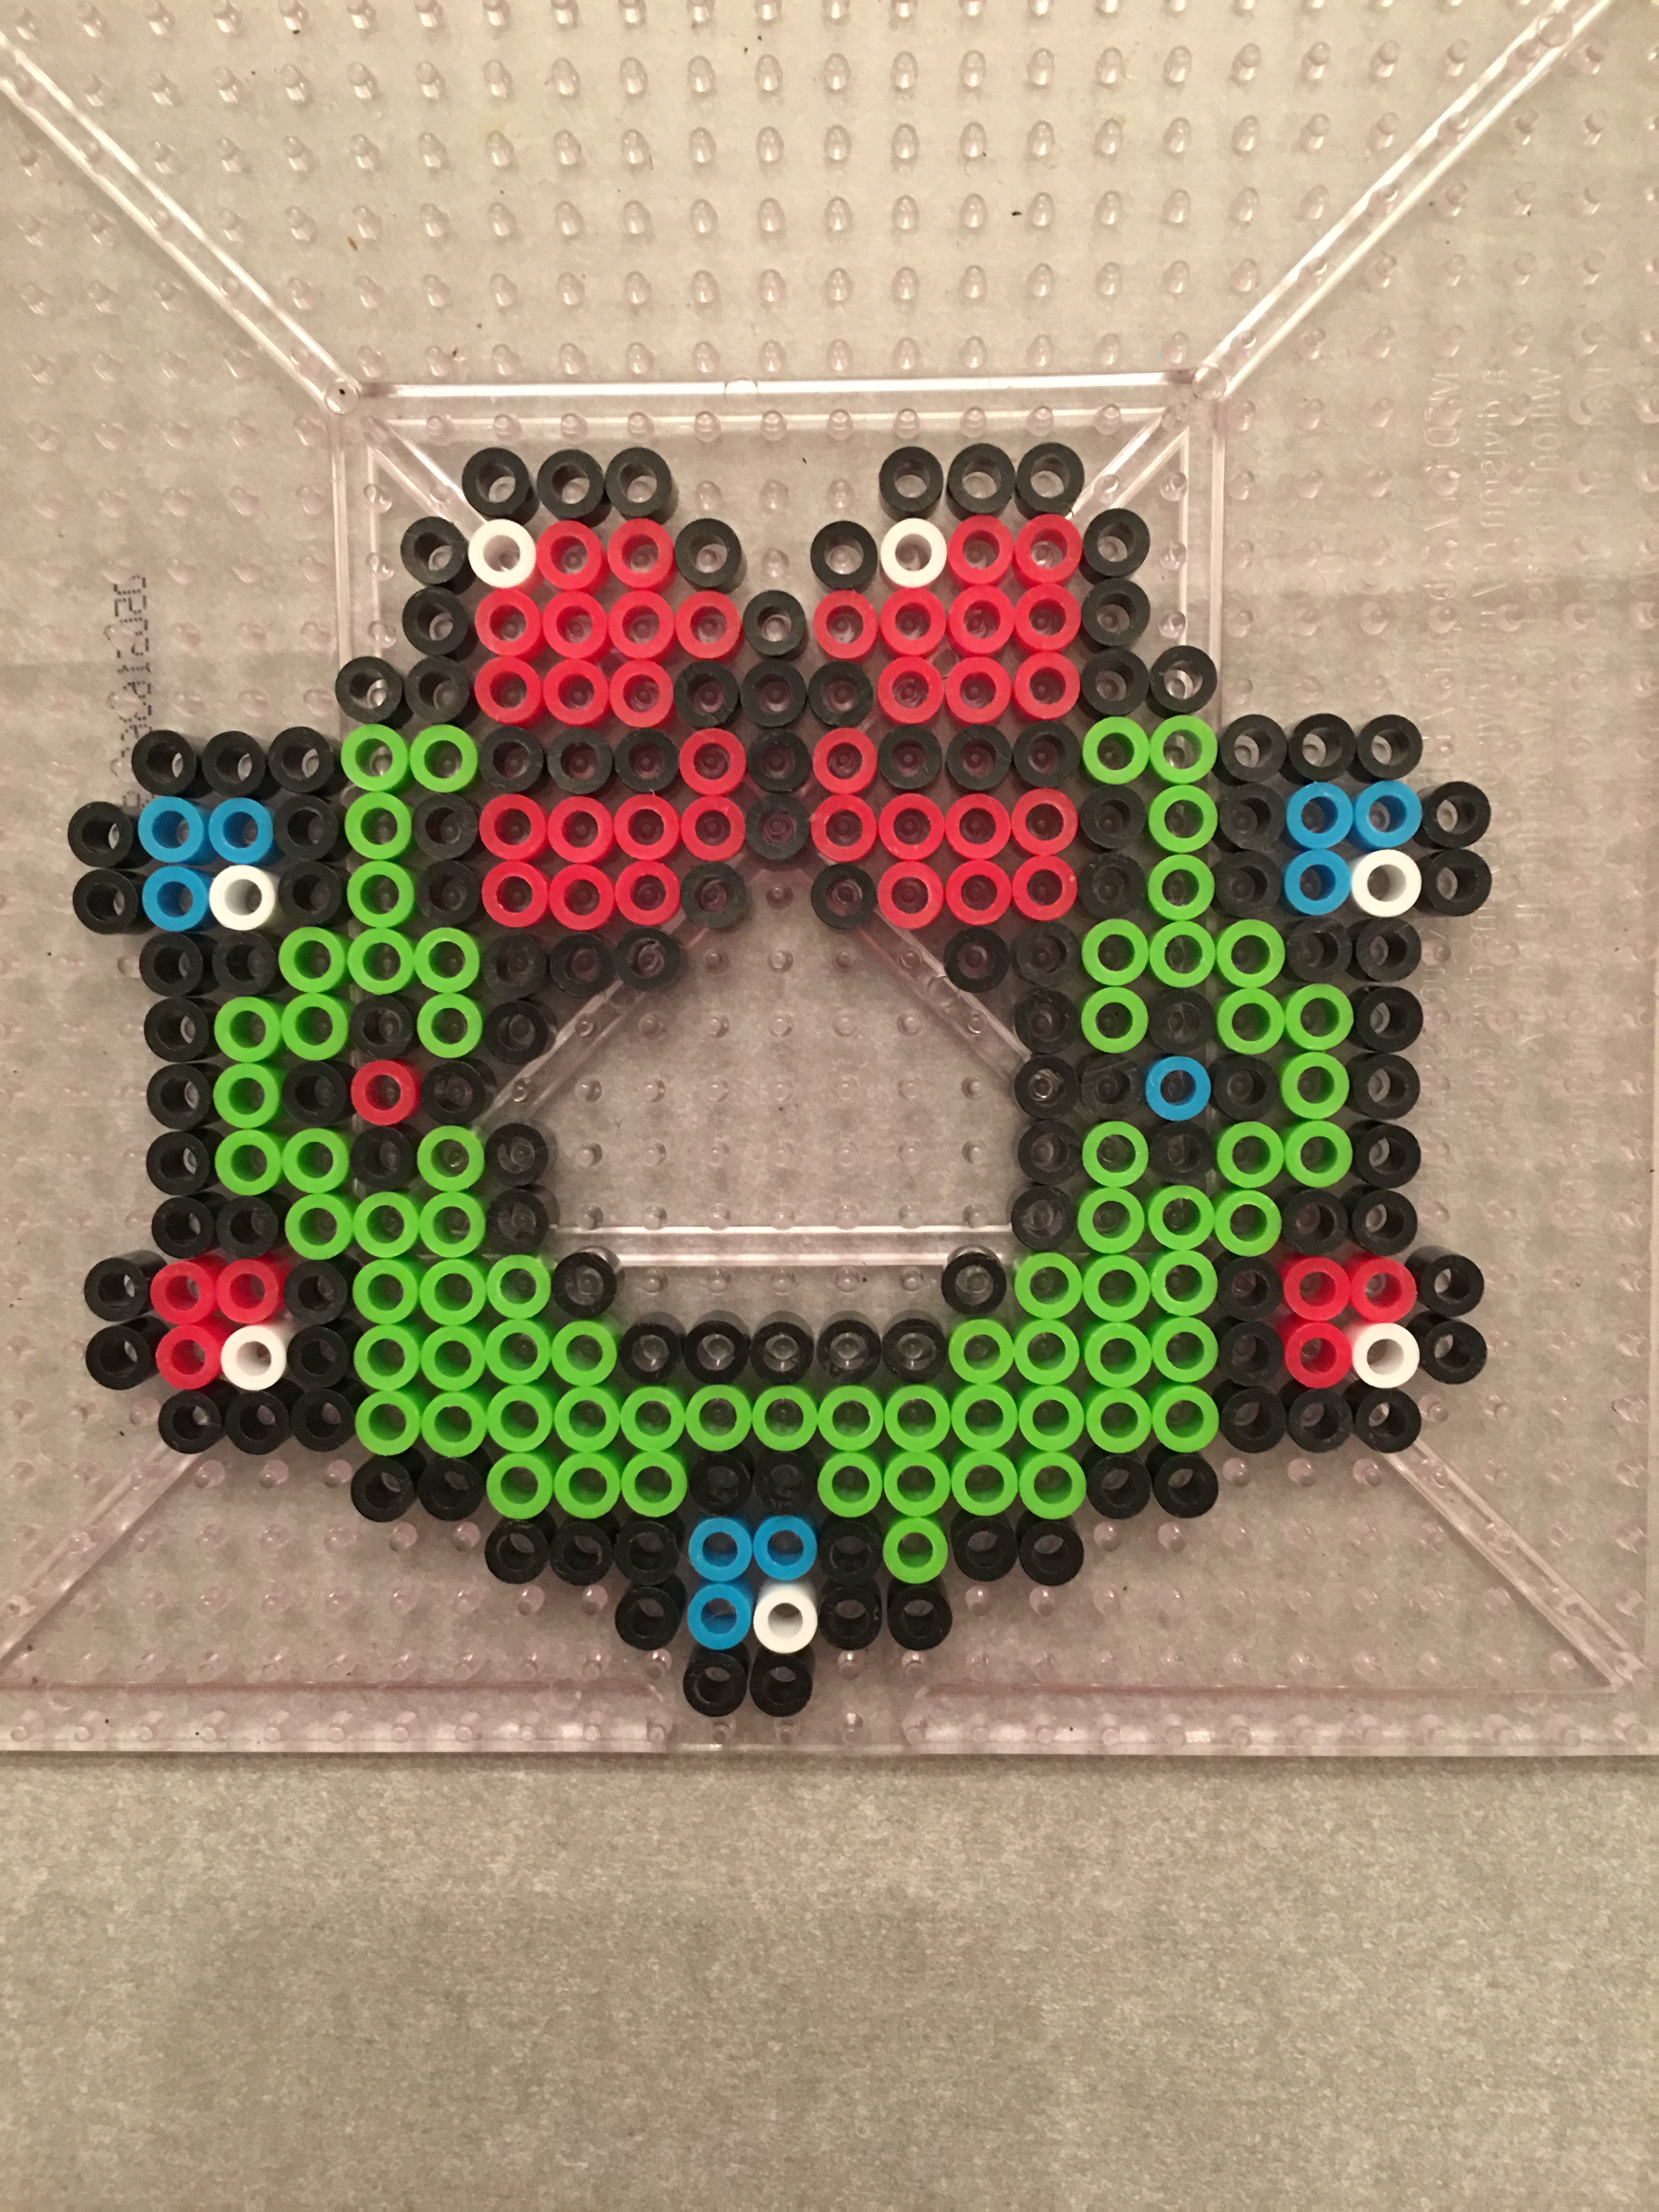
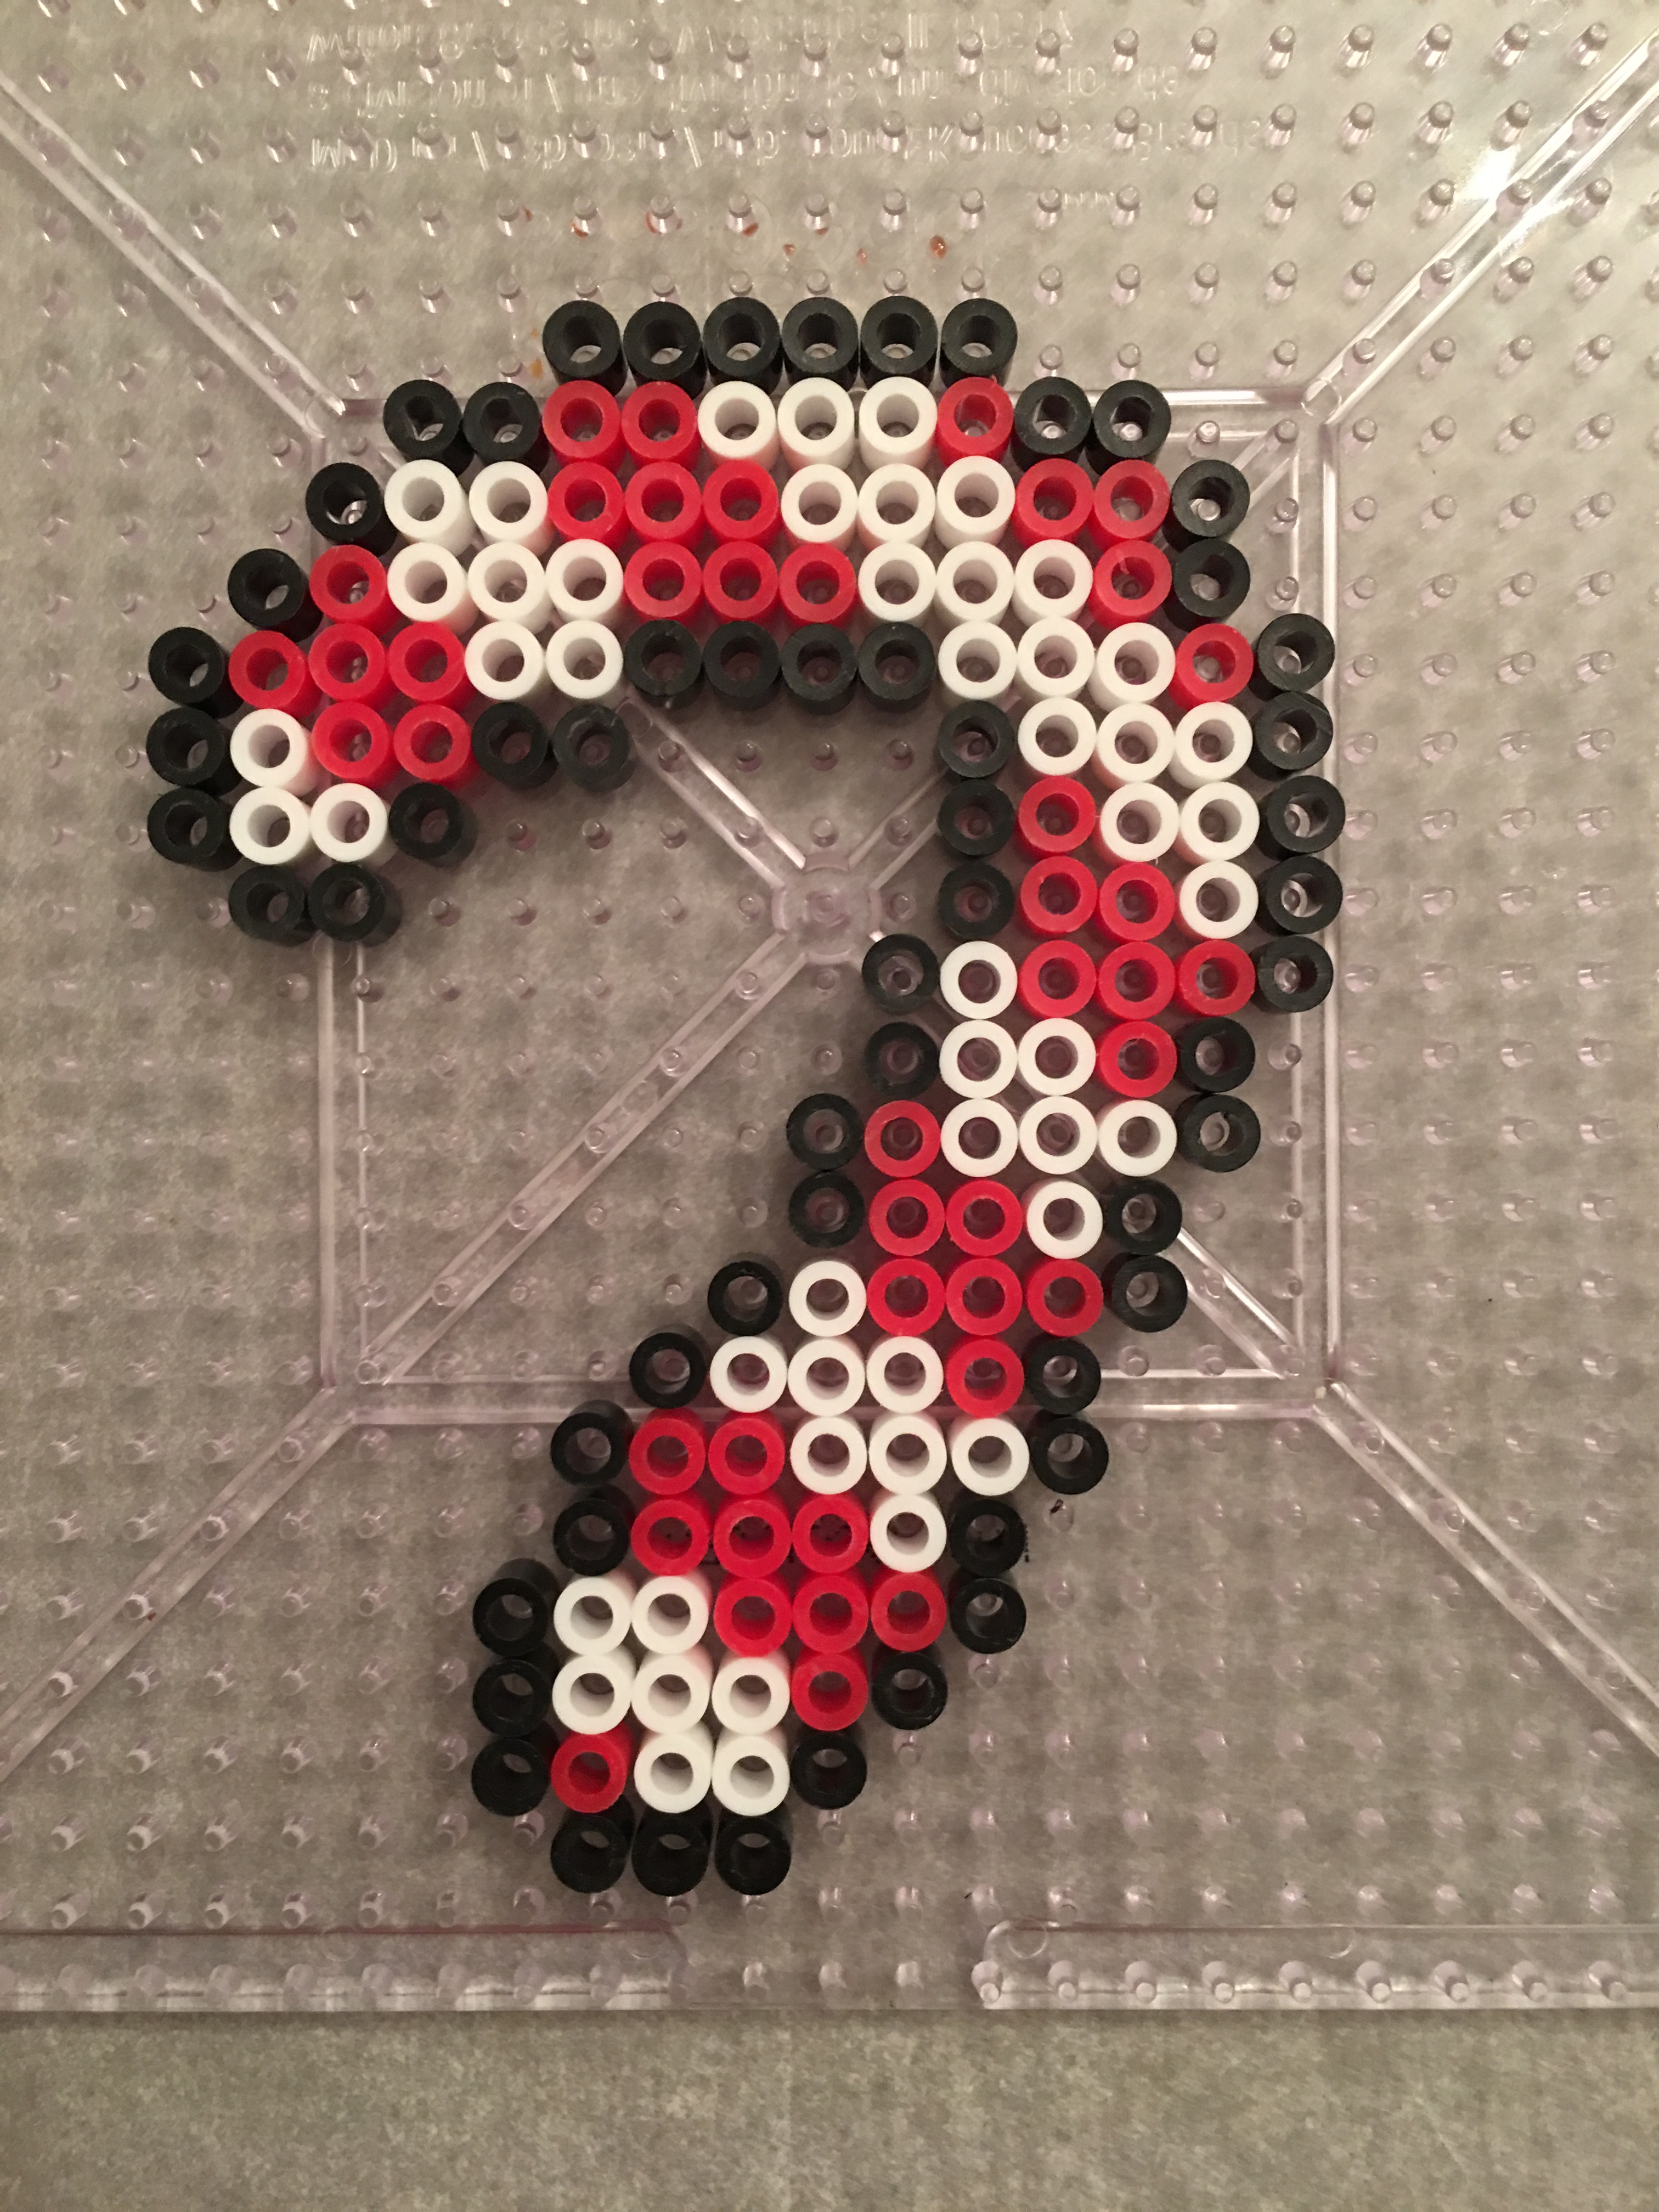
In the pictures below, I used a Christmas hook, However, in my newest ornaments, I have used a ribbon which I attach before I iron. In my EtsyStore and my Online Store, www.galaxyofpixels.com – I have several of these kits ready to go with more on the way. You can purchase them for $2 or $2.50 a piece and they have exactly what you need to make these ornaments.
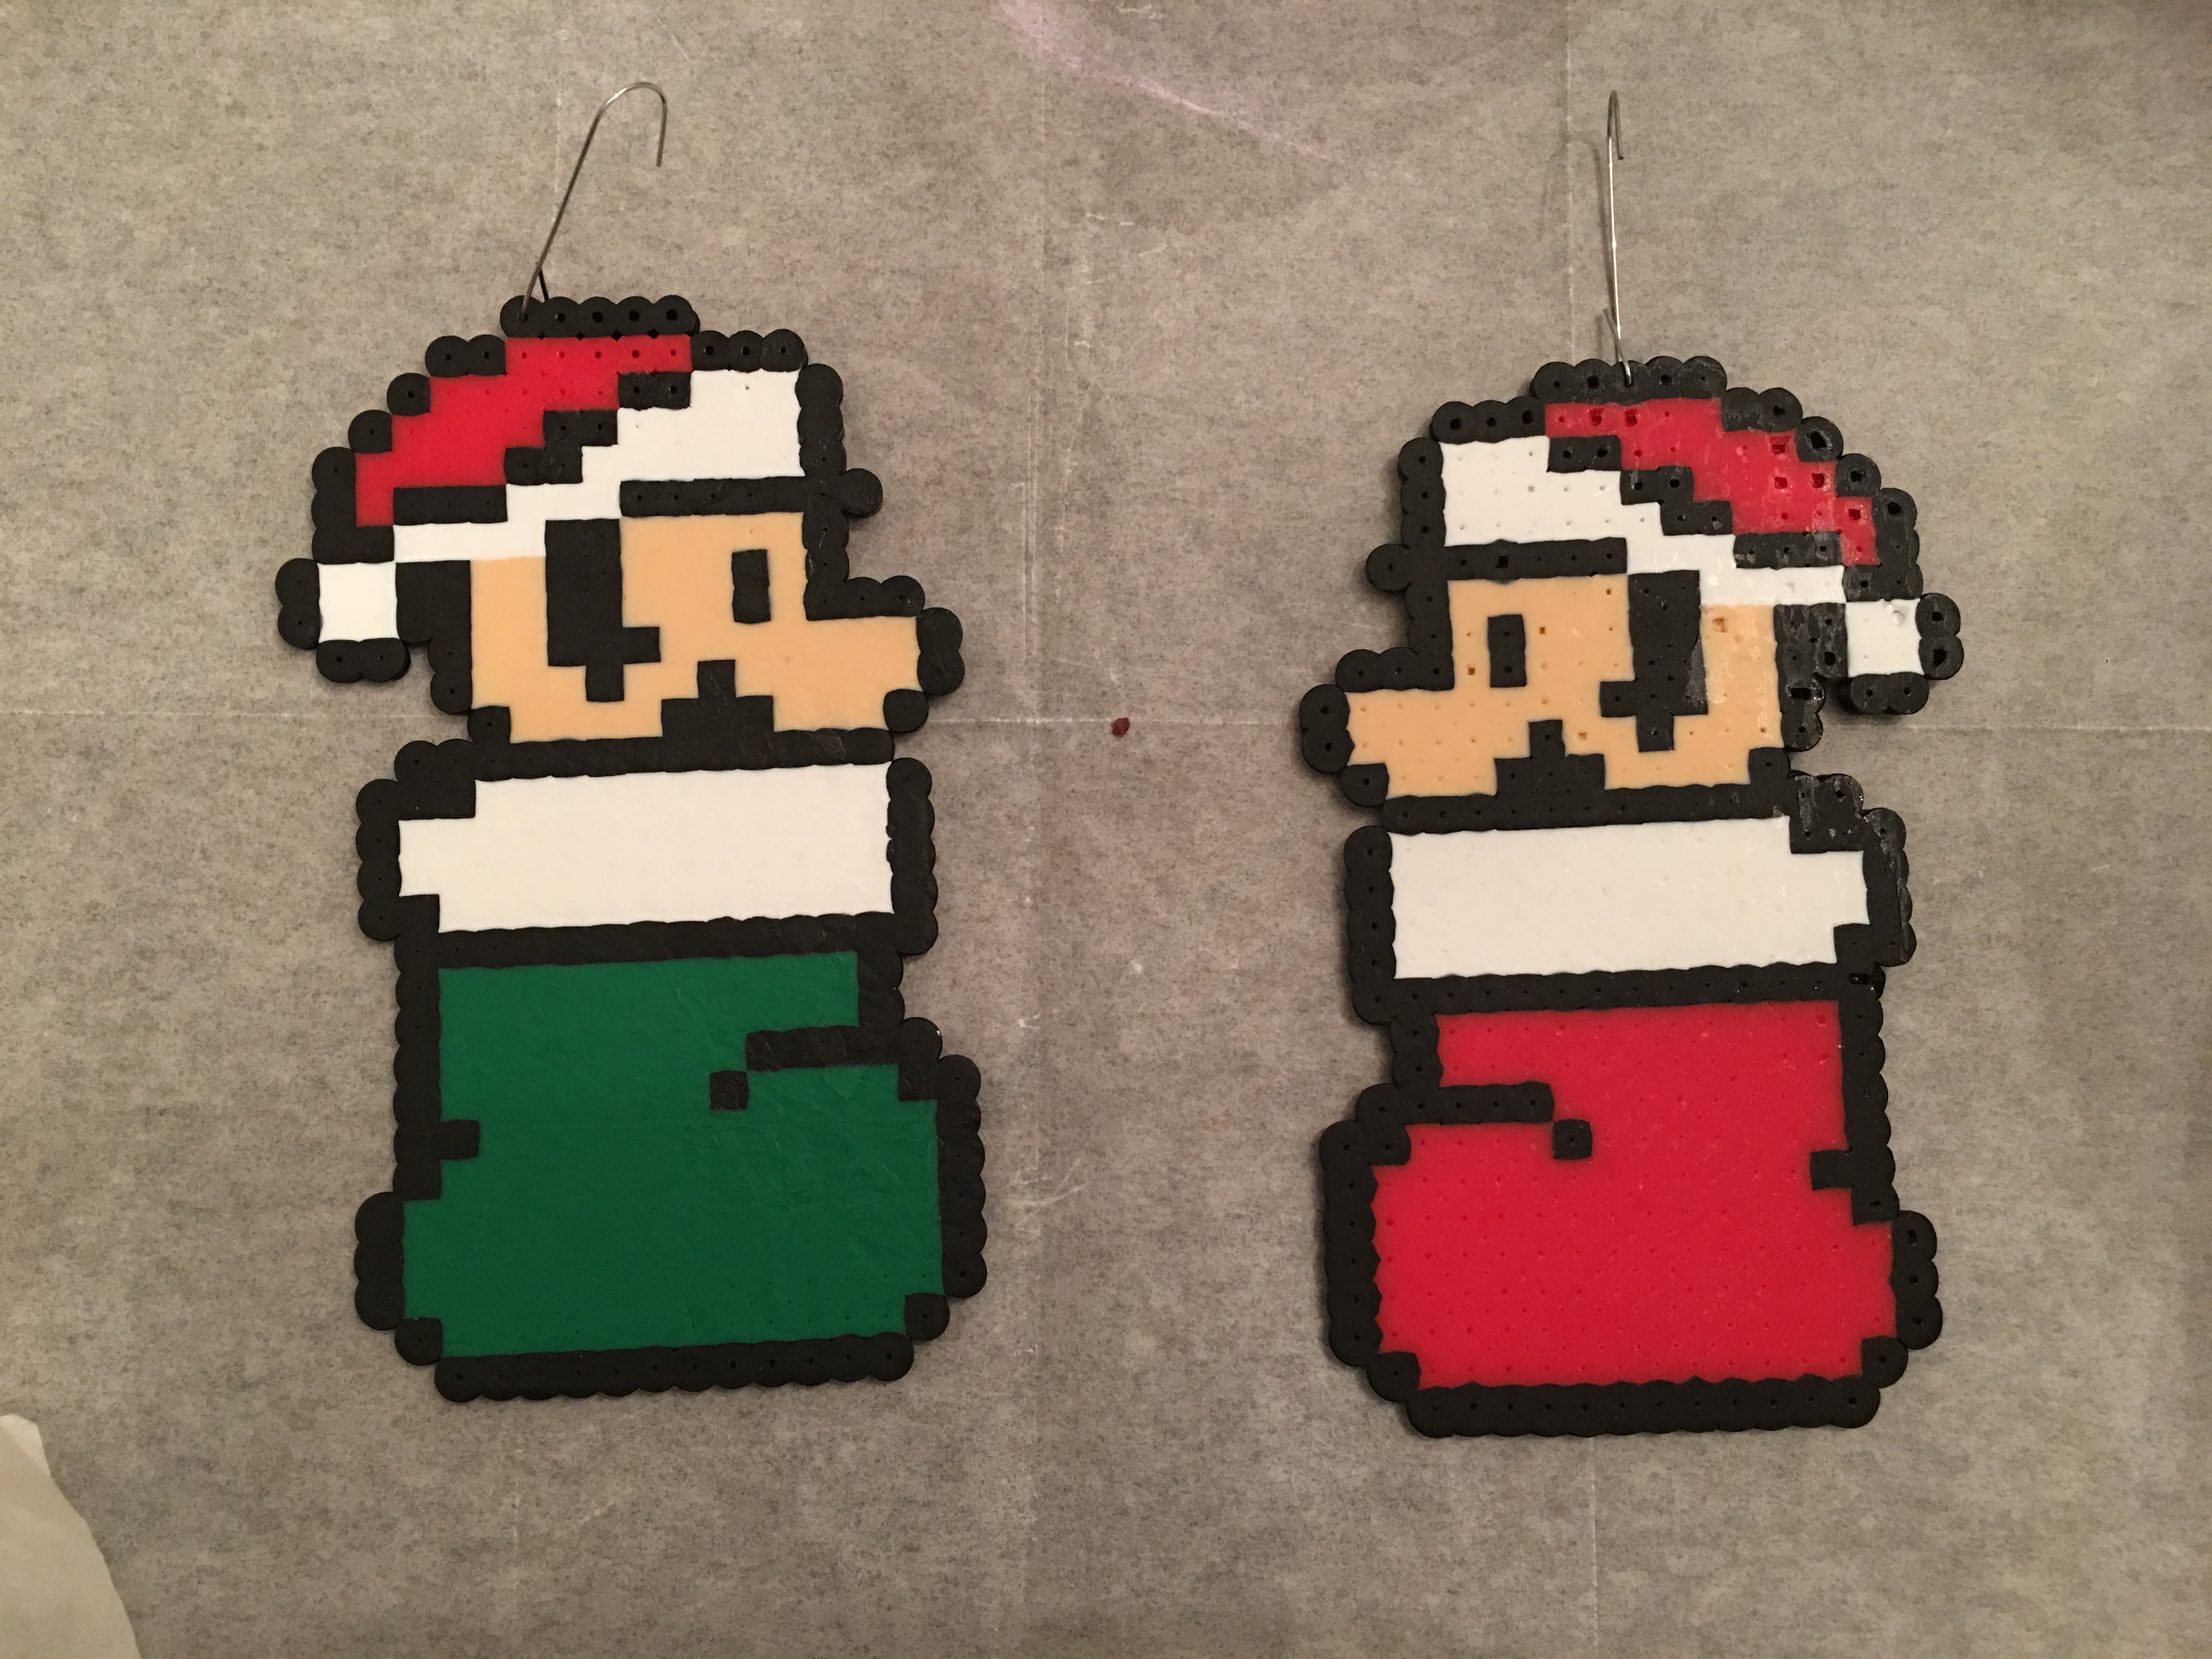
Mario and Luigi in Christmas Stockings
Mario in the stocking! After making Mario, I changed the red to green to create Luigi. When ironing, we left one of the top beads open and not too melted. This allowed us to put a Christmas hook into the hole which helped it fit easily on the tree.
Red and Green Mushrooms
Same as above- once made, we melted everything but the top bead to allow for the ornament hook.
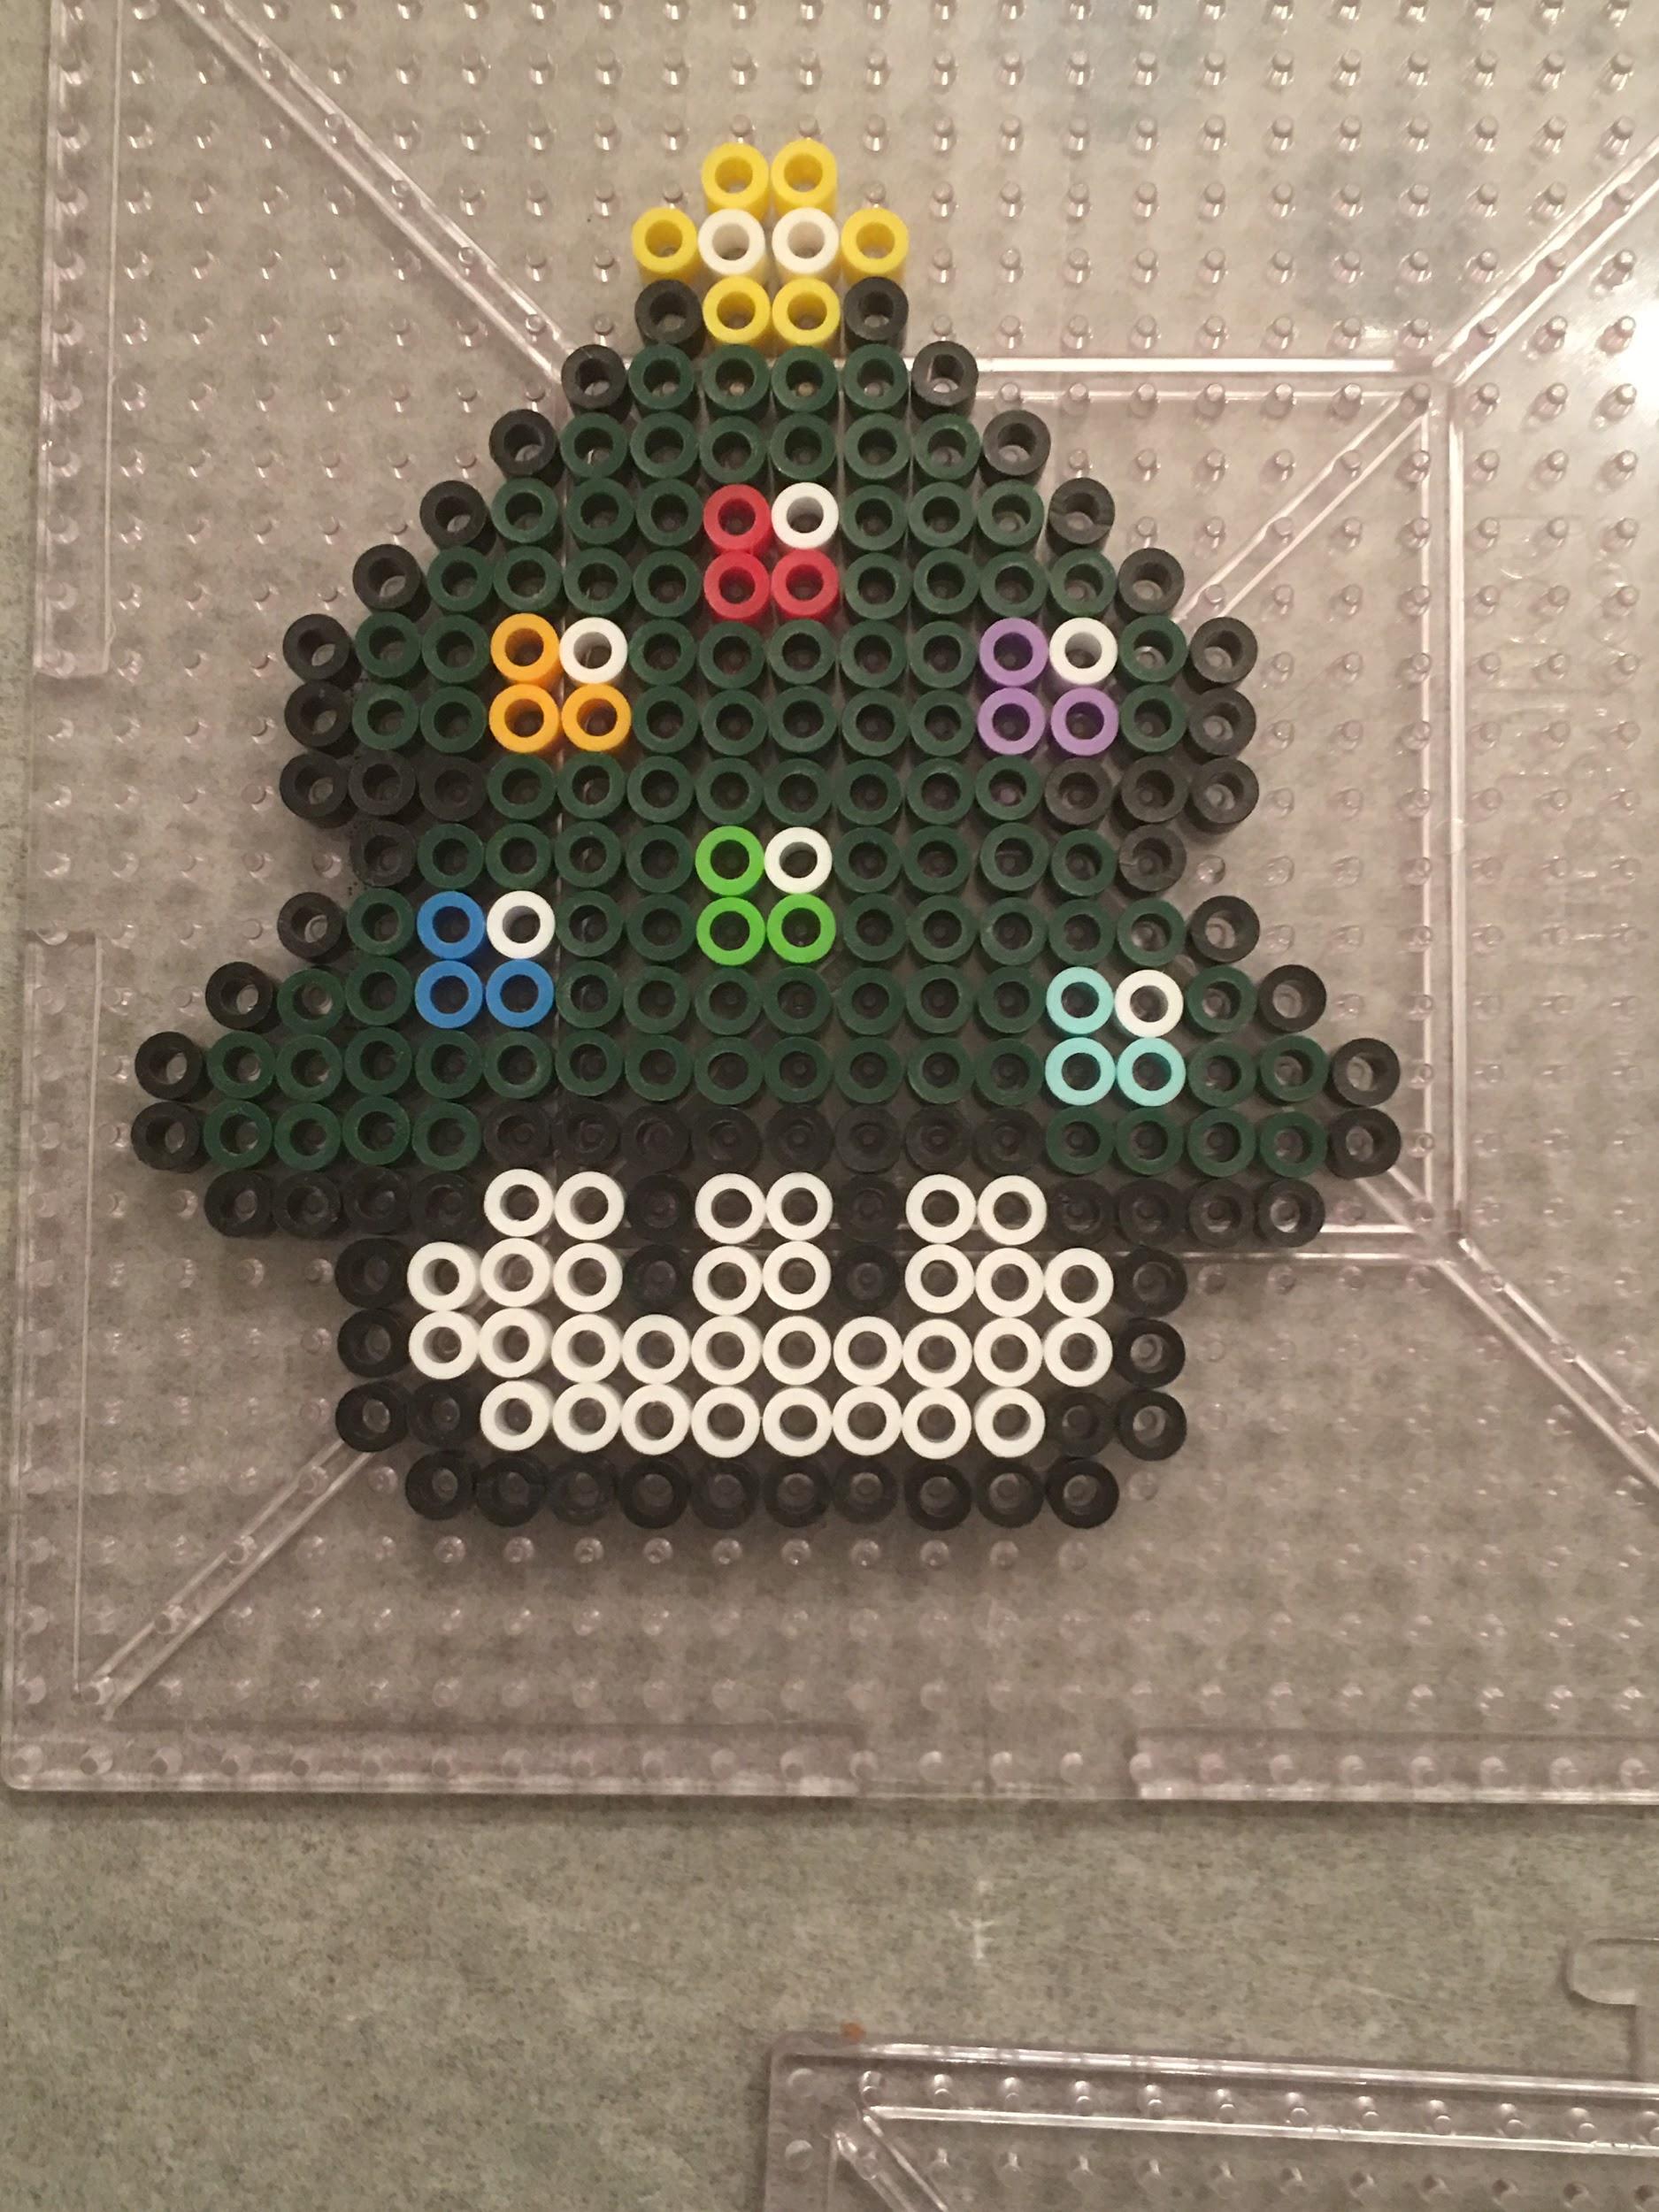
Star and Mushroom Tree
Don’t forget while melting to leave room for the hook.
Processing…
Success! You're on the list.
Whoops! There was an error and we couldn't process your subscription. Please reload the page and try again.
Yoshi Christmas Wrapped Egg!
This Christmas wrapped Yoshi Egg was super easy to make and looks great as a Christmas ornament.
Mario Santa
This Mario Santa turned out super cute! Made with sand, black, white and red Perler beads. Will also work for Hama or just plain melty beads.
If you would like to see some other Super Mario patterns, visit menu at the top of click the links below.
This super cute little guy was based off a pixelated image created by Kandi Patterns and was made by a nine year old.
She used the pixel image to count and drop the yellow, white, black and red Perler beads into place to form Pikachu.
We used the masking tape method (see Perler for more info) to tape off sections when the project was ready for ironing. Using a large piece of cardboard and ironing paper, we were able to get him melted. (Unfortunately, she was ironing it on a table that was old and had some indentions in it) However, overall he still came out pretty great!
Drop me a comment or picture if you try this cute pattern out! Would love to know see your project!
If you would like to check out some additional Perler Bead Patterns or Projects, click on the Menu at the top of the page or click some of the links below.
Ever wanted a Perler Bead or Hama Bead pattern that you could spend time happily crafting so that you can melt it and put it in a framed picture for the wall? This classic piece is from the Super Nintendo Legend of Zelda – A Link to the Past.
Made with over 3,800 Perler Beads and 6 grids! Original design xpeachart or cocomademosielle depending on which pin you look at.
This one did take a few hours to create. If you recreate this pattern, I would suggest getting a large piece of cardboard or cardboard box to lay underneath the grids.
We used a medium shipping box from Walmart, cut in half like the first picture below. (One box should make two large pieces with two of the sides of the box in each piece.) Then we laid the grids on top of one side. Once the scene was complete and before ironing, we used the masking tape method to tape the entire picture. (If you would like to learn more about this method, Perler has a great tutorial on their site.) Once the masking tape was secure, we were able to fold the top side of the box down and enclosed the grid inside (basically a grid sandwich with the cardboard on both sides). This made flipping the grids so much easier!
I wanted the scene to have the pixel look so after ironing, ours turned out like this..
Leave me a comment or picture if you try this one and let me know how yours turns out!
If you would like to check out additional Perler Bead Patterns, click on the Menu at the top of the page or click some of the links below.
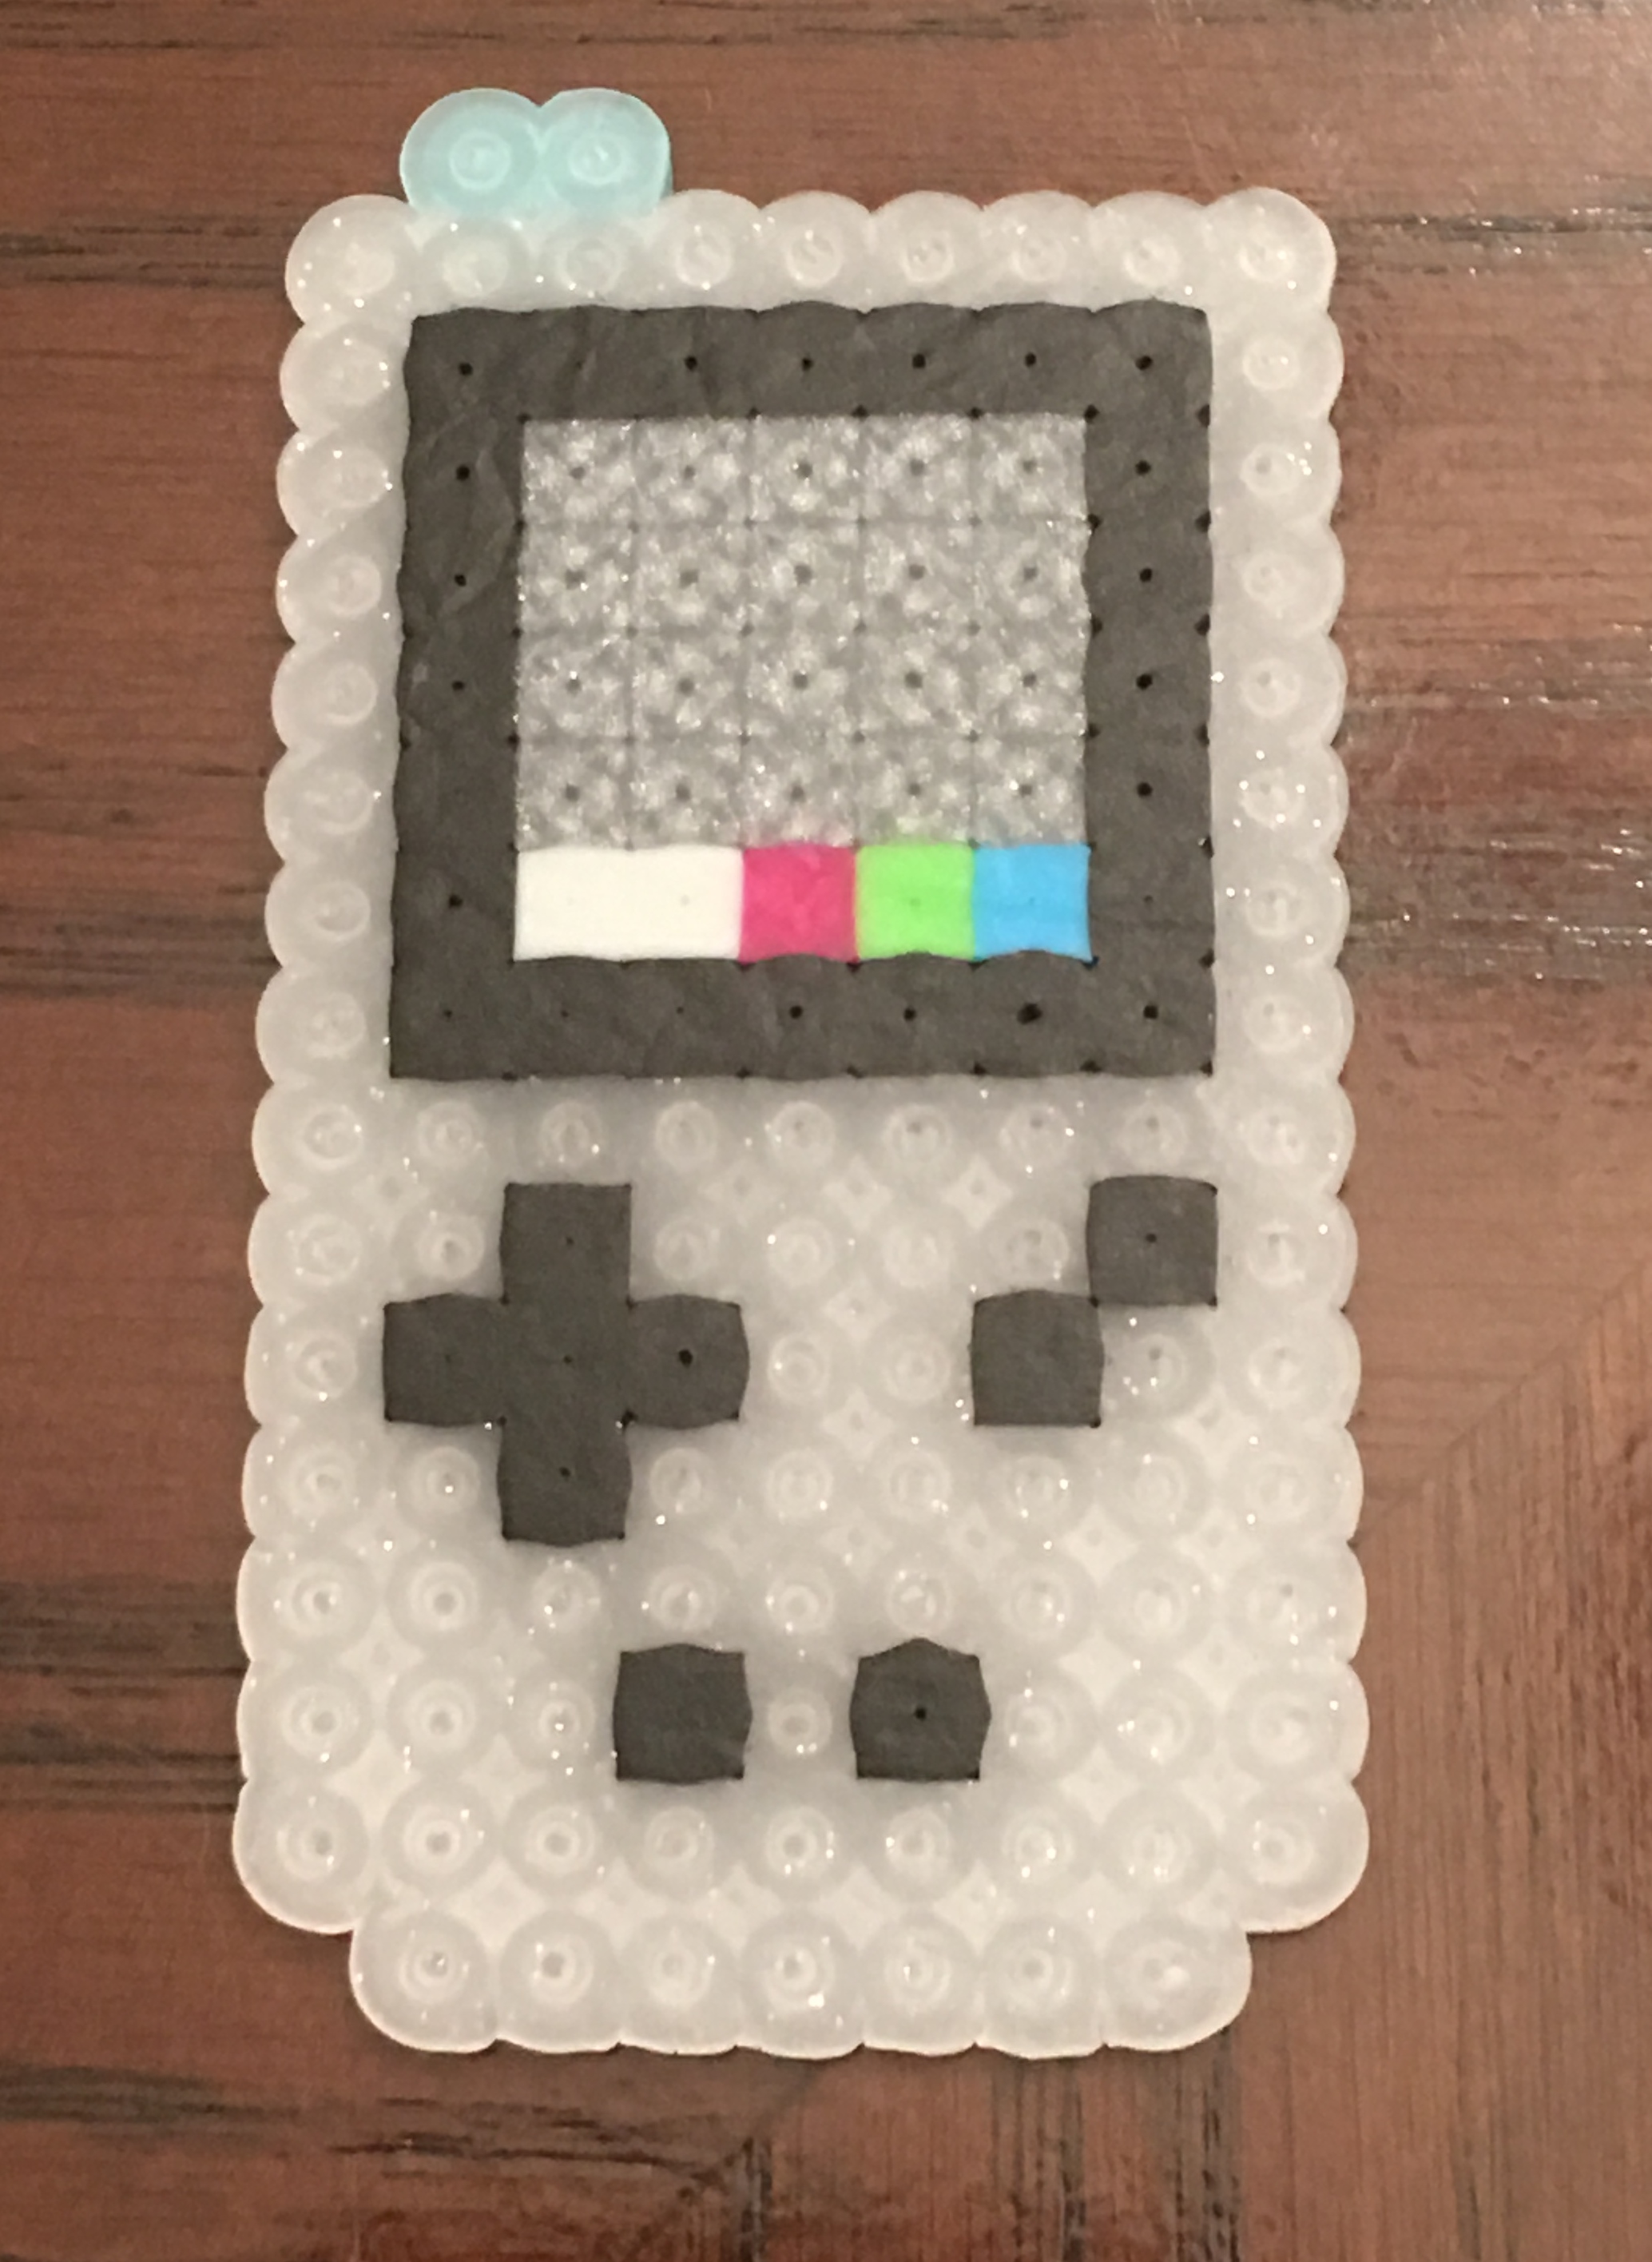
Luigi’s Mansion- the Game Boy Horror which Luigi receives in the game from the Professor. Made with light gray, black glitter blue, white , pink, clear white, light green and light blue Perler Beads. You could also use Hama or Melty beads as well. Amazon has a great selection of individual bags of Perler Beads as well as starter kits.
My son’s friend came up with the pattern. The pattern below is before we melted it.
If you would like to check out additional Perler Bead Patterns, click on the Menu at the top of the page or click some of the links below.
My son’s friend created this awesome Perler bead design to represent the Nintendo Game Cube. He used purple, black, white, orange, and gray beads on a hexagon grid. Once melted, the finished project looked like this… I liked it from both the front and the back sides of the cube.
If you like this or want to see something different, please check out some of our patterns and designs…
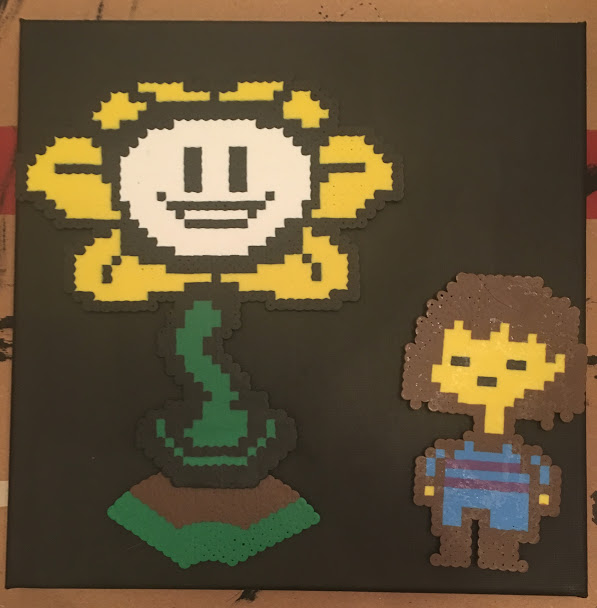
This canvas is going in our Undertale Party decoration box and will be hung on the wall in our next Undertale party! We used Perler beads (aka Hama or Melty beads) to design the mound, Flowey and Fisk. Next we painted a 12 x 12 canvas black and hot glued the designs onto the canvas. The result is above! To make the decorations, our patterns are below.
Flowey
Original pixel art- Kandi Patterns. Made with green, black, white and yellow Perler beads. You can also use Hama Beads or Melty Beads. It took 6 grids to make.
Fisk
Original pixel art by Kandi Patterns. Used dark brown, blue, black, peach, and purple Perler beads.
Napstablook
This little guy will be placed on the food table. Going to tape a couple of bamboo skewers onto his back and place in a painted foam block. This will make a cute decoration!
For more Undertale Party ideas, please click on menu at the top, birthday parties, Undertale. Or Just click below…
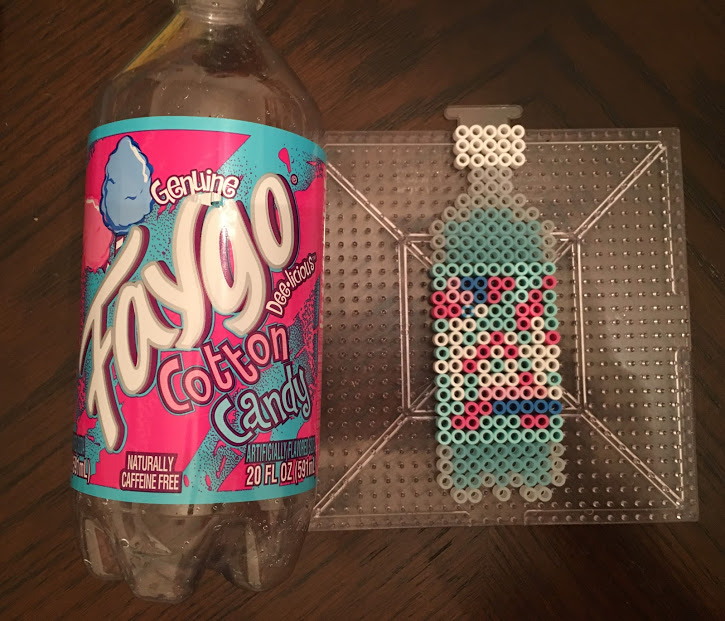
One day, my son, his friend and I were all sitting at the table creating Perler Bead projects. My son’s friend had this drink with him and said it was one of his favorites. The result- a Perler Bead Faygo Cotton Candy project of course! Below is his design. Unfortunately, I forgot to get a melted picture of it, but it turned out pretty great!
Beads used: white, glitter white, glitter blue, pink, cranberry, blue, and light blue. You can get all of these colors at your local craft store or at Amazon. You can buy them by individual colors or a mixed bag.
If you would like to check out more Perler Bead Patterns, click on the Menu at the top of the page or click some of the links below.
This cute Perler bead pattern was one of my daughter’s favorites, (she even hung this one up in her room. We used the Command Velcro pieces to attach it without damaging the wall.) Original pixel art done by Kandi Patterns and features a baby Rainbow Dash sprite from My Little Pony.
This piece uses light blue, red, orange, yellow, purple, green, white, black and dark purple beads. If you need additional beads, Amazon has some great selections. The tray here is a great variety of beads already presorted.
If you would like to check out more Perler Bead Patterns, click on the Menu at the top of the page or click some of the links below.