
Just thought I would share. No words or picture could do it justice. It was simply a beautiful, full double rainbow after the storm.


Just thought I would share. No words or picture could do it justice. It was simply a beautiful, full double rainbow after the storm.

Minecraft Perler Beads Time!! These are some of the patterns that the kids and I have built that have a Minecraft theme. This post will be updated as we continue to find and build more patterns. with the same theme.
Original Design by Tristanya.
Top picture is the design with the beads unmelted and the second one is the completed melted project. We used the masking tape method to pull the project off the grids before ironing. My son is super excited to hang this in his room. If you need more Perler Beads or grids, Amazon, Hobby Lobby or Joanns Fabrics has some great materials.


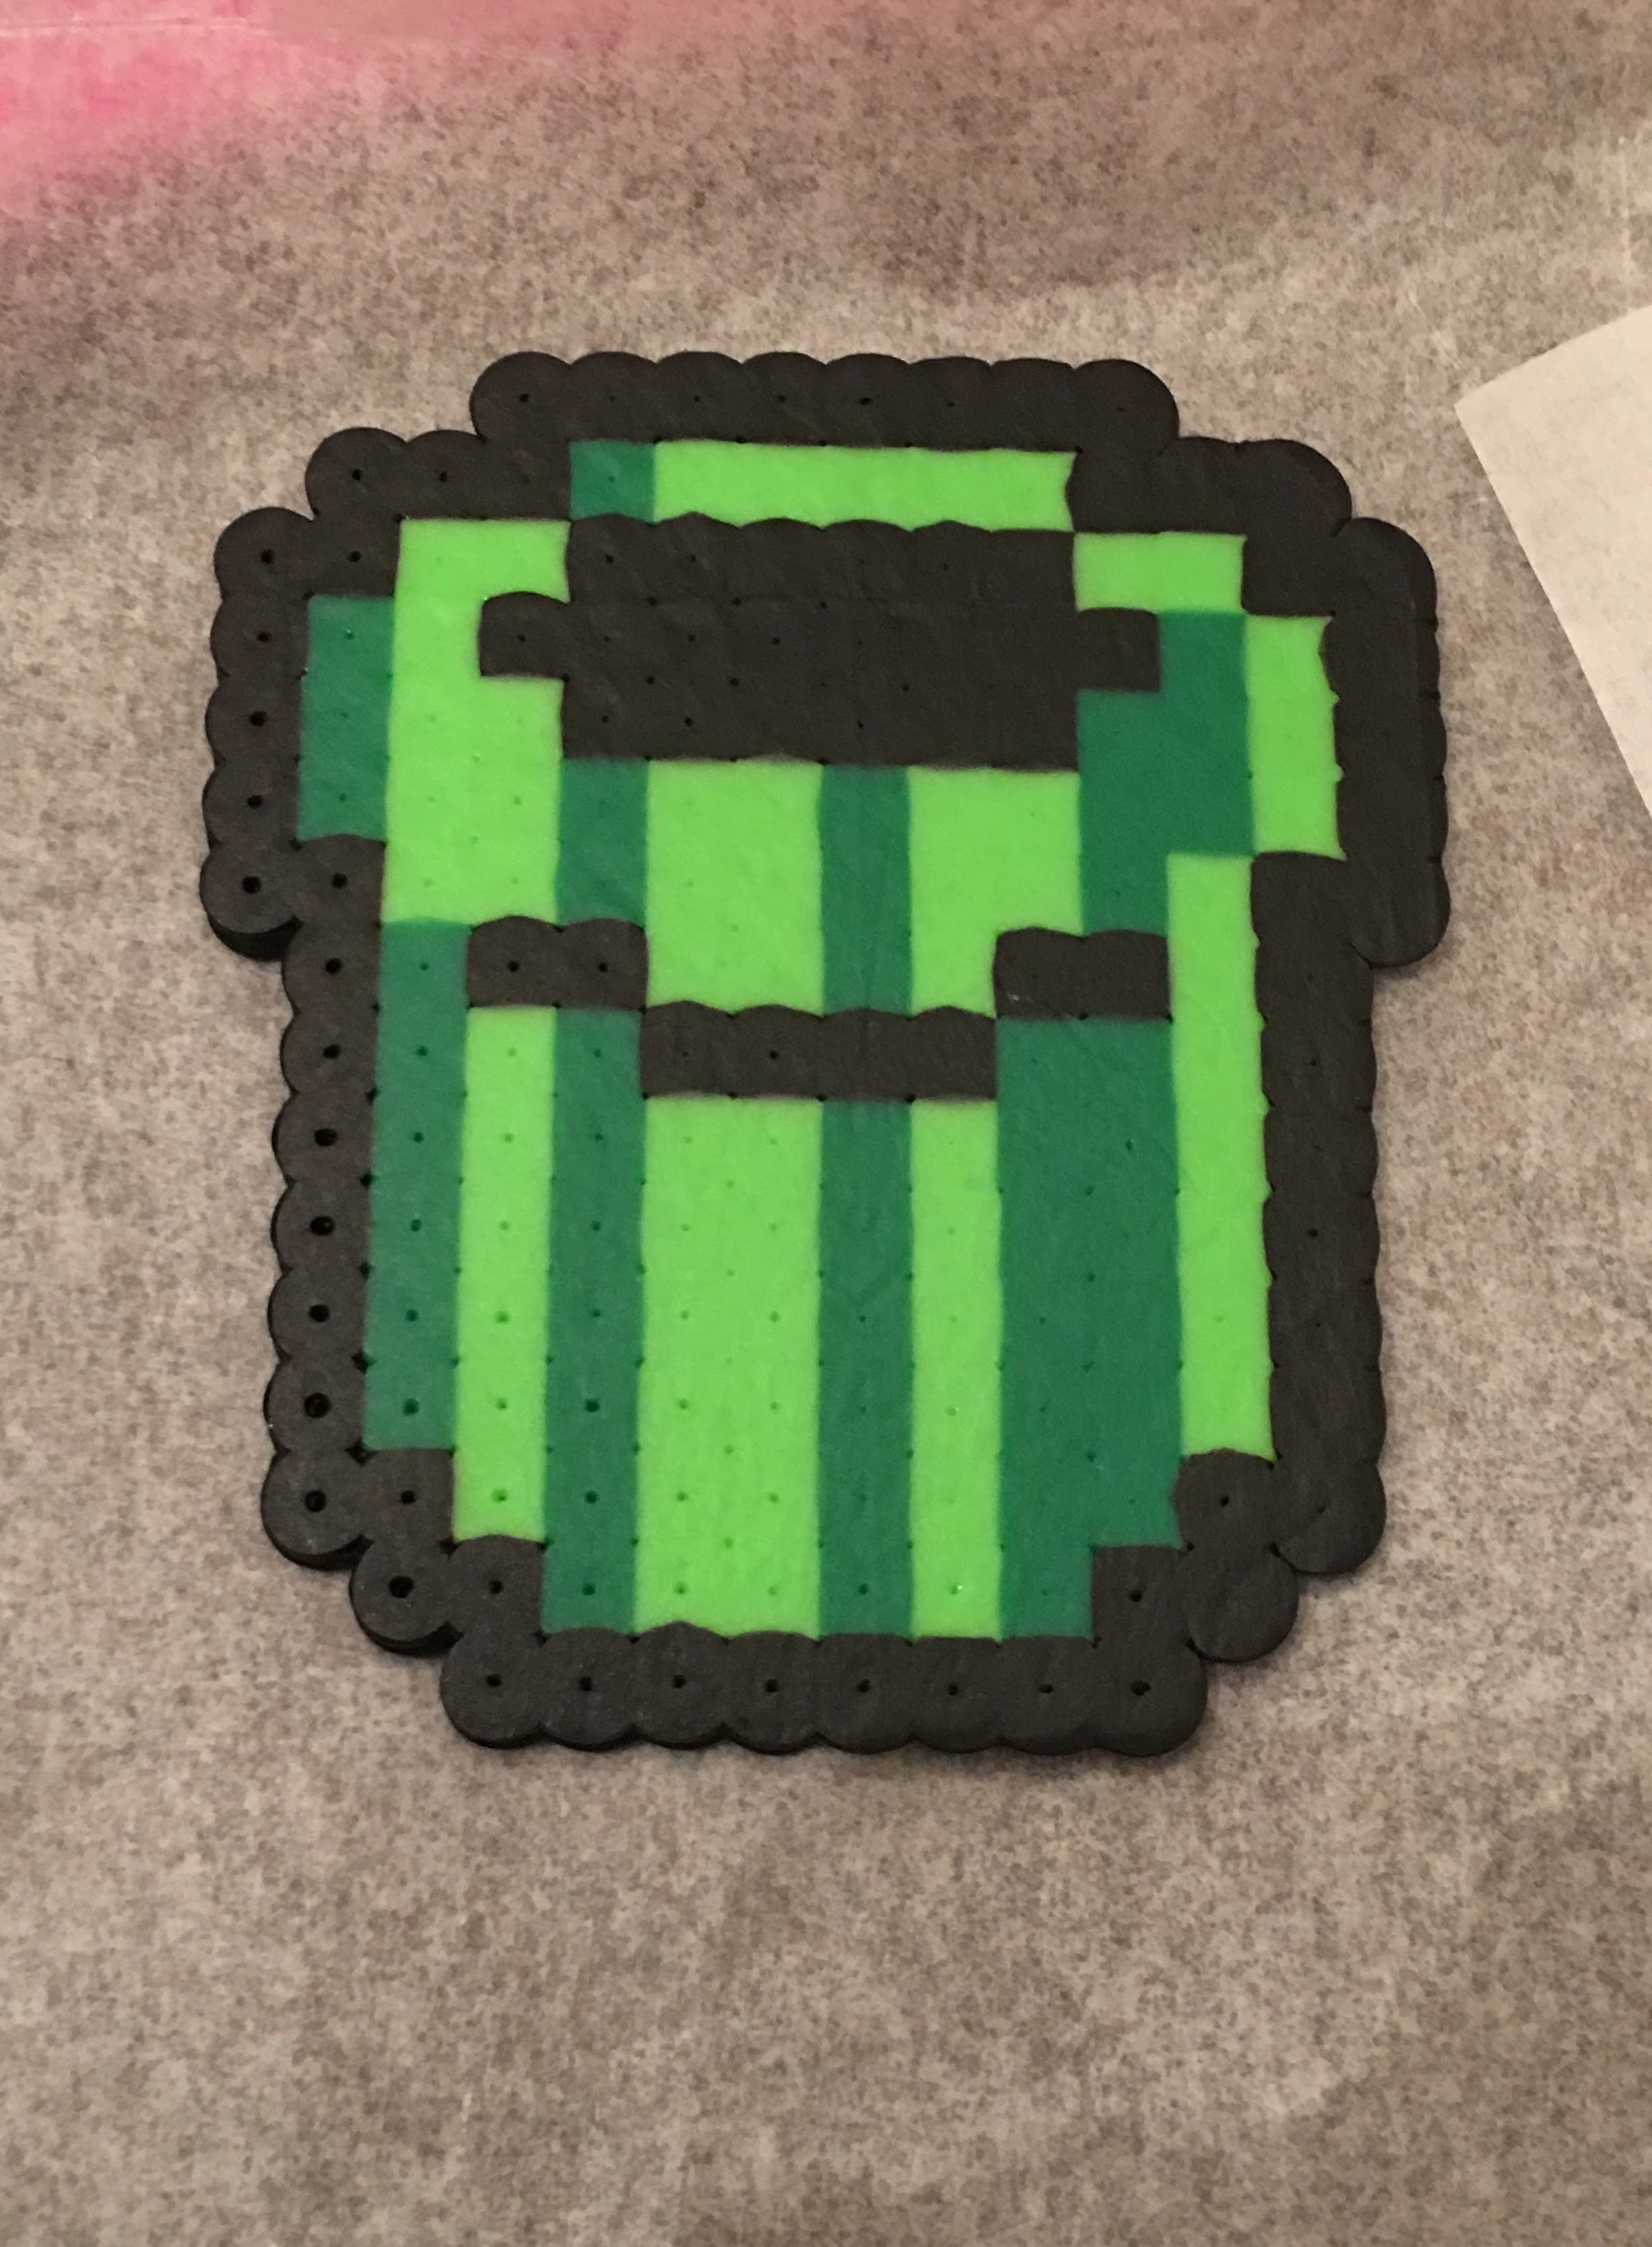
Original Design- Kandi Patterns. Made with green, black, light green and white beads.


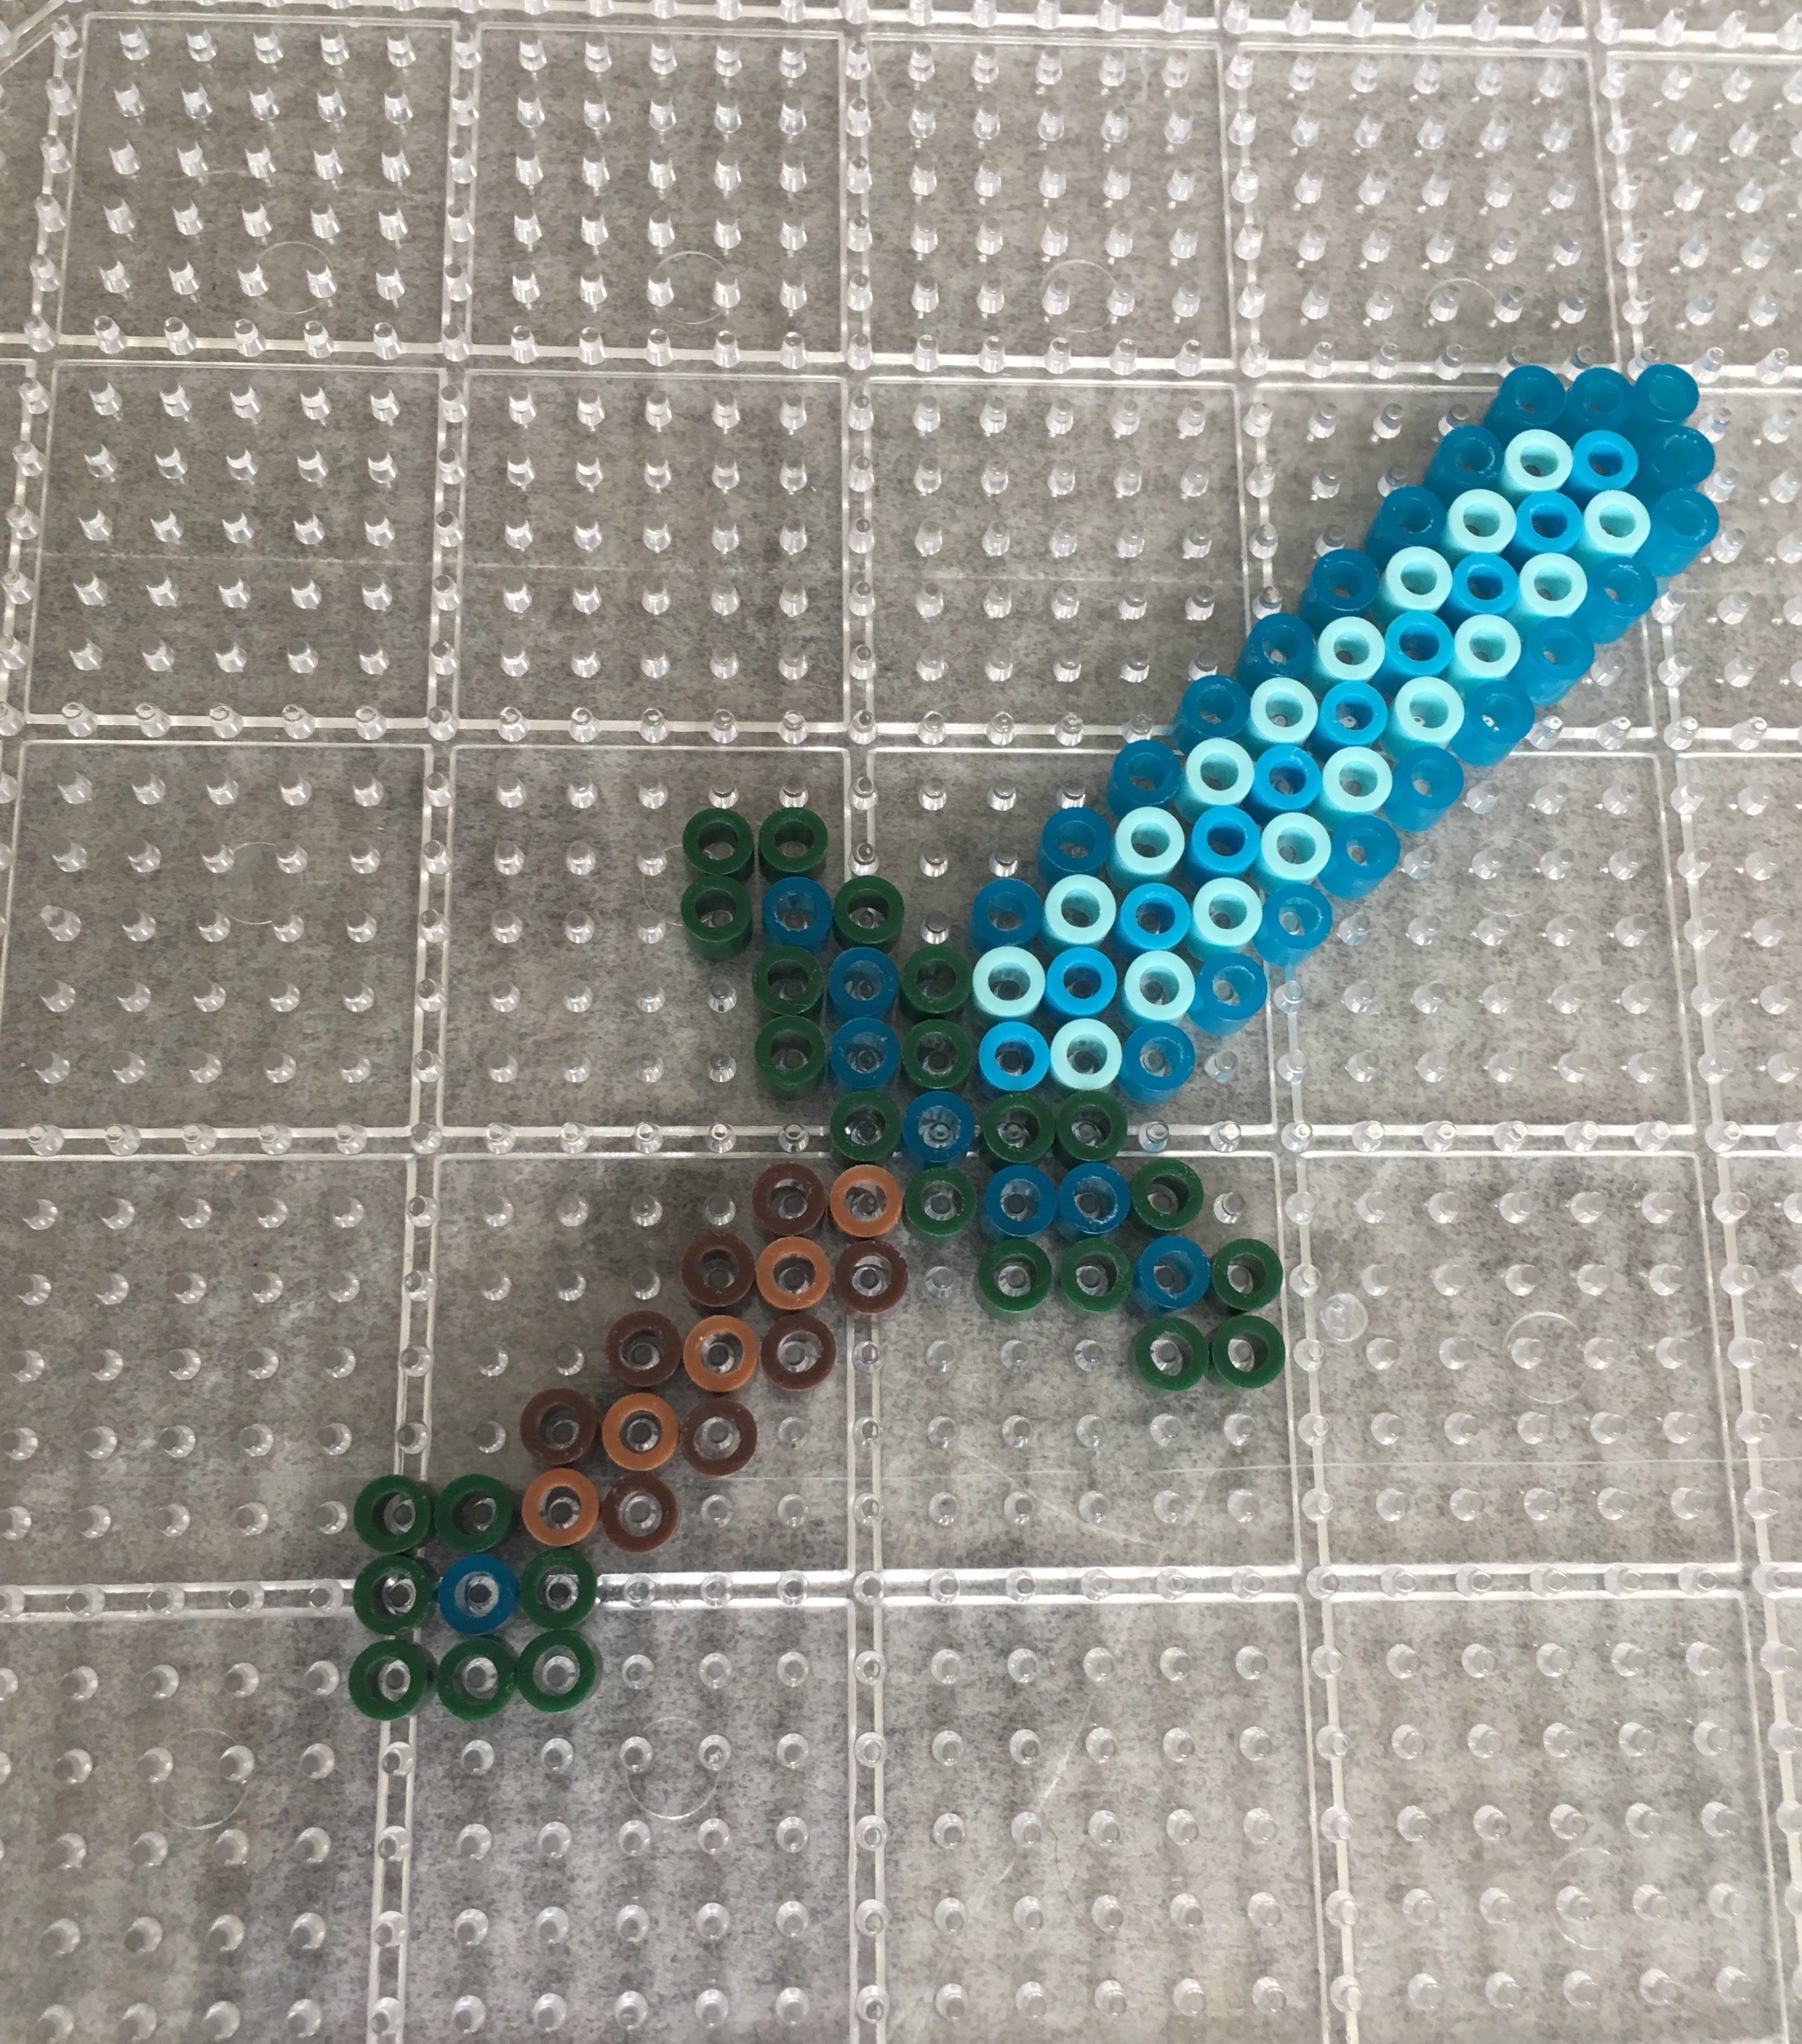
Original design- friendship-bracelets.net. I extended the pattern just a bit to make it a little longer. Used evergreen, light blue, blue, light brown, brown, and glitter blue. Could definitely use different colors, esp for the evergreen hilt.

If you would like to check out additional Perler Bead Patterns, click on the Menu at the top of the page or click some of the links below.
Please join our mailing list below to get updates and follow our blog. Thank you for joining! We promise not to sell or spam your email!

Super Mario Perler Beads??? Definitely some of our favorites. These are 15 patterns that the kids and I have built from Super Mario games. This post will be updated as we continue to find and build more awesome patterns.
If you need additional beads, click the links to go to Amazon.
Original Pattern by luvs to knit. Perler beads used were black,white, and yellow using only 1 grid.

Original Pattern by Miss-Kawaii. Used 1 grid, and the colors green, black, red, yellow and white.


Original Pattern by kandiwolf15. Used 1 grid, and the colors light brown,cheddar, orange, gray, sand, black, red, yellow, and white.
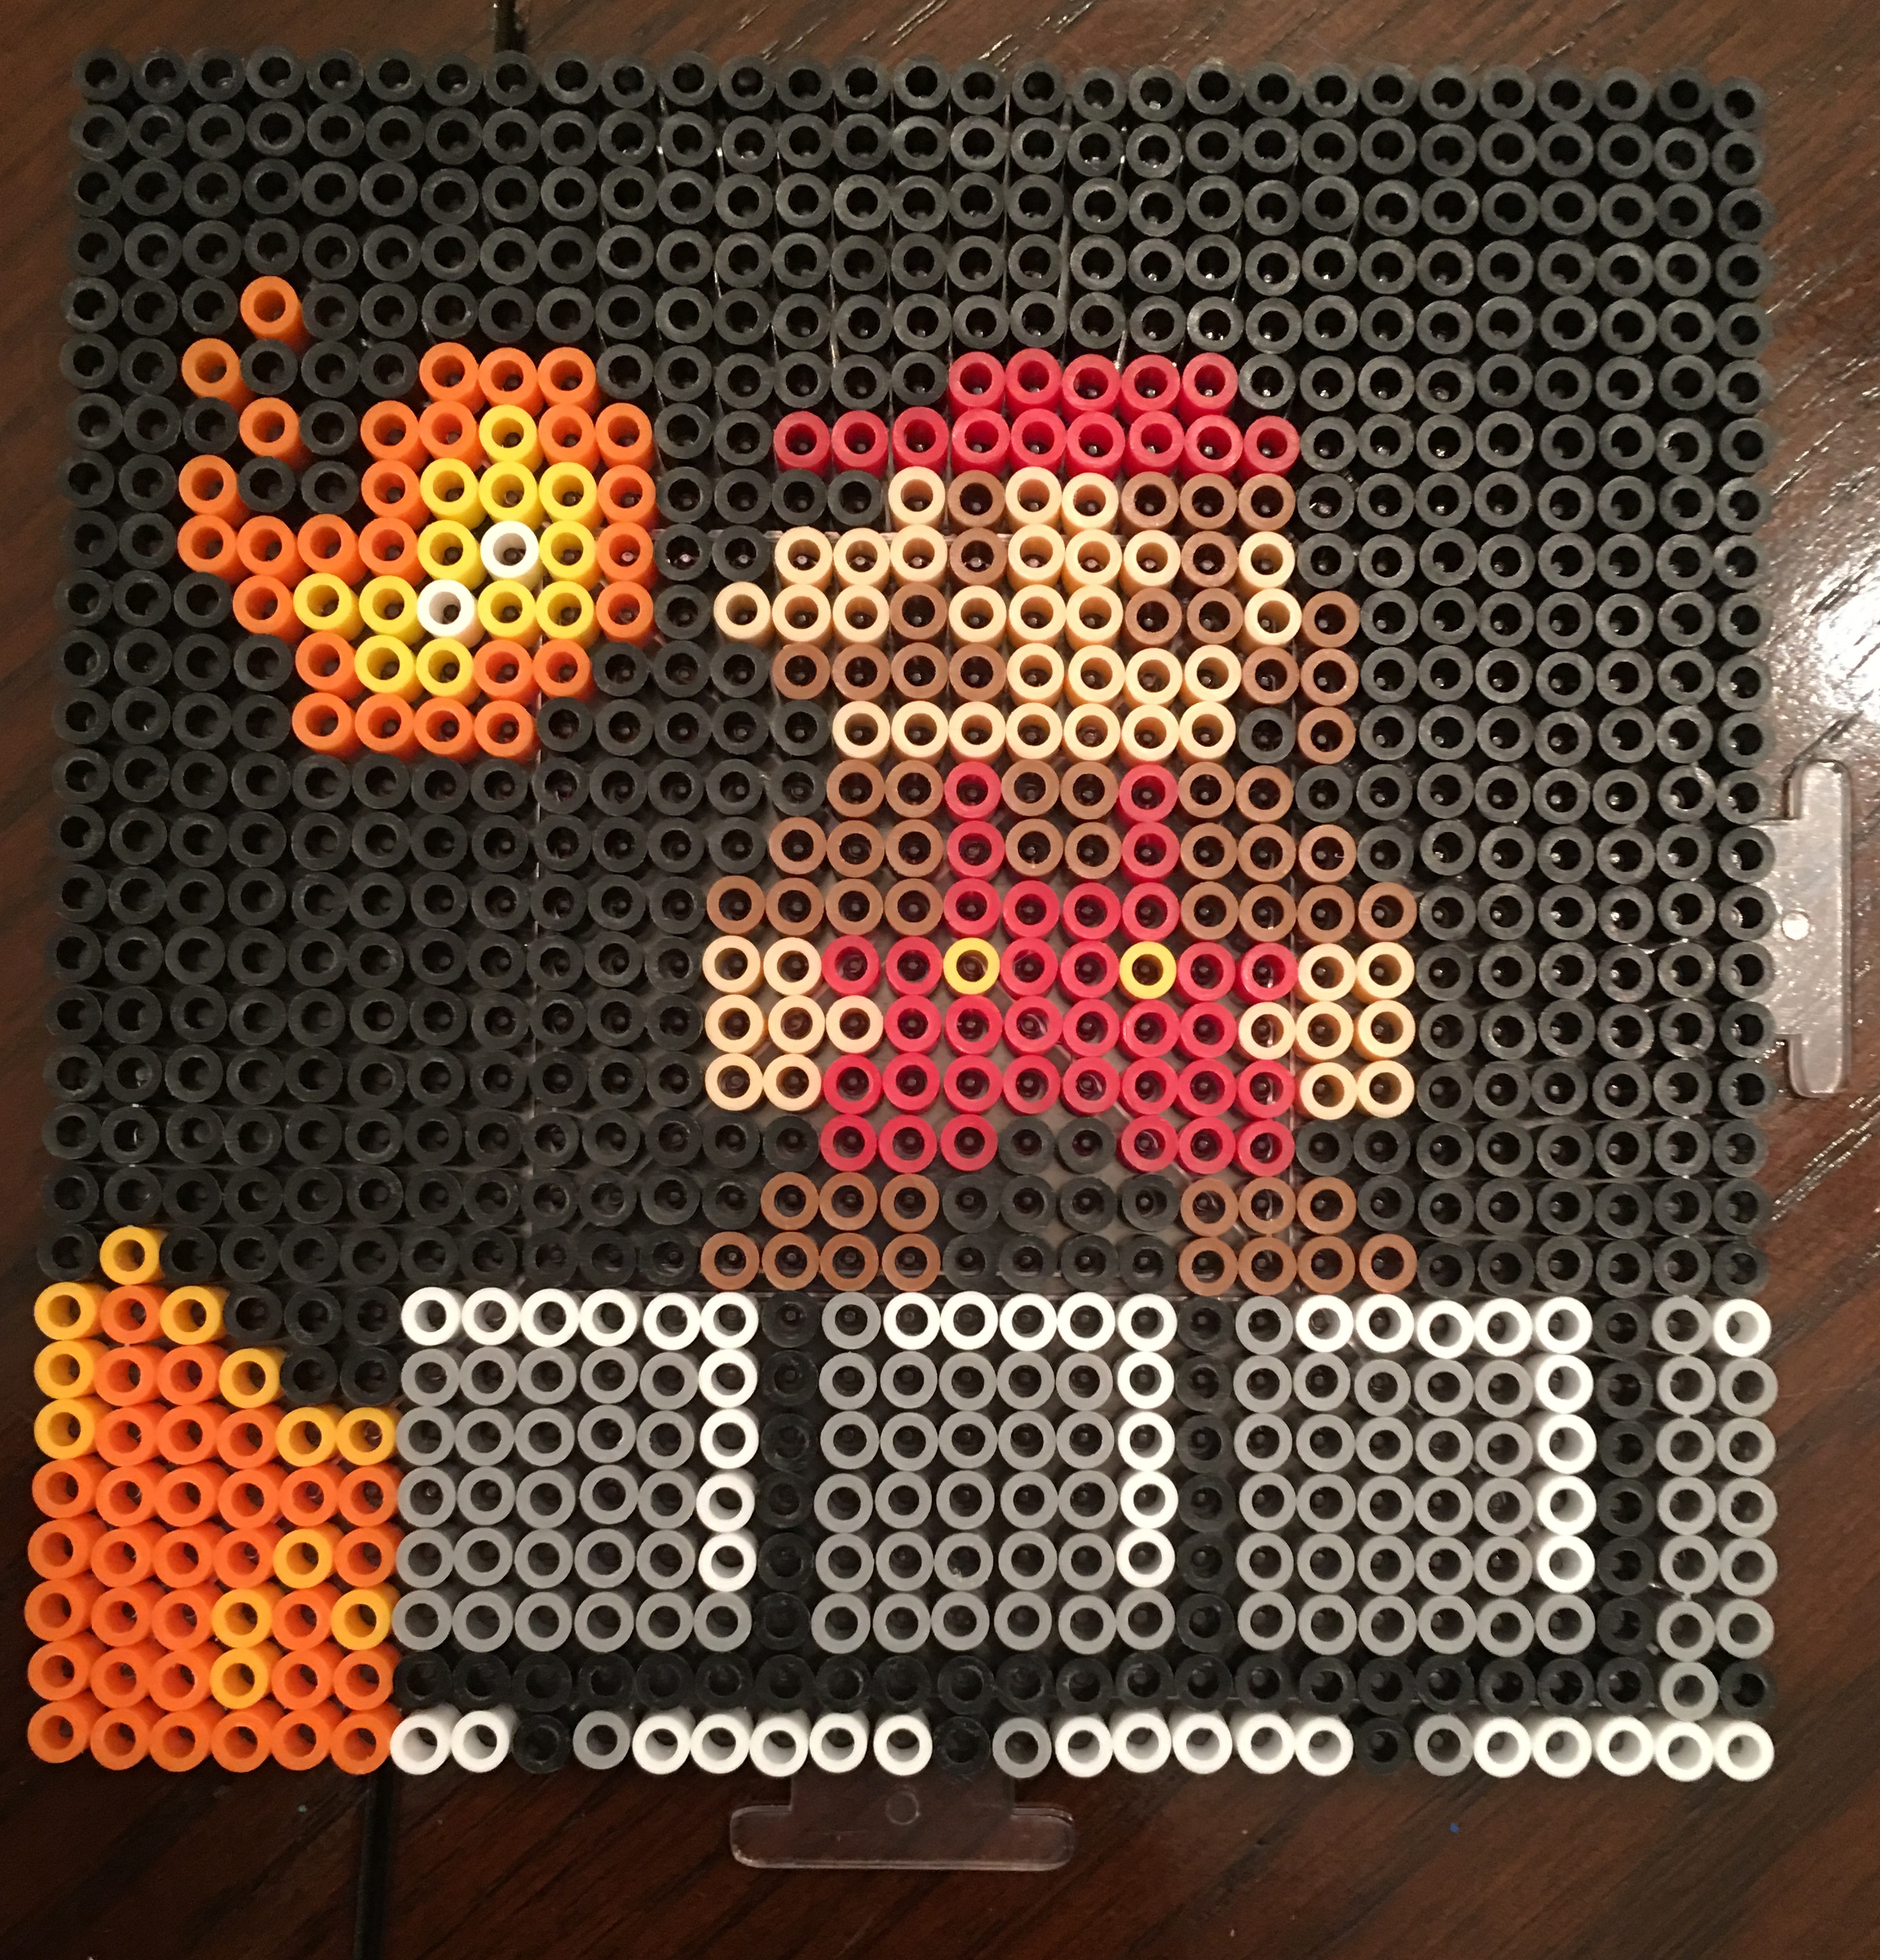
Original design by operledittemarie. I made a couple of modifications to the colors as the original design was done with Hama beads. We used around 4500 beads, 9 grids, and the colors light green, dark blue, light blue, dark brown, light gray, parrot green, light brown, orange, gray, sand, black, red, yellow, and white. Also used the masking tape method to iron and pull it off the grids. Turned out nice and flat- ready to hang or frame!

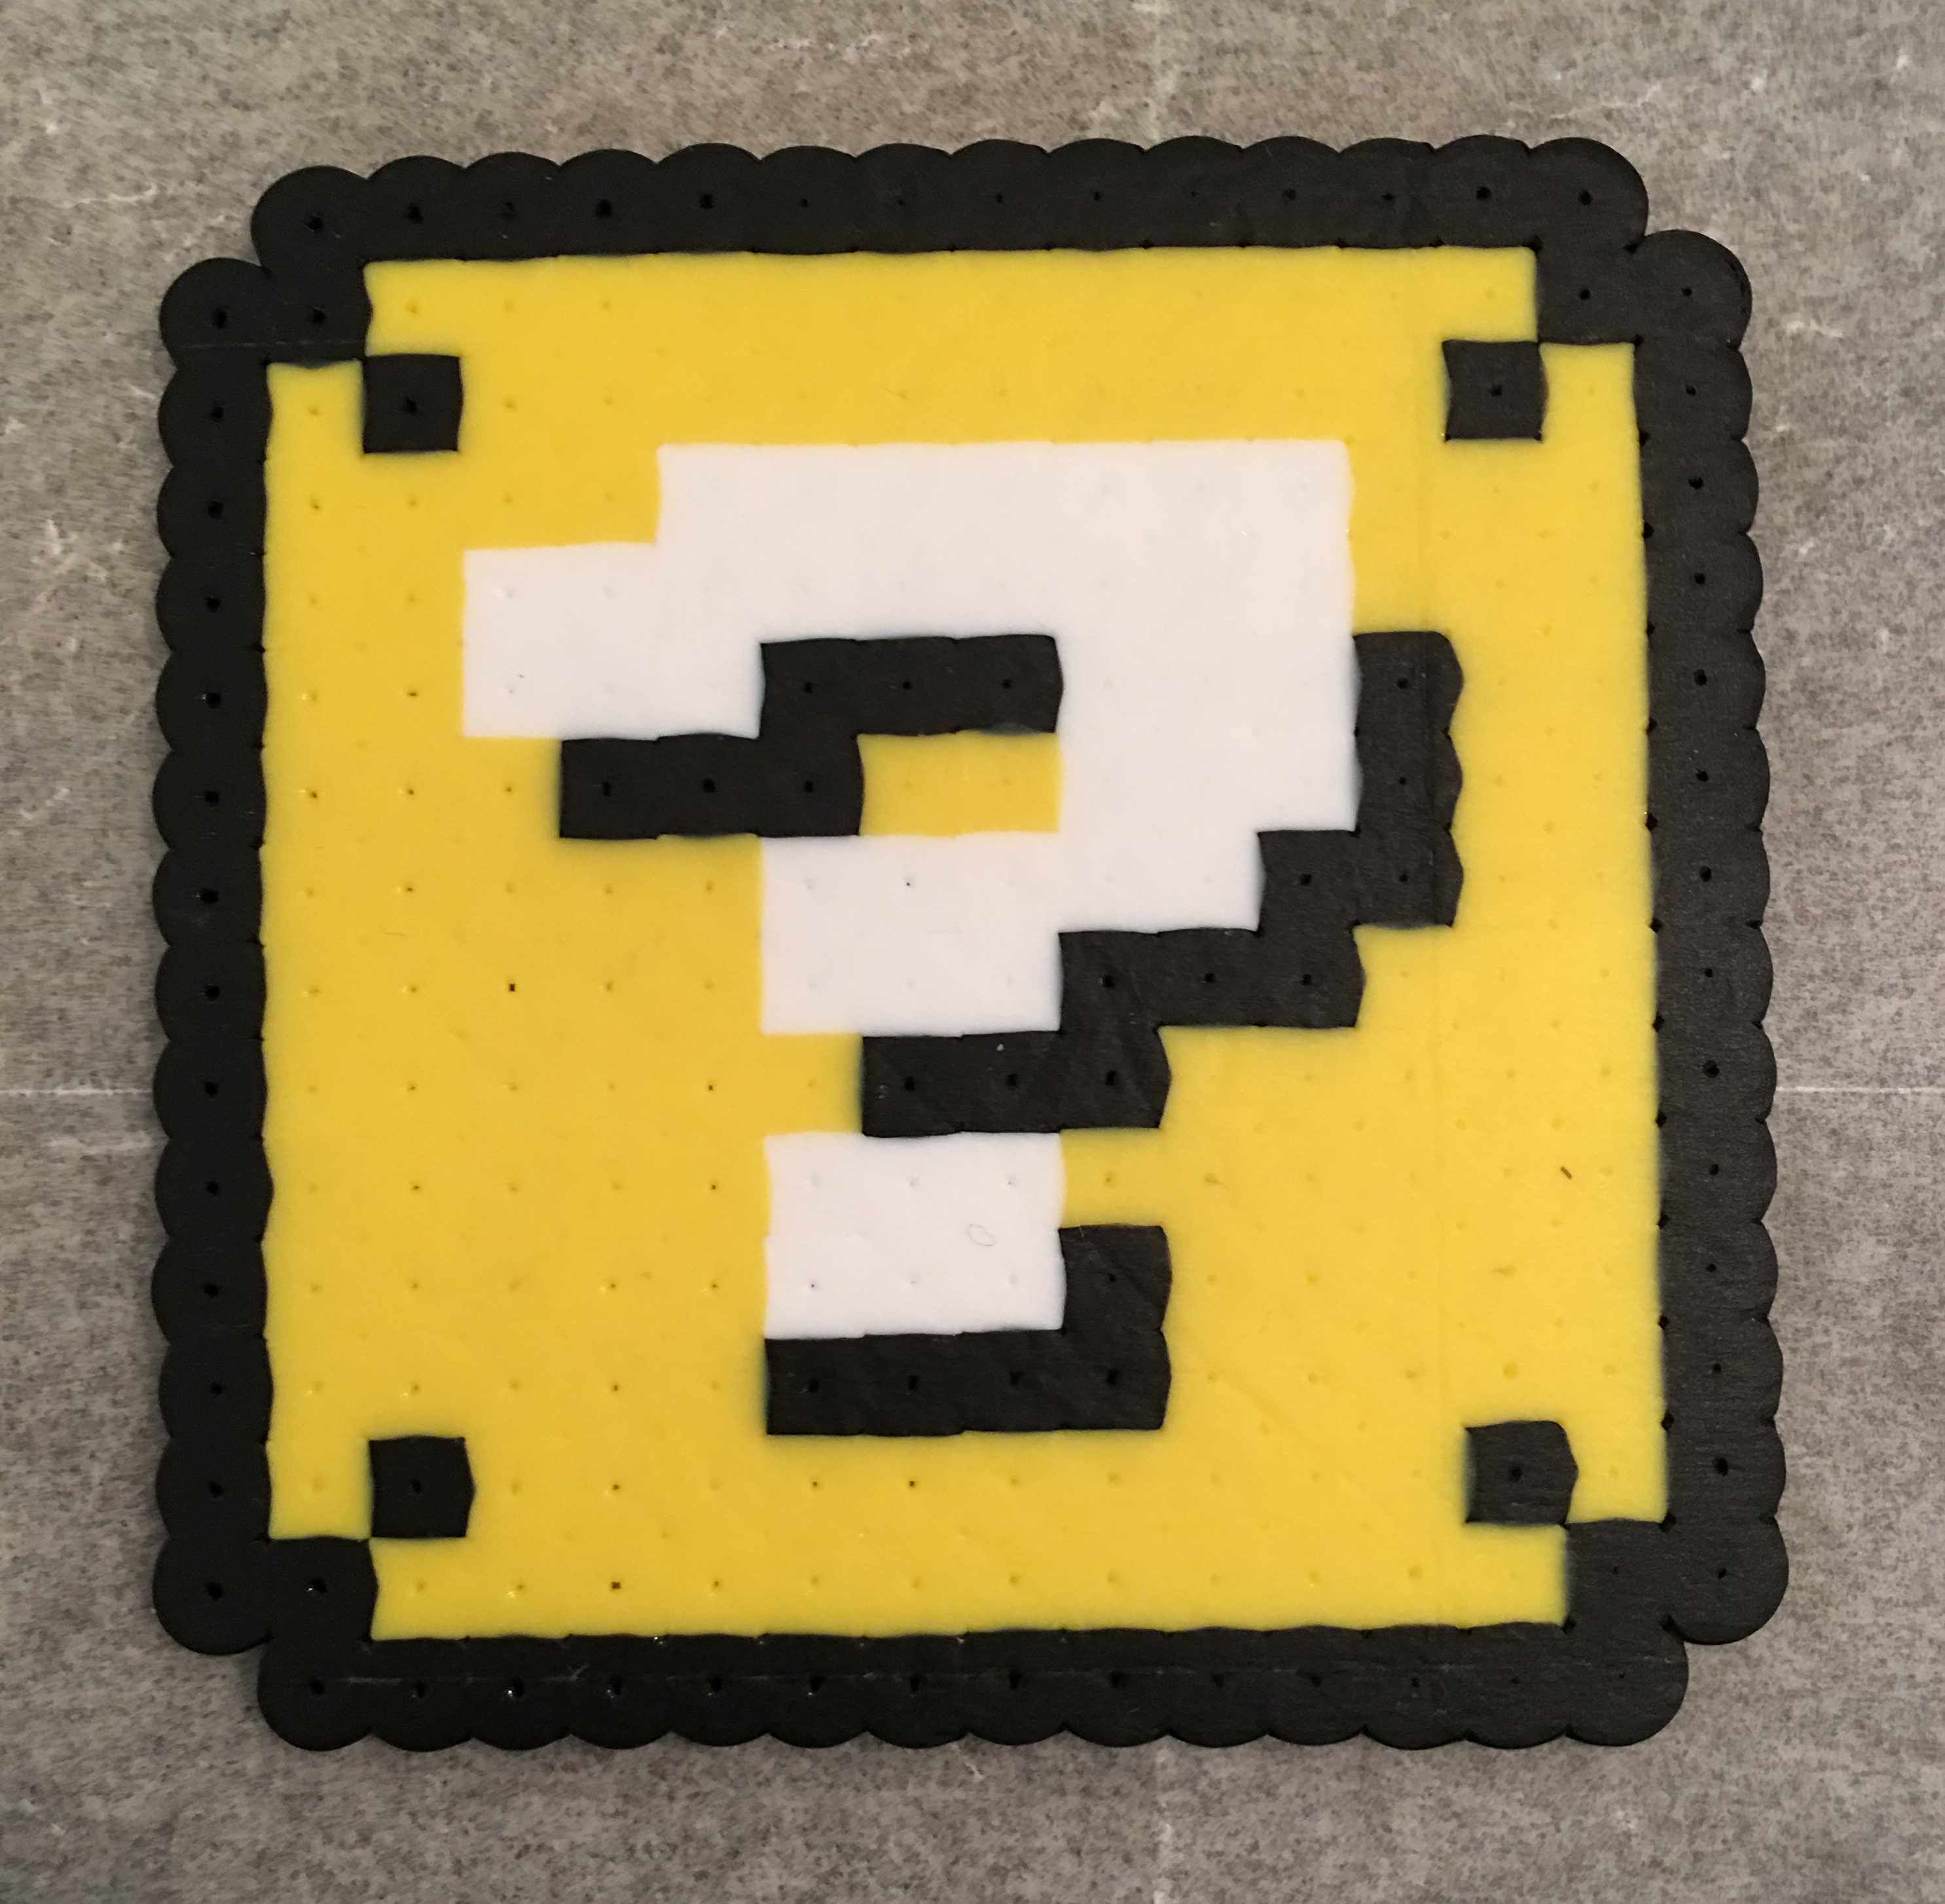
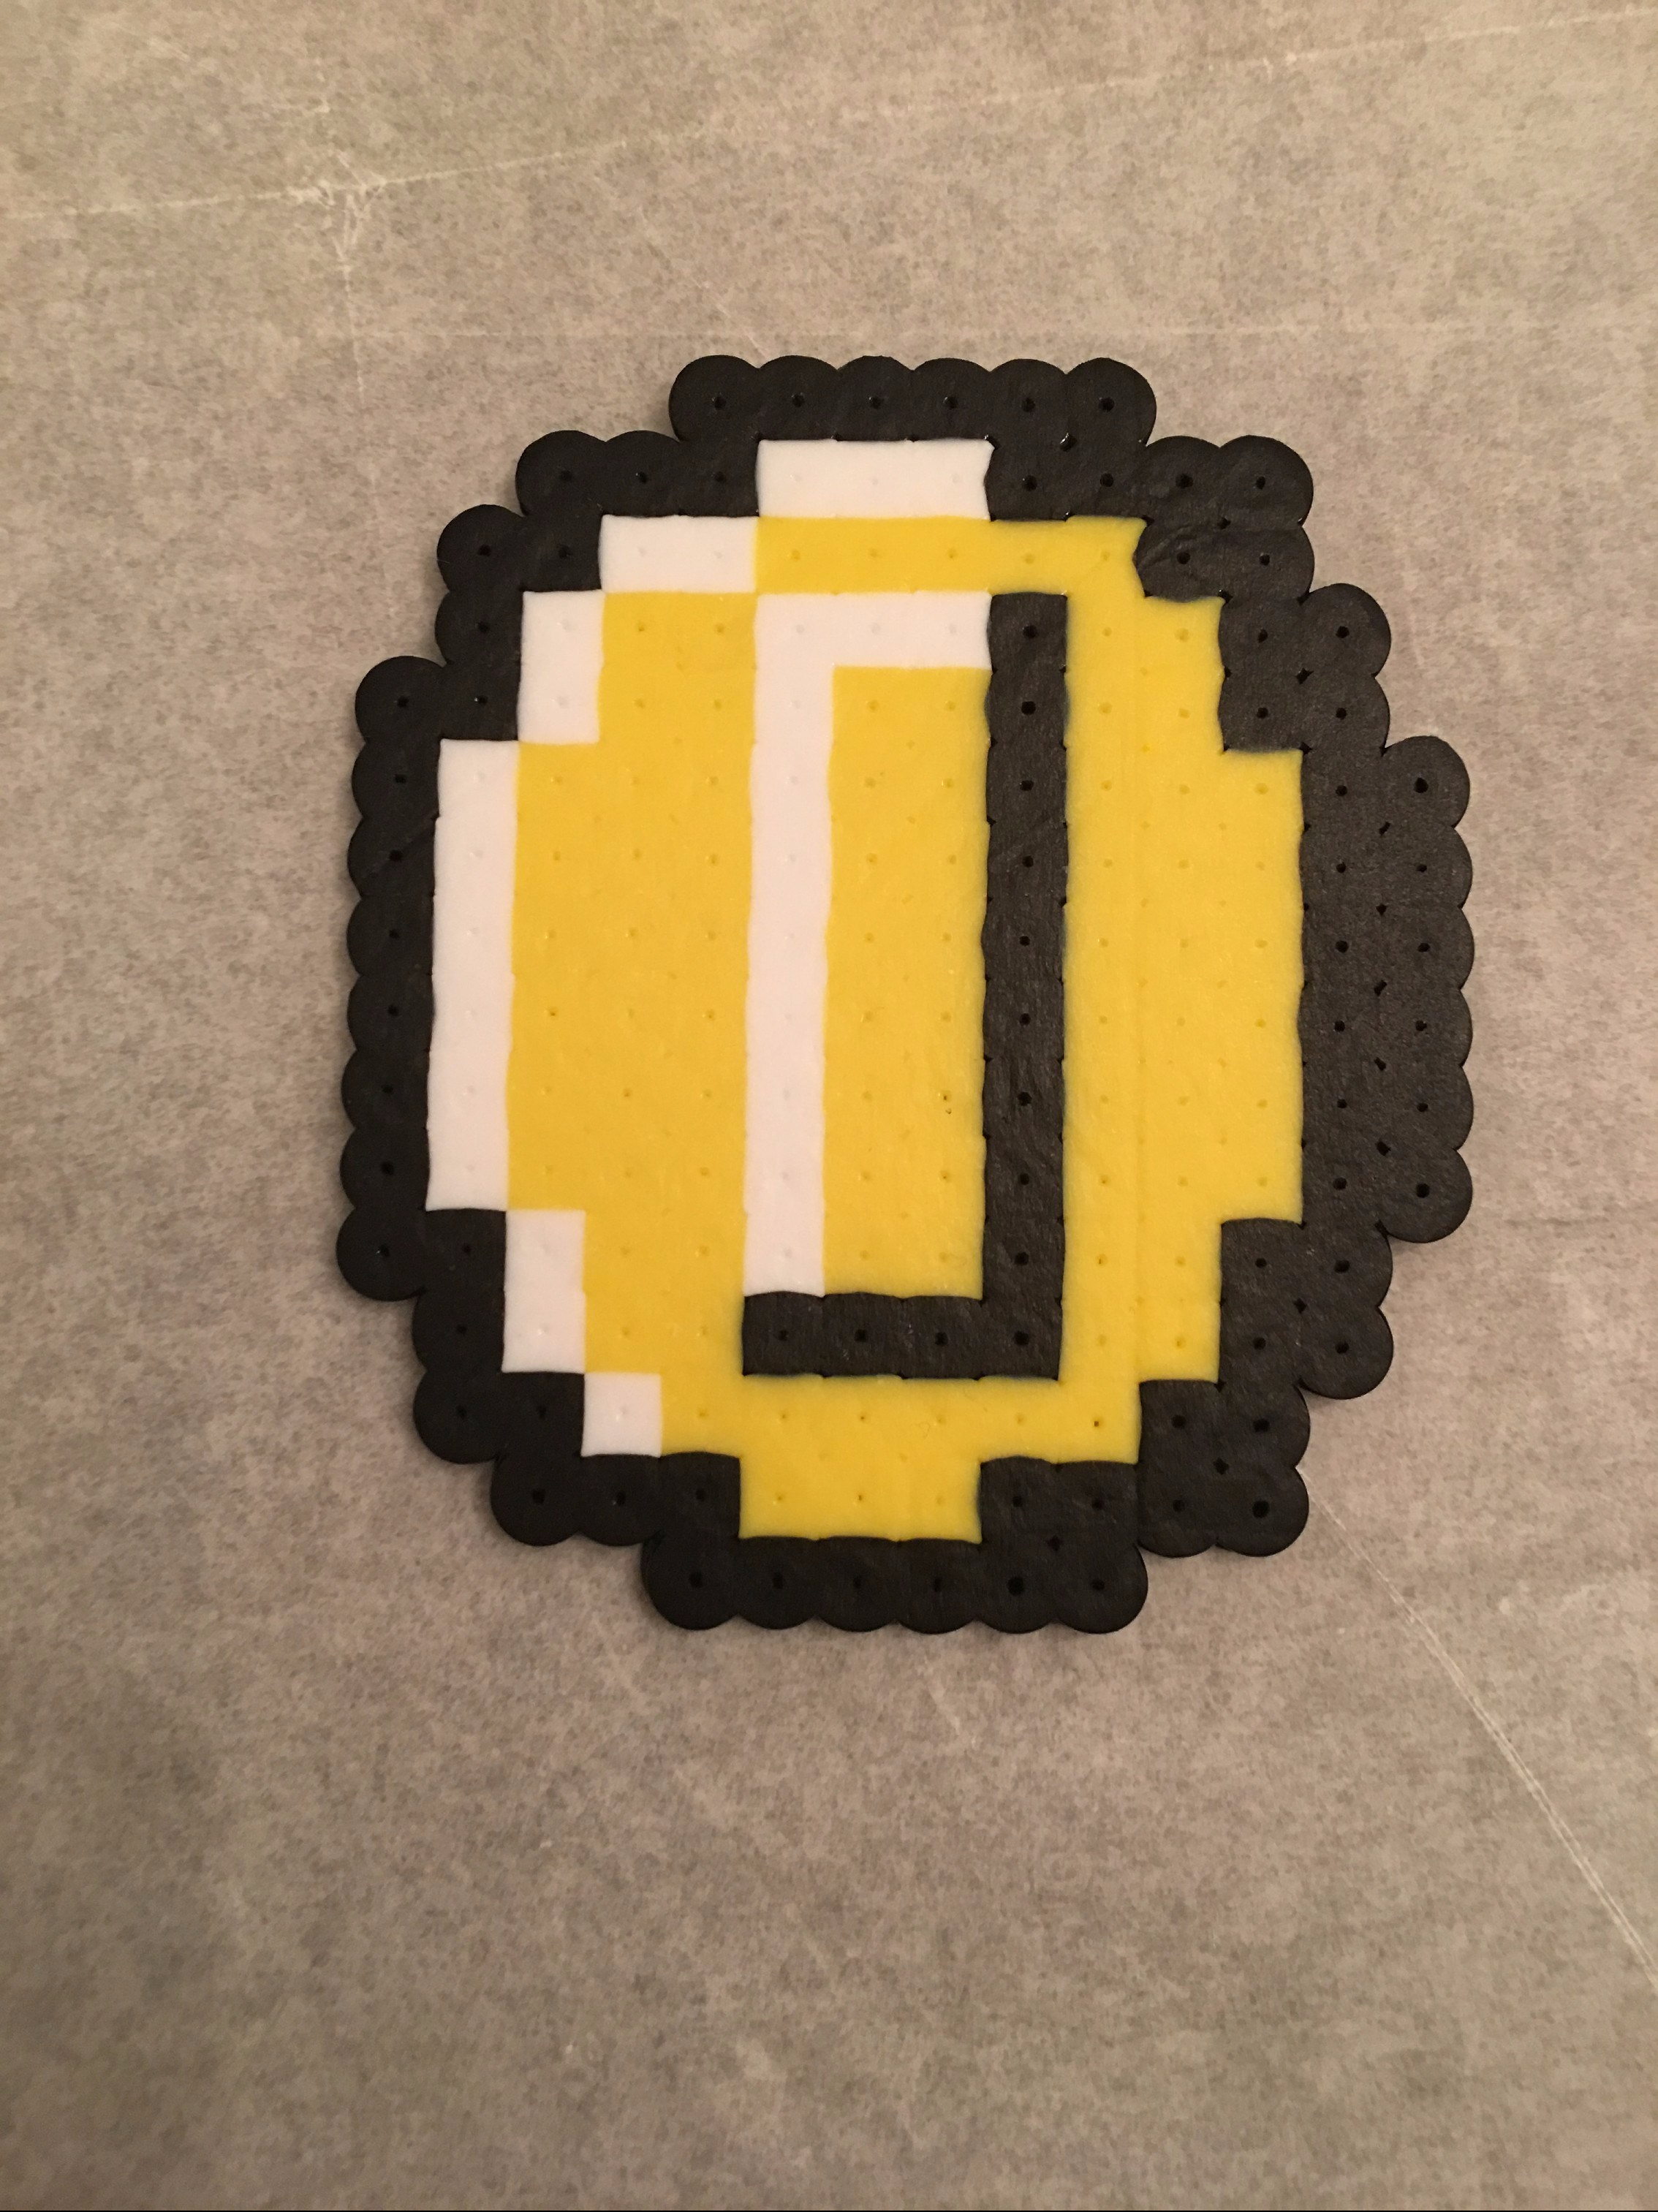
Original Pixel Image by Kandi Patterns. Colors used: yellow, black and white.
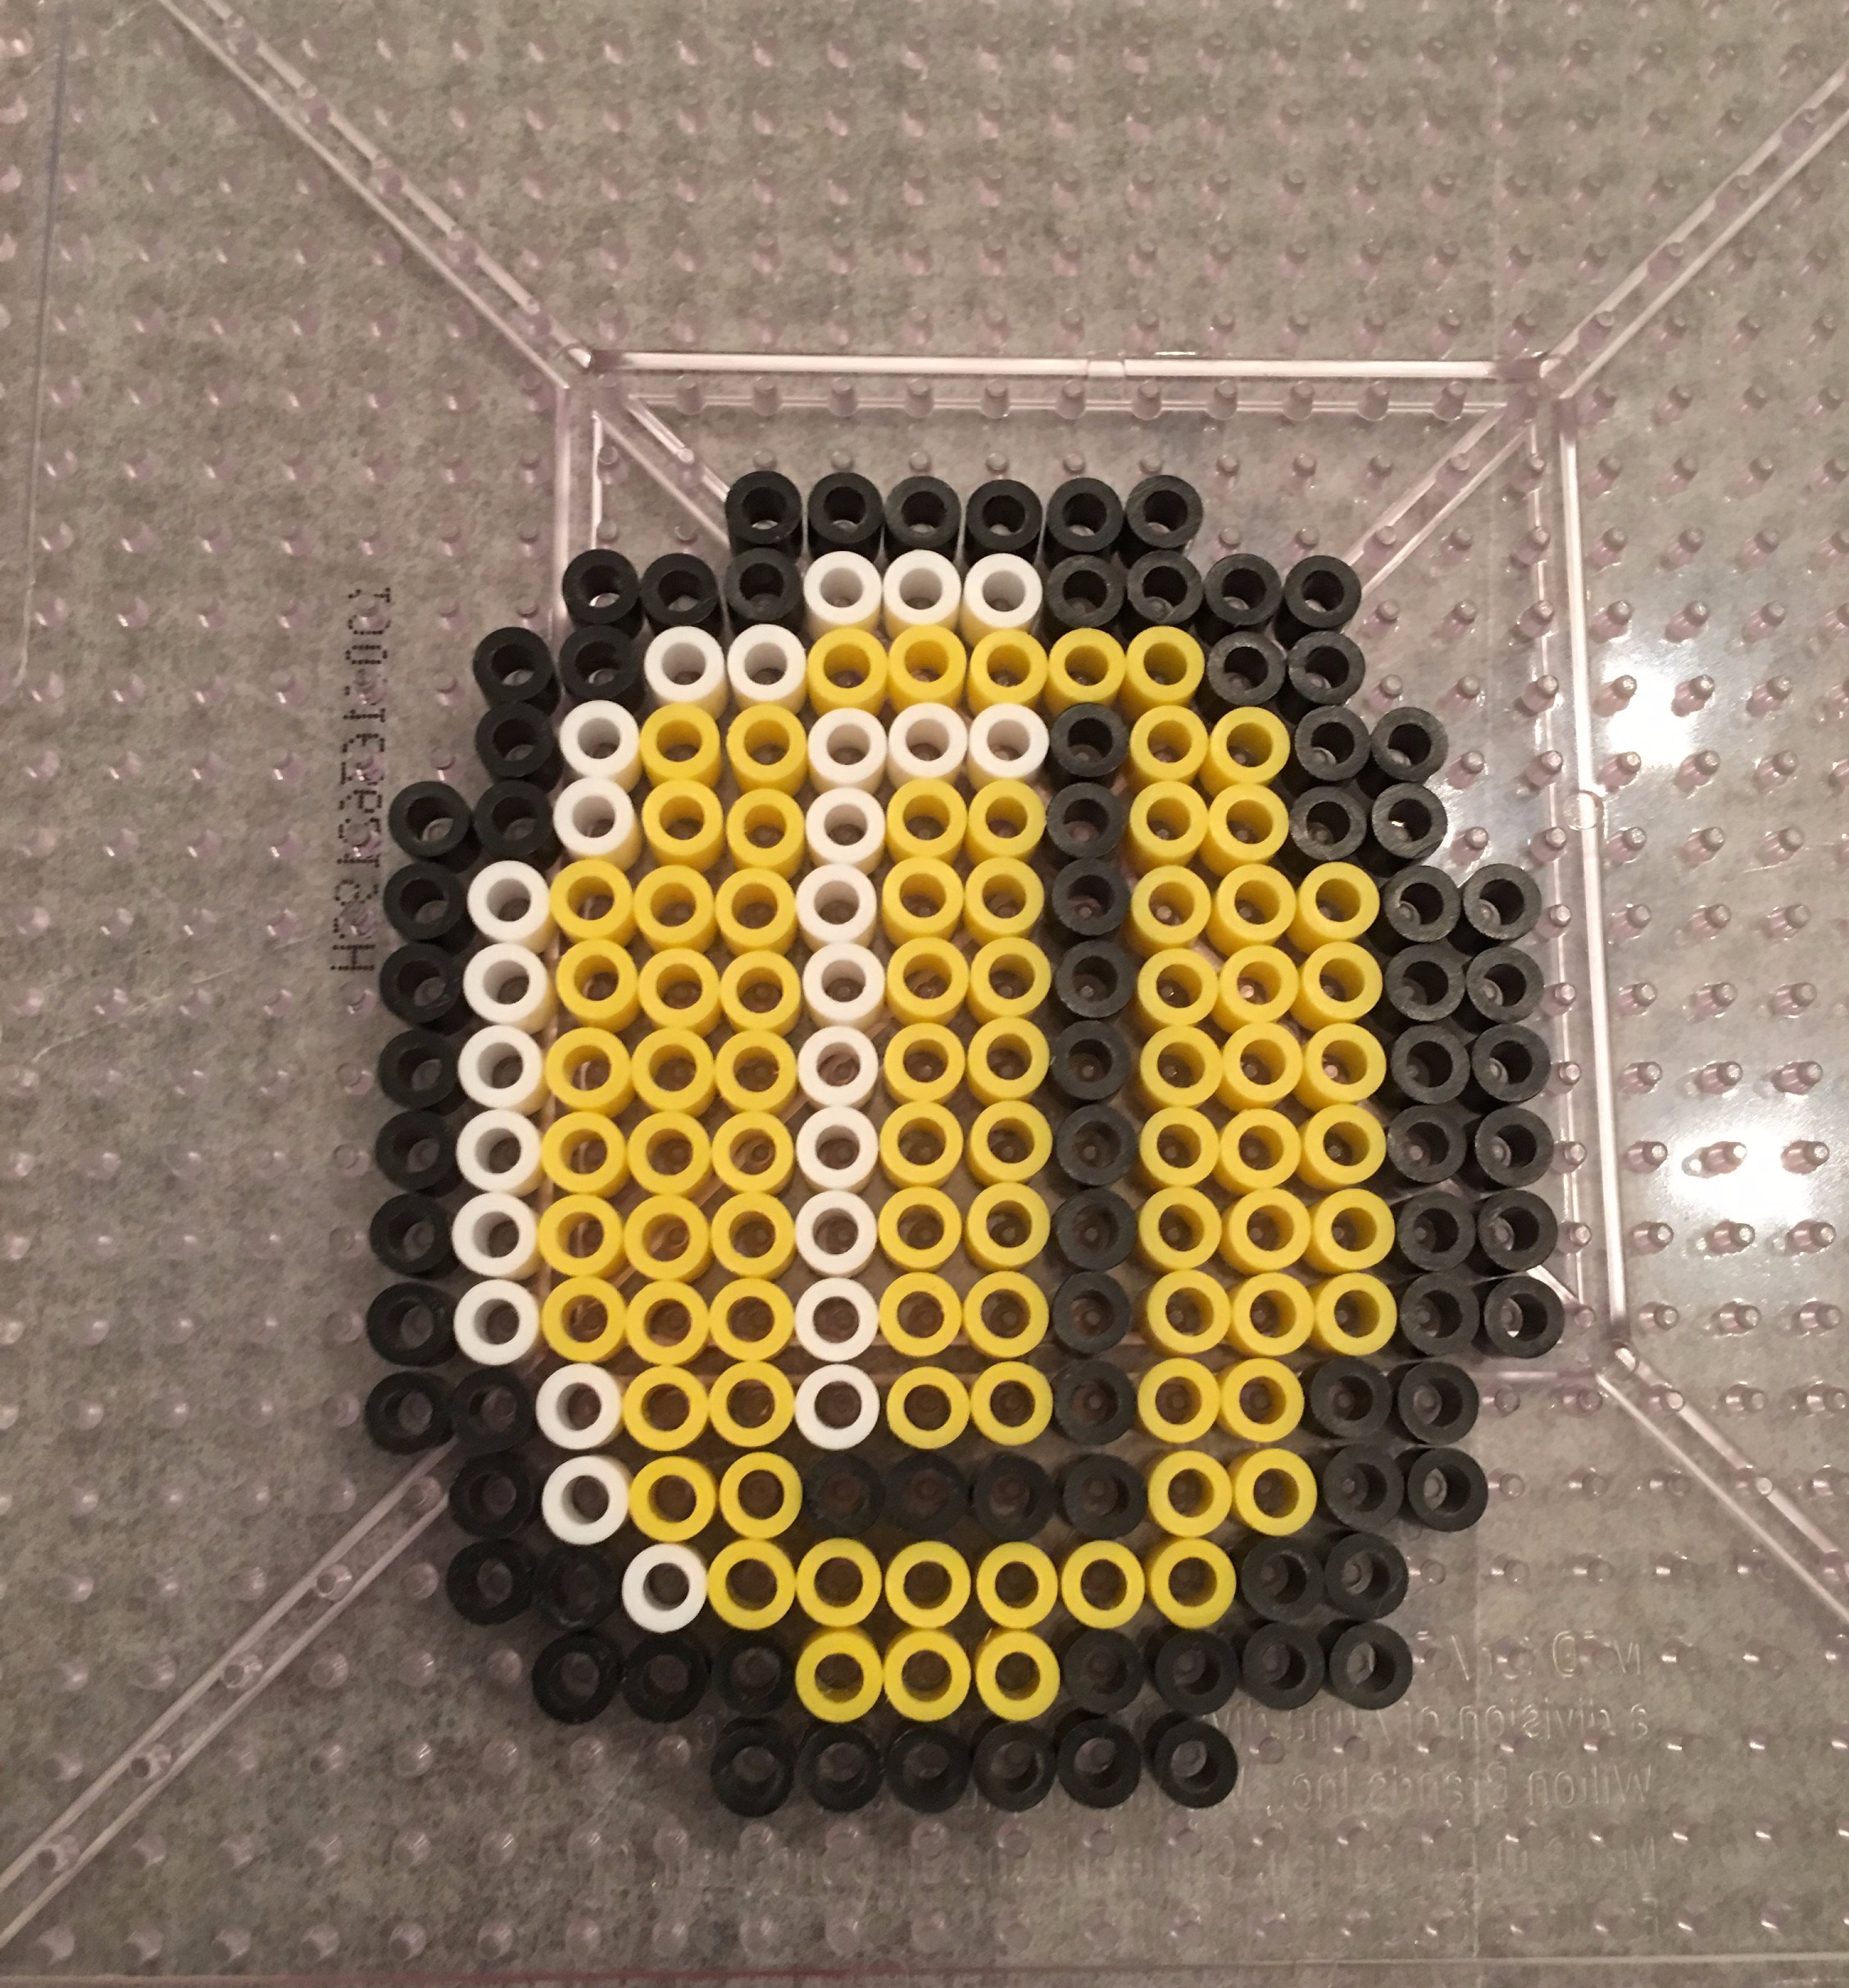
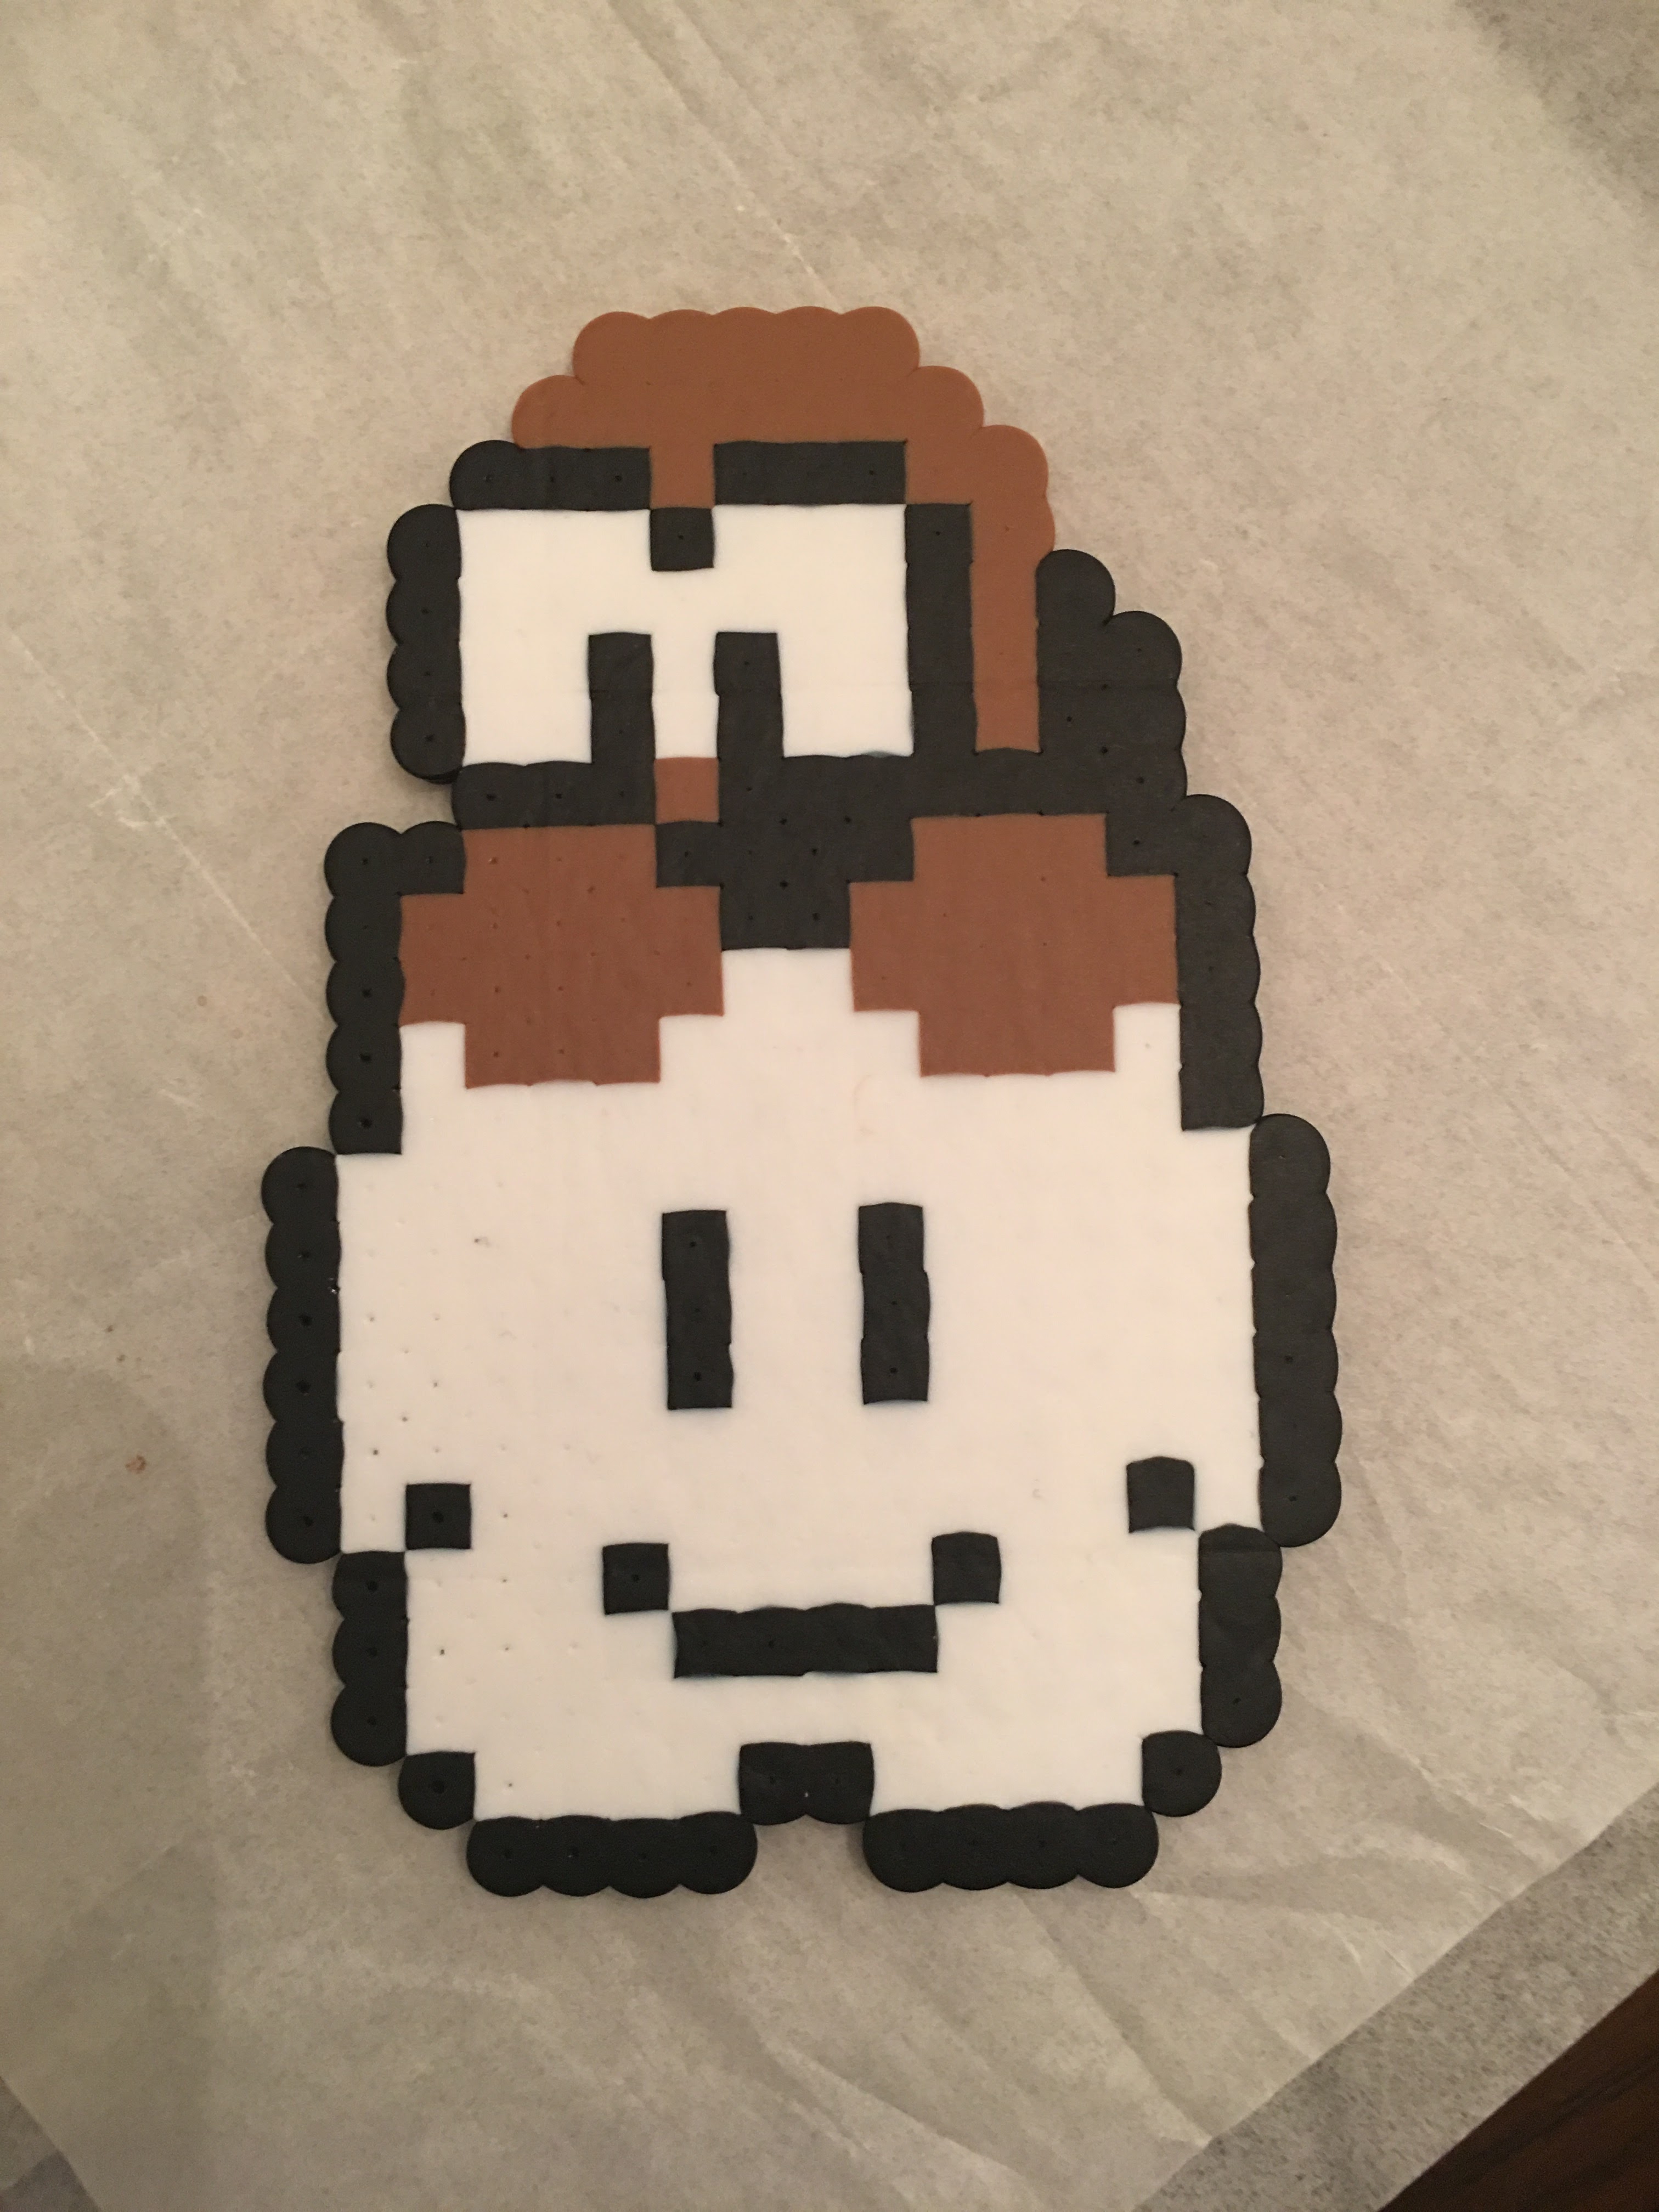
As soon as I made this one, all three of my kids and my husband all came in and said “Brown?” Apparently he should have been yellow! Original pixel art- Kandi Patterns. Used dark brown, black, and white Perler Beads (However should have used yellow according to my family!)

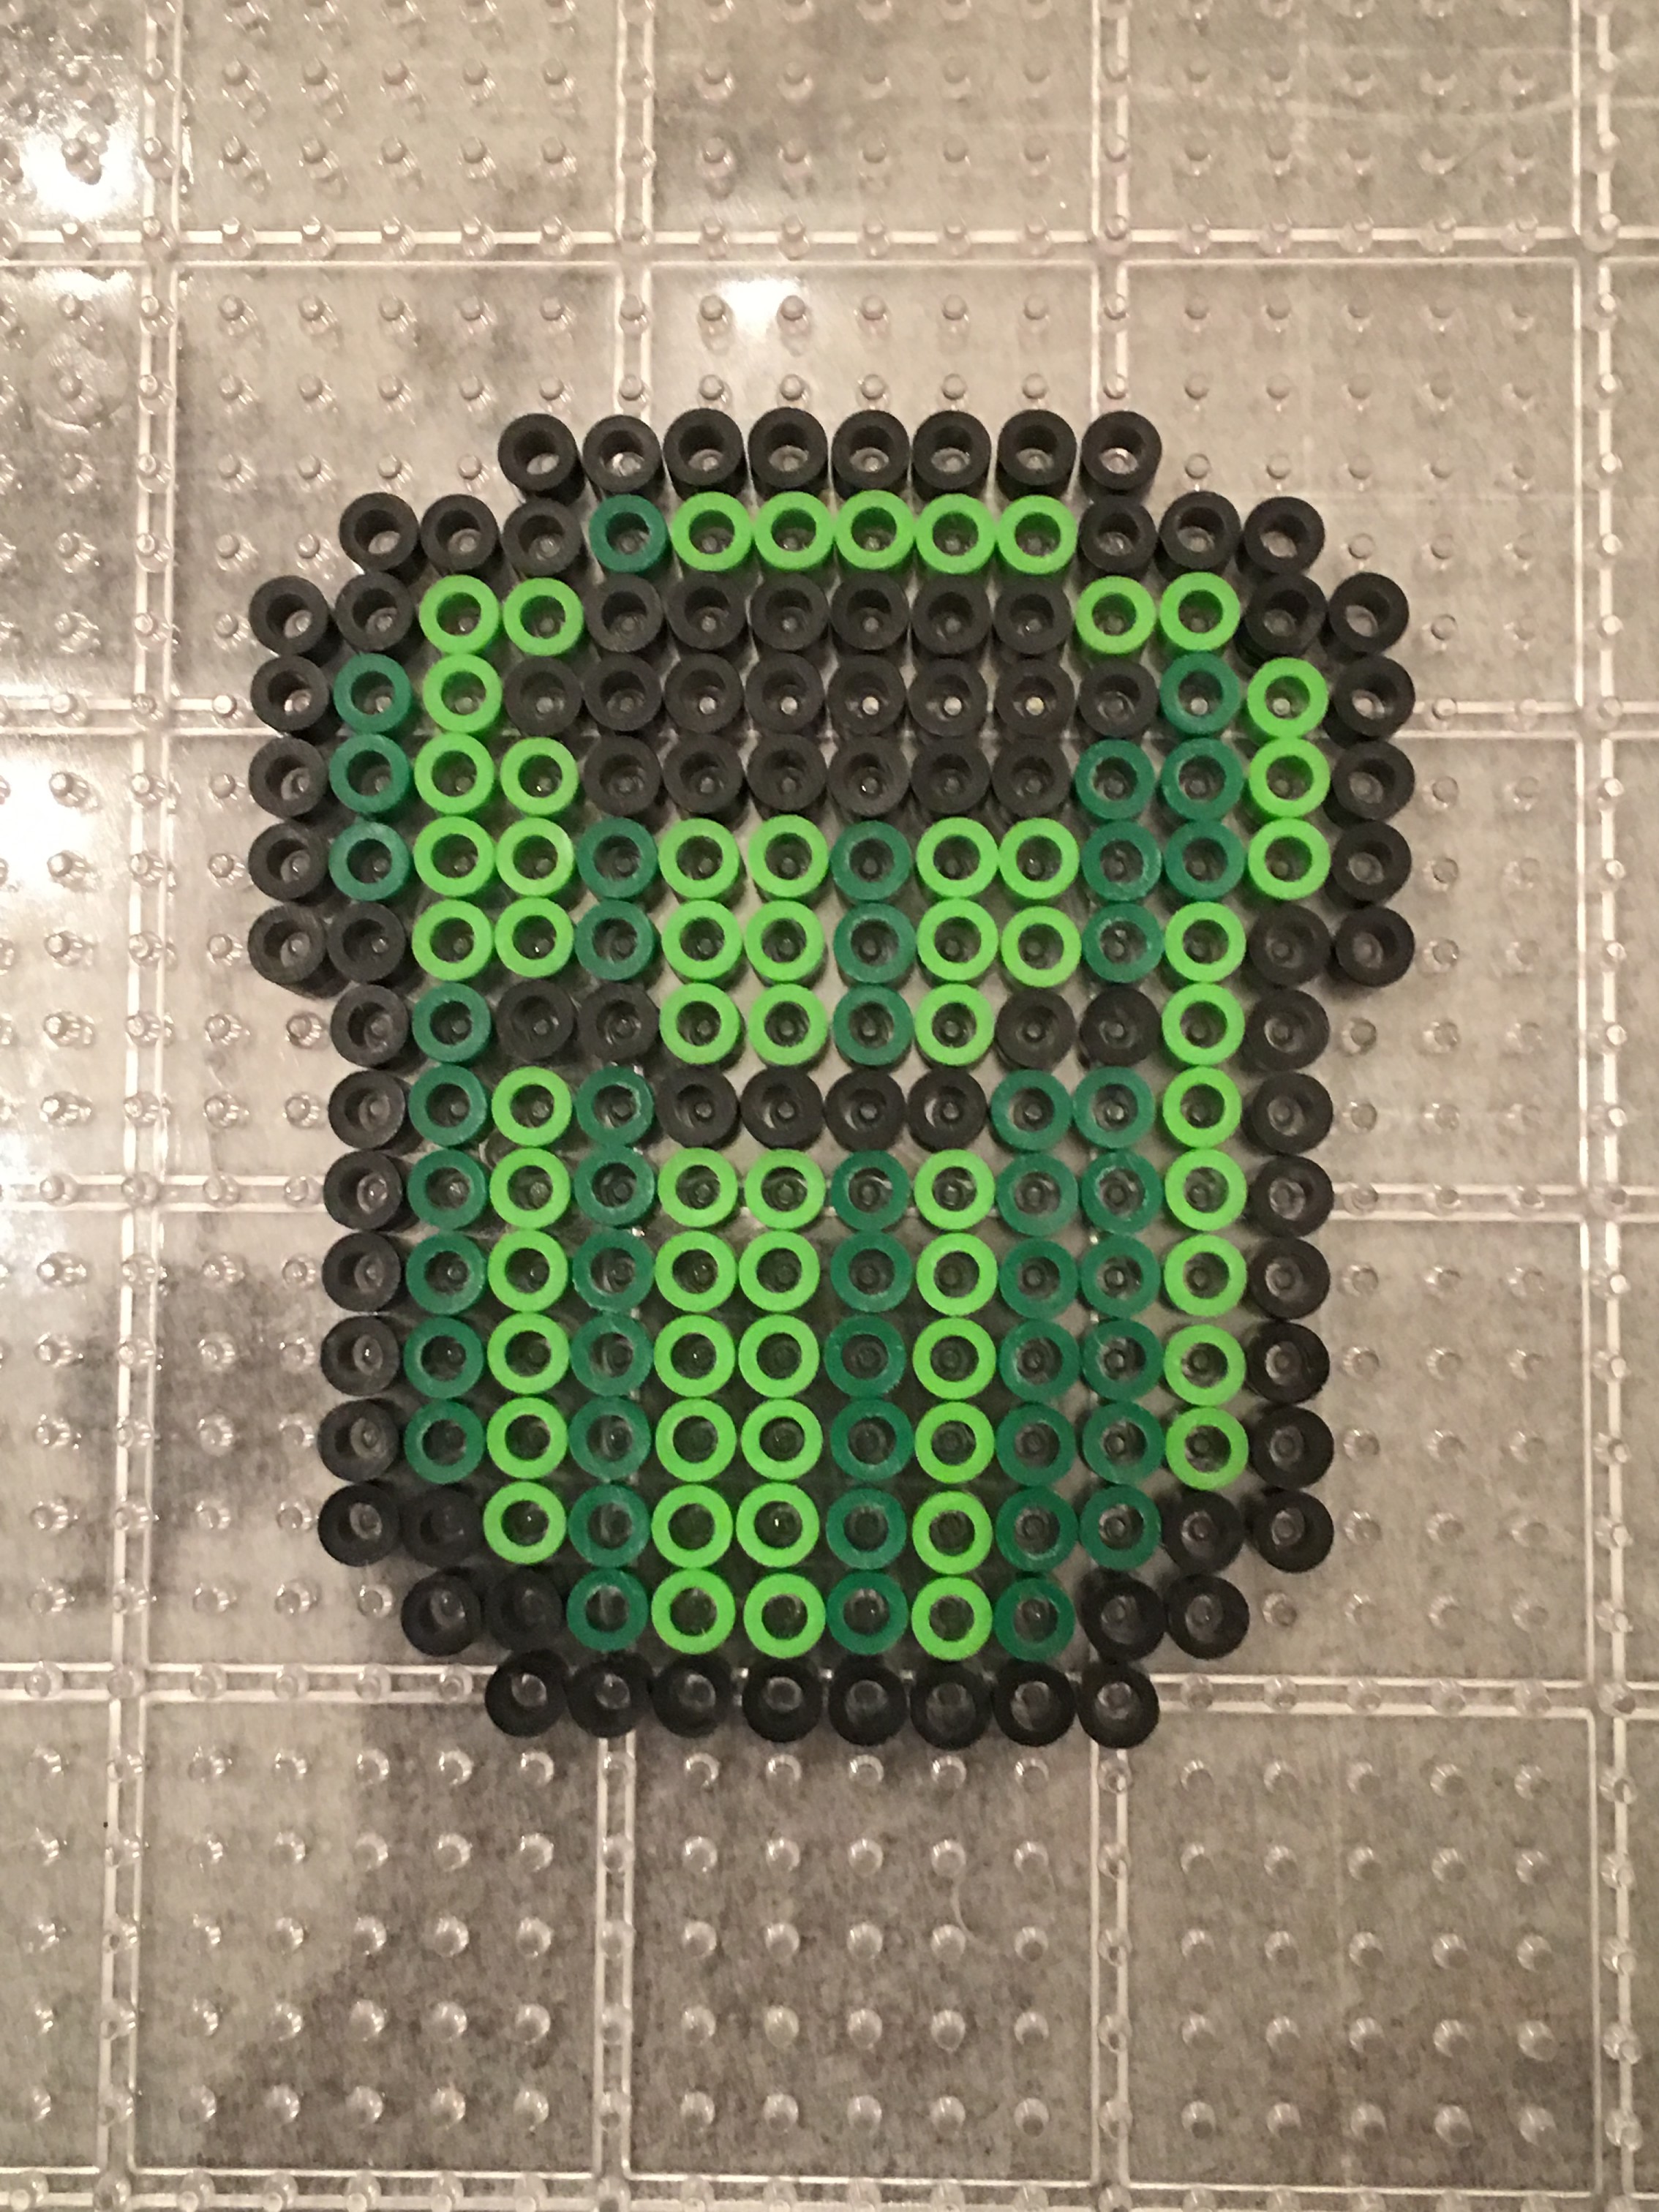
Original – Google Zoeken. Interesting Design, made with black, light green, and green beads. Hoping to put something coming out of it on canvas soon.
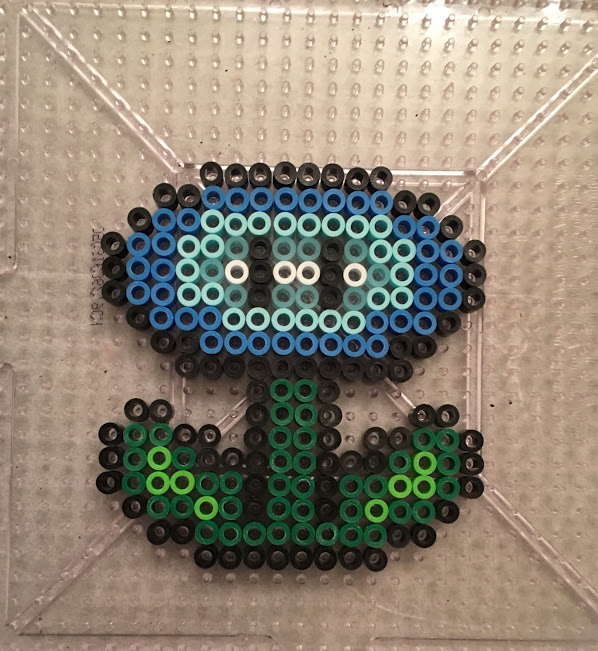
Mario’s POW Block – Original Design – Kandi Patterns. Perler Beads Used – blue, dark blue, black, and white.


Original Designer- minecraft building ideas.com. Mario Mushroom made with white, red, and black Perler Beads.
10. Yoshi Egg

Original Designer- ashmoon designs, deviant art.
Perler Beads used were white, black and green.
11. Mario 3 Whistle
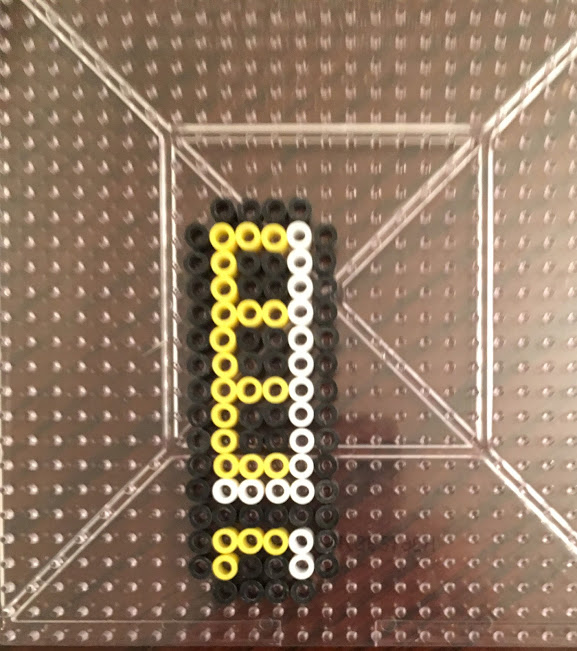
Original designer- not sure (was just an uploaded picture) however if anyone knows, please let me know so I can give appropriate credit.
Perler beads used were yellow, white, and black.
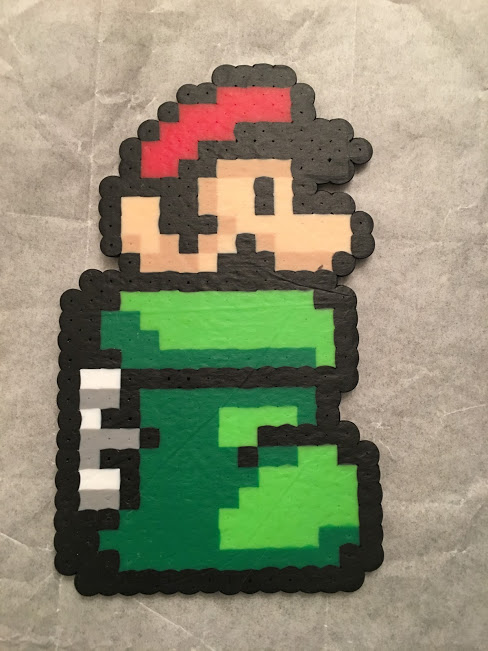
Back in the day this was my absolute favorite part of Super Mario 3! Add to that, the awesome part of changing into a statue in the boot and my teenage brain was screaming. Original pixel designer – friendship bracelets.net. Beads used, red, black, tan, light green, dark green, gray, and white.

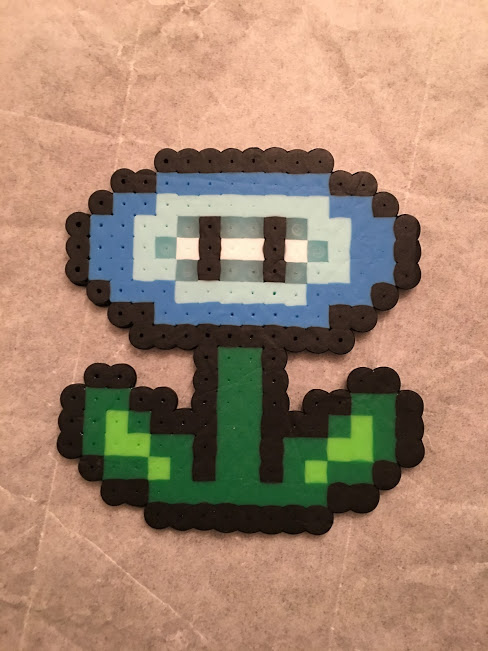
Unfortunately the original designer of this image is a dead link. This is an awesome ice flower using Perler beads of blue, light blue, glitter blue, white, black, green, and light green.

Super Mario Spring, made with green, light green, white, black, brown and dark brown Perler beads. Original by Ruben Franco
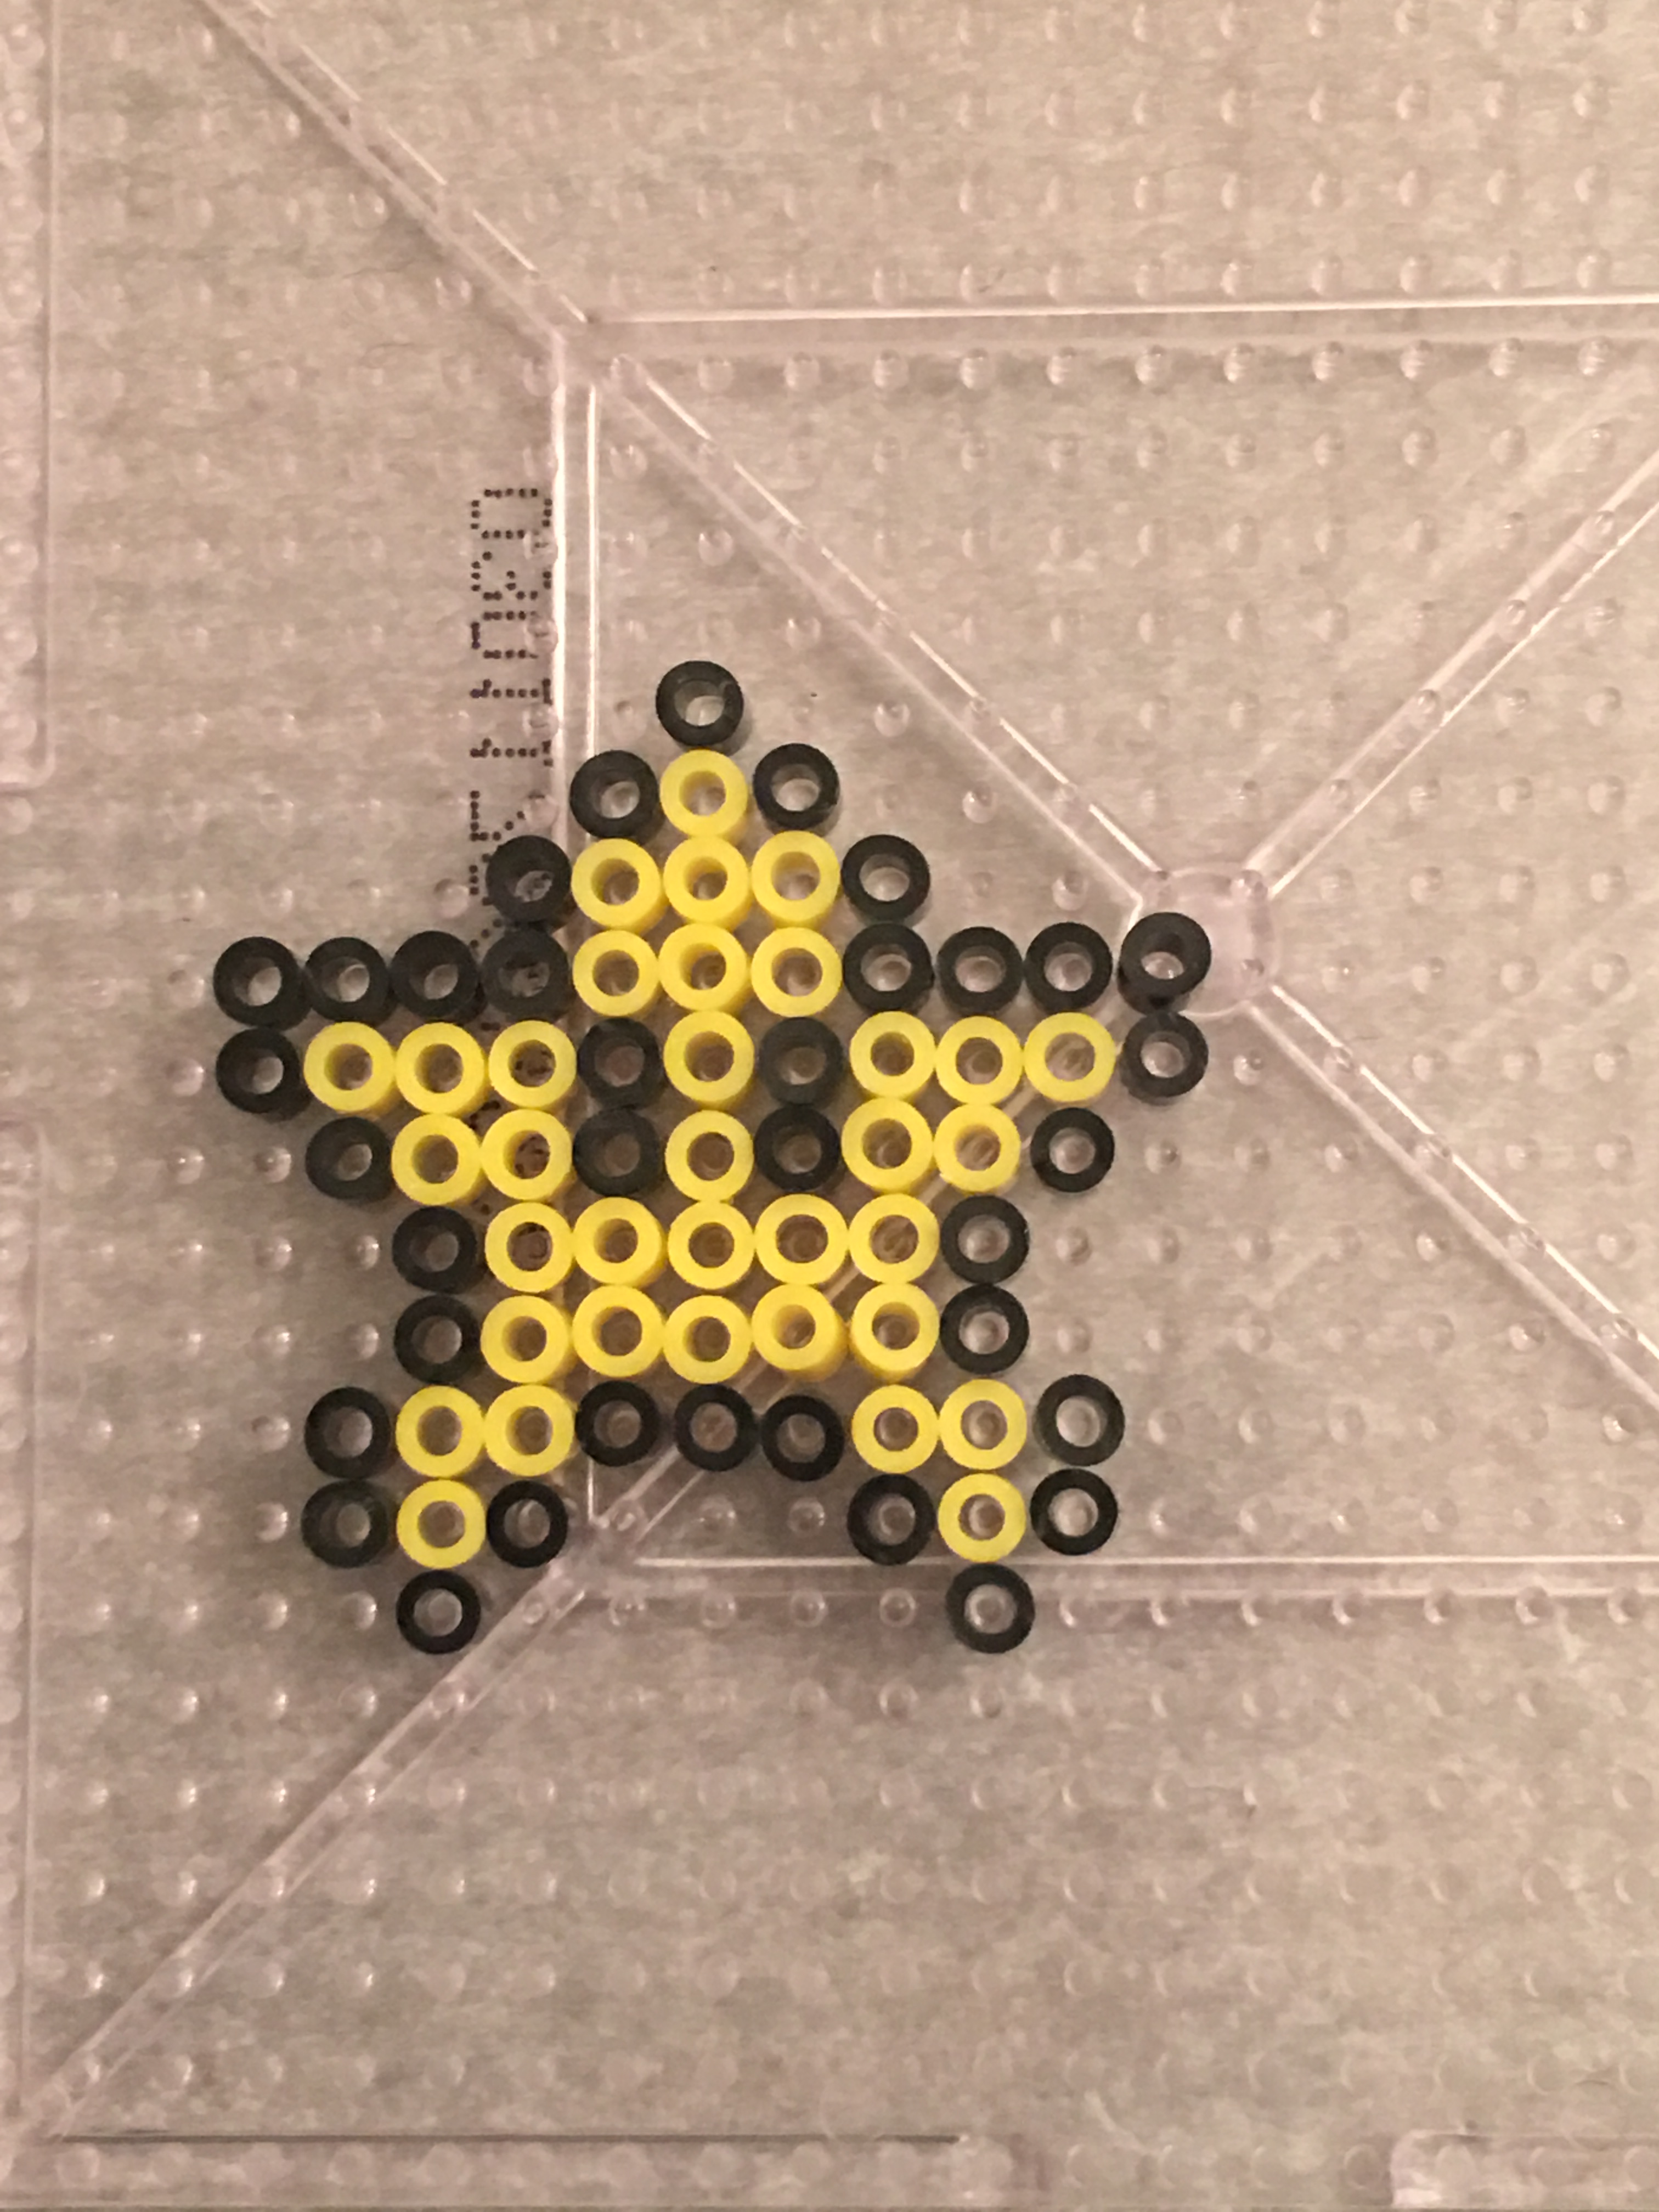

These cute little stars were made using a pixel image from Kandi Patterns. I used the pattern to make the star out of Mini Perler Beads. I then poked a hole in the top, attached a small split ring and an earring hook and ironed. One side I ironed so the colors would blend but the other side I left pixelated to have the best of both worlds. My daughter loves them.
If you would like to check out some more Perler Bead Patterns, click on the Menu at the top of the page or click some of the links below.

Please join our mailing list below to get updates and follow our blog. Thank you for joining! We promise not to sell or spam your email!

were created for my husband’s 3rd grade classroom. These are great for when his students are working in small groups or in individual stations around the room.
These task cards are designed to help students practice while he works with small groups in the back of the classroom. Students can complete the work and then use the iPad or Chromebook to scan the QR codes. The QR codes link the students to a picture with the answer. If they make a mistake, they can try to figure out where they went wrong. This provides instant feedback, even though the teacher is not right beside them.
Another good way to use these cards are to tape them around the room. Students can then get up and walk around the room answering questions.
The tasks cards have students performing tasks such as finding:
The only prep and materials that are required are a printer, scissors and some lamination (optional). I went ahead and laminated them so that I can reuse these year after year. If you would like to see them or use them – click here to find them in my store.
For a free dice game that helps students practice reading fluency and comparing large numbers, please read my post Free Dice Place Value Game- Designed for 4th and 5th grades.
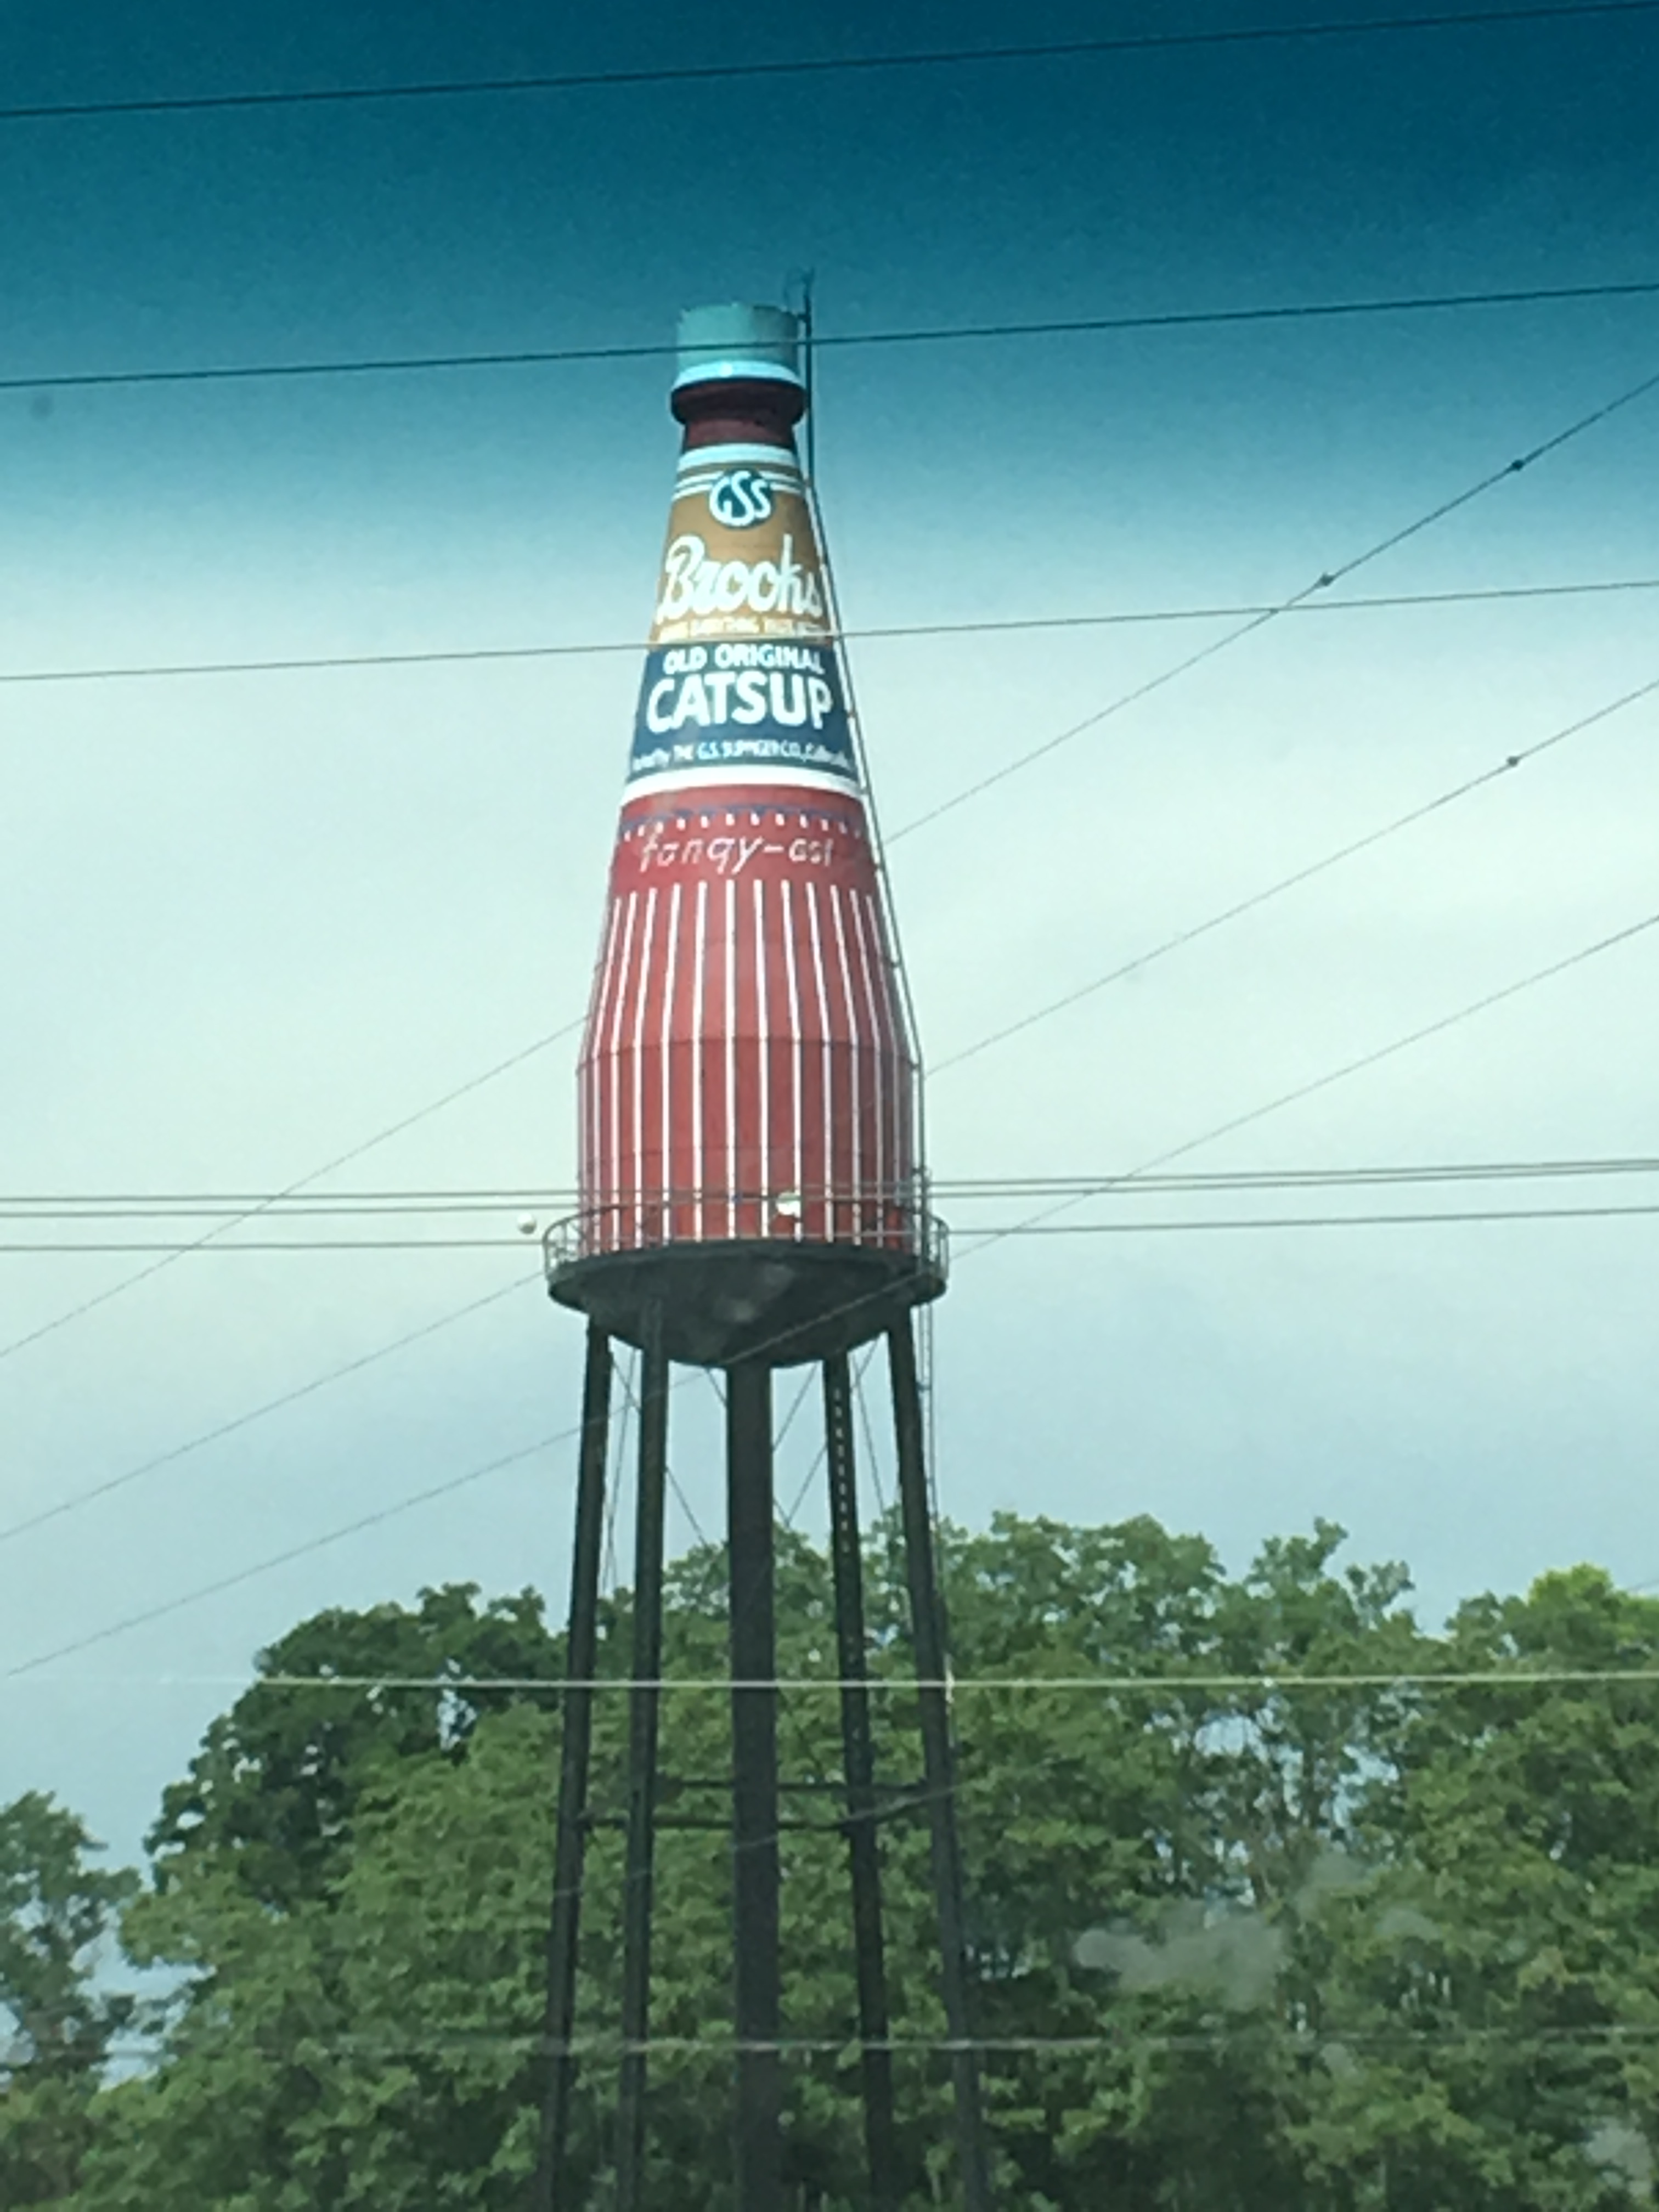
So… Ever found yourself wondering where you could find the World’s Largest Ketchup Bottle?? Well, look no farther than Collinsville, Illinois USA.
This water tower was built in 1949 and stands 170 feet tall. It’s an amazing example of the Roadside Americana era of the 20th Century. History of this awesome structure can be found on their website here. In August of 2002, it was named to the Historic Places Register.
We decided to drive by and experience it on our recent road trip. It was pretty neat, however I was disappointed that there wasn’t more to do. I was hoping for a little museum or something that you could go in and buy souvenirs or even a nice picnic spot. Unfortunately, we were able to just drive by it and take pictures. It also may have been the time of the year that we went. If we had waited and went in July when they hold a birthday party for the bottle, that’s when the activities come out with ketchup tasting, eating contests and much more. It was definitely worth the trip off the interstate ( about 5 miles) just to view it and it gave us some excellent conversation after the trip with our kids.


Brooks’ Ketchup is still around today. To try some of it, Amazon has it for purchase here. You can also buy it from the World’s Largest Ketchup Bottle site as well.
Its Summertime which means more arts and crafts, more Perler Beads, more games and just more fun! My kids had so much fun working on these patterns. Once the designs were ironed and complete, my youngest son played an entire game pretending to catch Pokemon outside with all the different Pokeballs he created.
The patterns are below. If you need additional Perler beads, Amazon has a massive 22,000 bead jar that you have to sort here. OR if you would just rather have them presorted for you, then there is also a smaller set, which has only 4000. Not very many in that set, but they are presorted which will save you lots of time.
To make the designs…
Using either the circle or grid templates, design the patterns. Then place a sheet of parchment paper over the design. You can use special paper by Perler or honestly just grab a sheet of parchment paper from your kitchen and that will also do the trick. Then simply grab a household iron and melt the beads together. This shouldn’t take longer than 10 -20 seconds on each side.
Note: When melting them, feel free to melt them for however long works for your family. We used a full melt in this version, (where the colors blend completely together) but we also like to iron them lighter to give them a pixelated look. Both versions will look great, no matter how you melt them!
The Original Pokeball using the circle template is found below. The circle template, along with a few additional fun templates, can be found on Amazon or at your local Hobby Lobby or Joanns. You can also make additional patterns and additional Pokeballs by just changing a few of the colors. Maybe your child would like to create his/her very own special ball.


Using the grid instead of the circle template….


Great Ball using the circle template….


Ultra Ball using the circle template…


If you would like to check out additional Perler Bead Patterns, click on the Menu at the top of the page or click some of the links below.
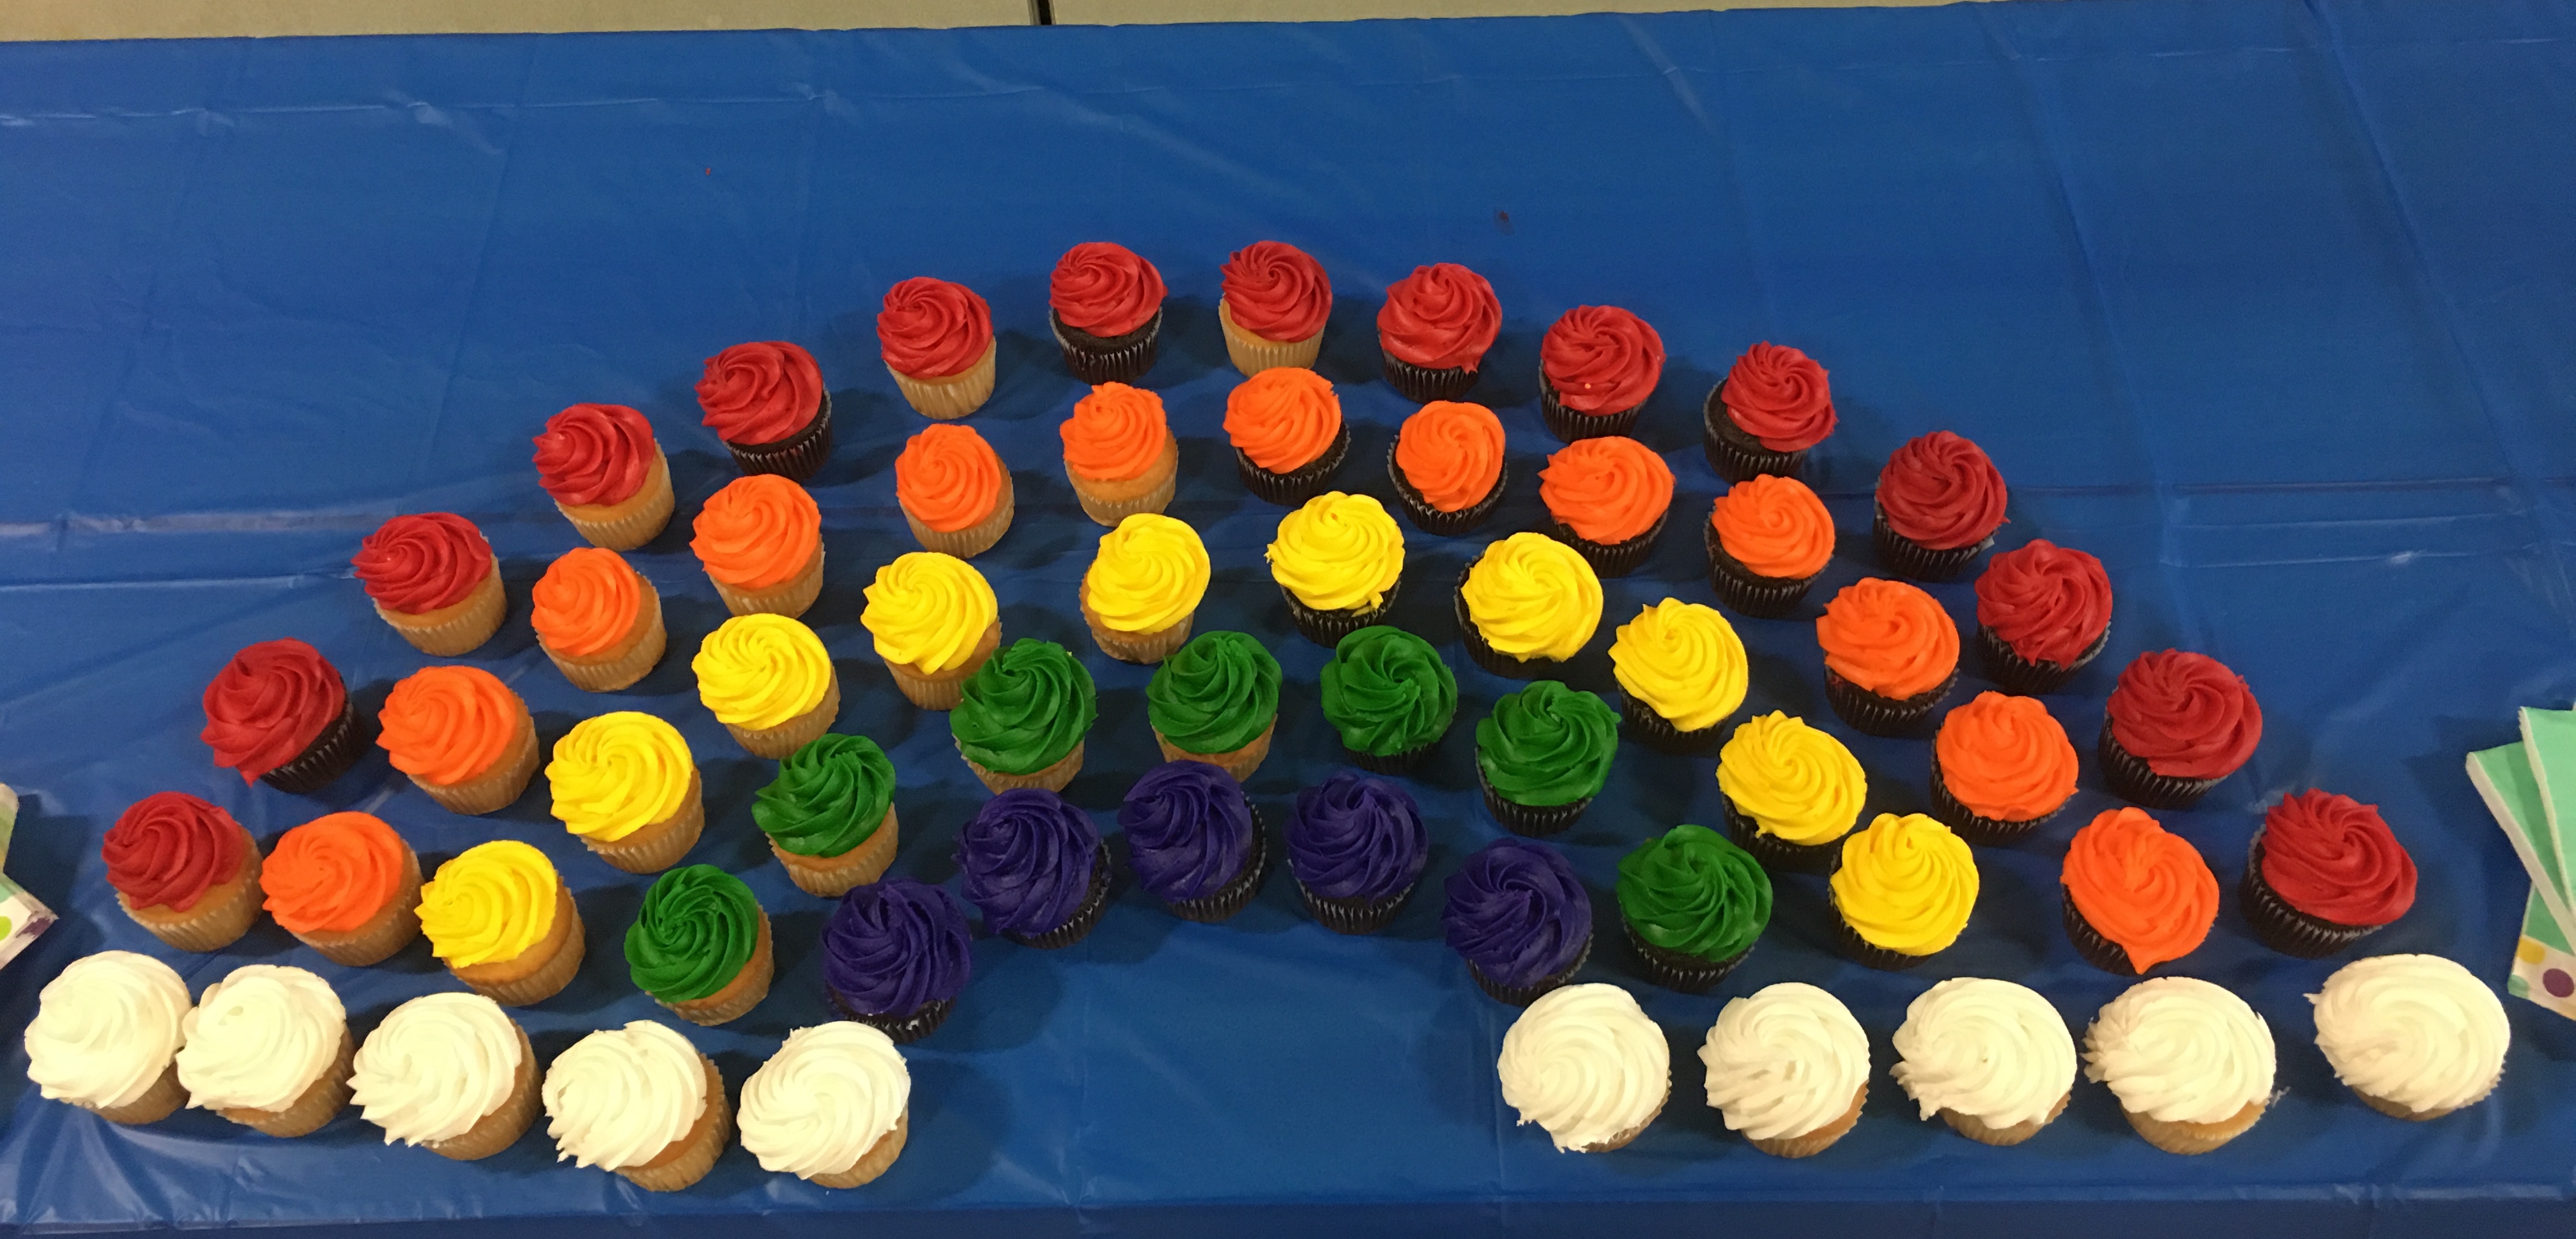
We decided for our Girl Scout bridging ceremony to try cupcakes again this year. Instead of spending hours decorating and making the super cute double colors and bridge cupcakes, we decided to create a rainbow out of the cupcakes. Click here for my post with the super cute double color bridges.
My co-leaders and I started the process by using empty cupcake wrappers to create a visual of what a rainbow would look like if we had 60 cupcakes. This helped us to figure out what colors to use and how many of what color to order. (You can do this with any number of cupcakes that would fit your troop. We chose 60 because the bakery sold them in sets of 30.) We then ordered the cupcakes from Sam’s Club (30 for $15 – which was a great deal and we didn’t have to spend hours baking and coloring them) and then arranged them on bridging night in our rainbow design. Our girls wanted to try different icings and were sharing with each other to “taste the rainbow”, which sounds like a Skittle commercial. The cupcakes were a huge success with the girls.
I would definitely do this again given the chance. However, it was interesting to me that most of the adults and siblings wanted one also. Next time, I will definitely bump the order up to accommodate the adults. If you plan on doing this for your troop, you may want to order more than what you need as some of the girls wanted seconds in order to try a different color.
For other Girl Scout bridging ideas, please check out a few of my other posts…

My family loves visiting Branson, MO and we have been doing so for a little over a decade. We have seen most every show, and stayed in a handful of motels/hotels. We have been so many times, that we even had the pleasure of watching Branson’s Ferris Wheel being built. Each time we drove by it, a new sectio
n would be in place. When it was completed, we were very excited to finally ride it.
My family arrived on the Thursday of our area’s Spring Break Week. It is usually a very busy time for Branson. However, the Ferris Wheel wasn’t crowded. We walked almost immediately up to the ticket window. After a picture against a green screen, we were led to the waiting queue. The first thing I noticed is that the wheel doesn’t stop to load or unload passengers. This is a huge time saver for when the crowds get heavy.
From the ground, the Ferris Wheel, in all it’s visual wonder against Branson’s topography, doesn’t look all that tall. However, when you reach the pinnacle during the ride up, the view is amazing. The Branson strip can be nearly viewed in its entirety. The Ozarks visible in the panoramic distance show just how beautiful this part of the country truly is.
The ride took 7 to 7 1/2 minutes to complete the revolution. When we were coming down to the loading dock, remember the wheel doesn’t stop unless to accommodate a guest, a stewardess asked if we would like another trip. We happily said “yes”! We were able to experience the ride for a second time for the same price as only one trip around.
At night the wheel lights up the Branson strip with over 16,000 LED lights that spin and dance many different colored lights that entertains the masses for free. The lights of the wheel can be seen from great distances.
After our ride on the wheel, we learned from the website, linked here, that the wheel is only new to Branson, but not a brand new wheel. The Ferris wheel was originally built in 1995 as part of the renovated Navy Pier. It served as an attraction for 20 years before being sold. The Ferris wheel has 40 gondolas that can hold up to 6 people each. That brings the total number of total riders at its max capacity to 240.
Adults 12 and up pay $12.00 to ride. Children 11 and under pay 8.00 to ride. Toddlers 3 and under are free.
If you find yourself in Branson, MO and not sure what to do between shows or one more thing before retiring for the night at a local hotel or one last thing to do before driving home, my family highly recommends that you take a spin on the Branson Ferris wheel.
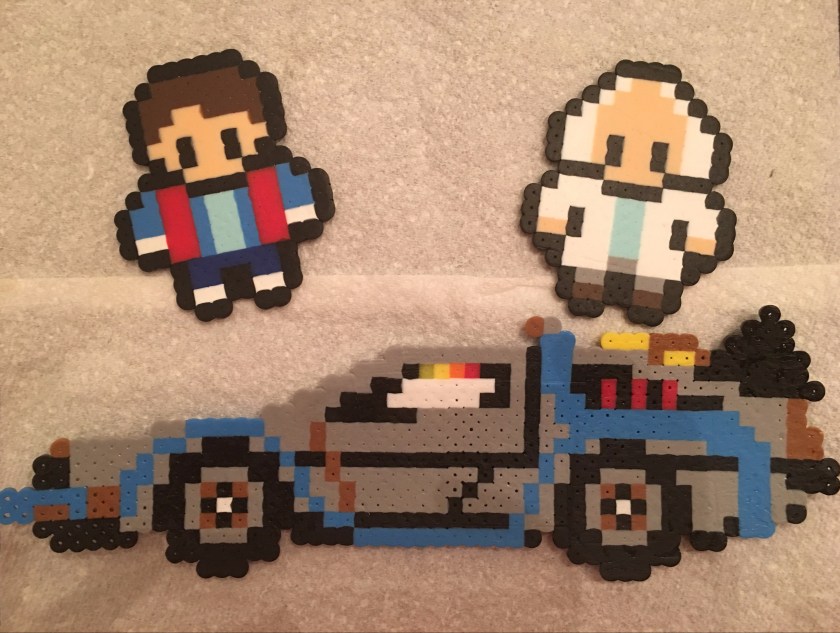
Back to the Future is my husband’s all time favorite movie and the kids love it also. When we came across Perler Bead patterns of Doc and Marty, I just had to build it!
Special thanks to the original poster of this picture which inspired us. Grids and Perler beads can be found at Amazon here – grids or perler beads
We like our beads a little more heated to give it the blended effect instead of the beaded effect. However, whichever way you choose, they will turn out amazing!
Marty


Doc


Of course, the DeLorean


These were super fun to build and only took about an hour or so for all three. The DeLorean was definitely the hardest, however it was super fun. They now hold a nice place of honor in our Perler Bead Collection!


This Perler bead craft was inspired by the classic game Tetris. As I was looking around for a new craft pattern for the kids, I saw this pin for sale on Etsy. However, when I went there it was no longer for sale, so the kids and I made our own.
We are putting Command Velcro strips on the back to put on the wall behind my desk at school. We had super fun creating them.
The patterns are below. Since they were pretty small, I was able to put 3 on each grid.


If you would like to make these yourself, Amazon has the grids and Perler Beads for sale very decently priced. You can also get them at Hobby Lobby or other craft stores.


